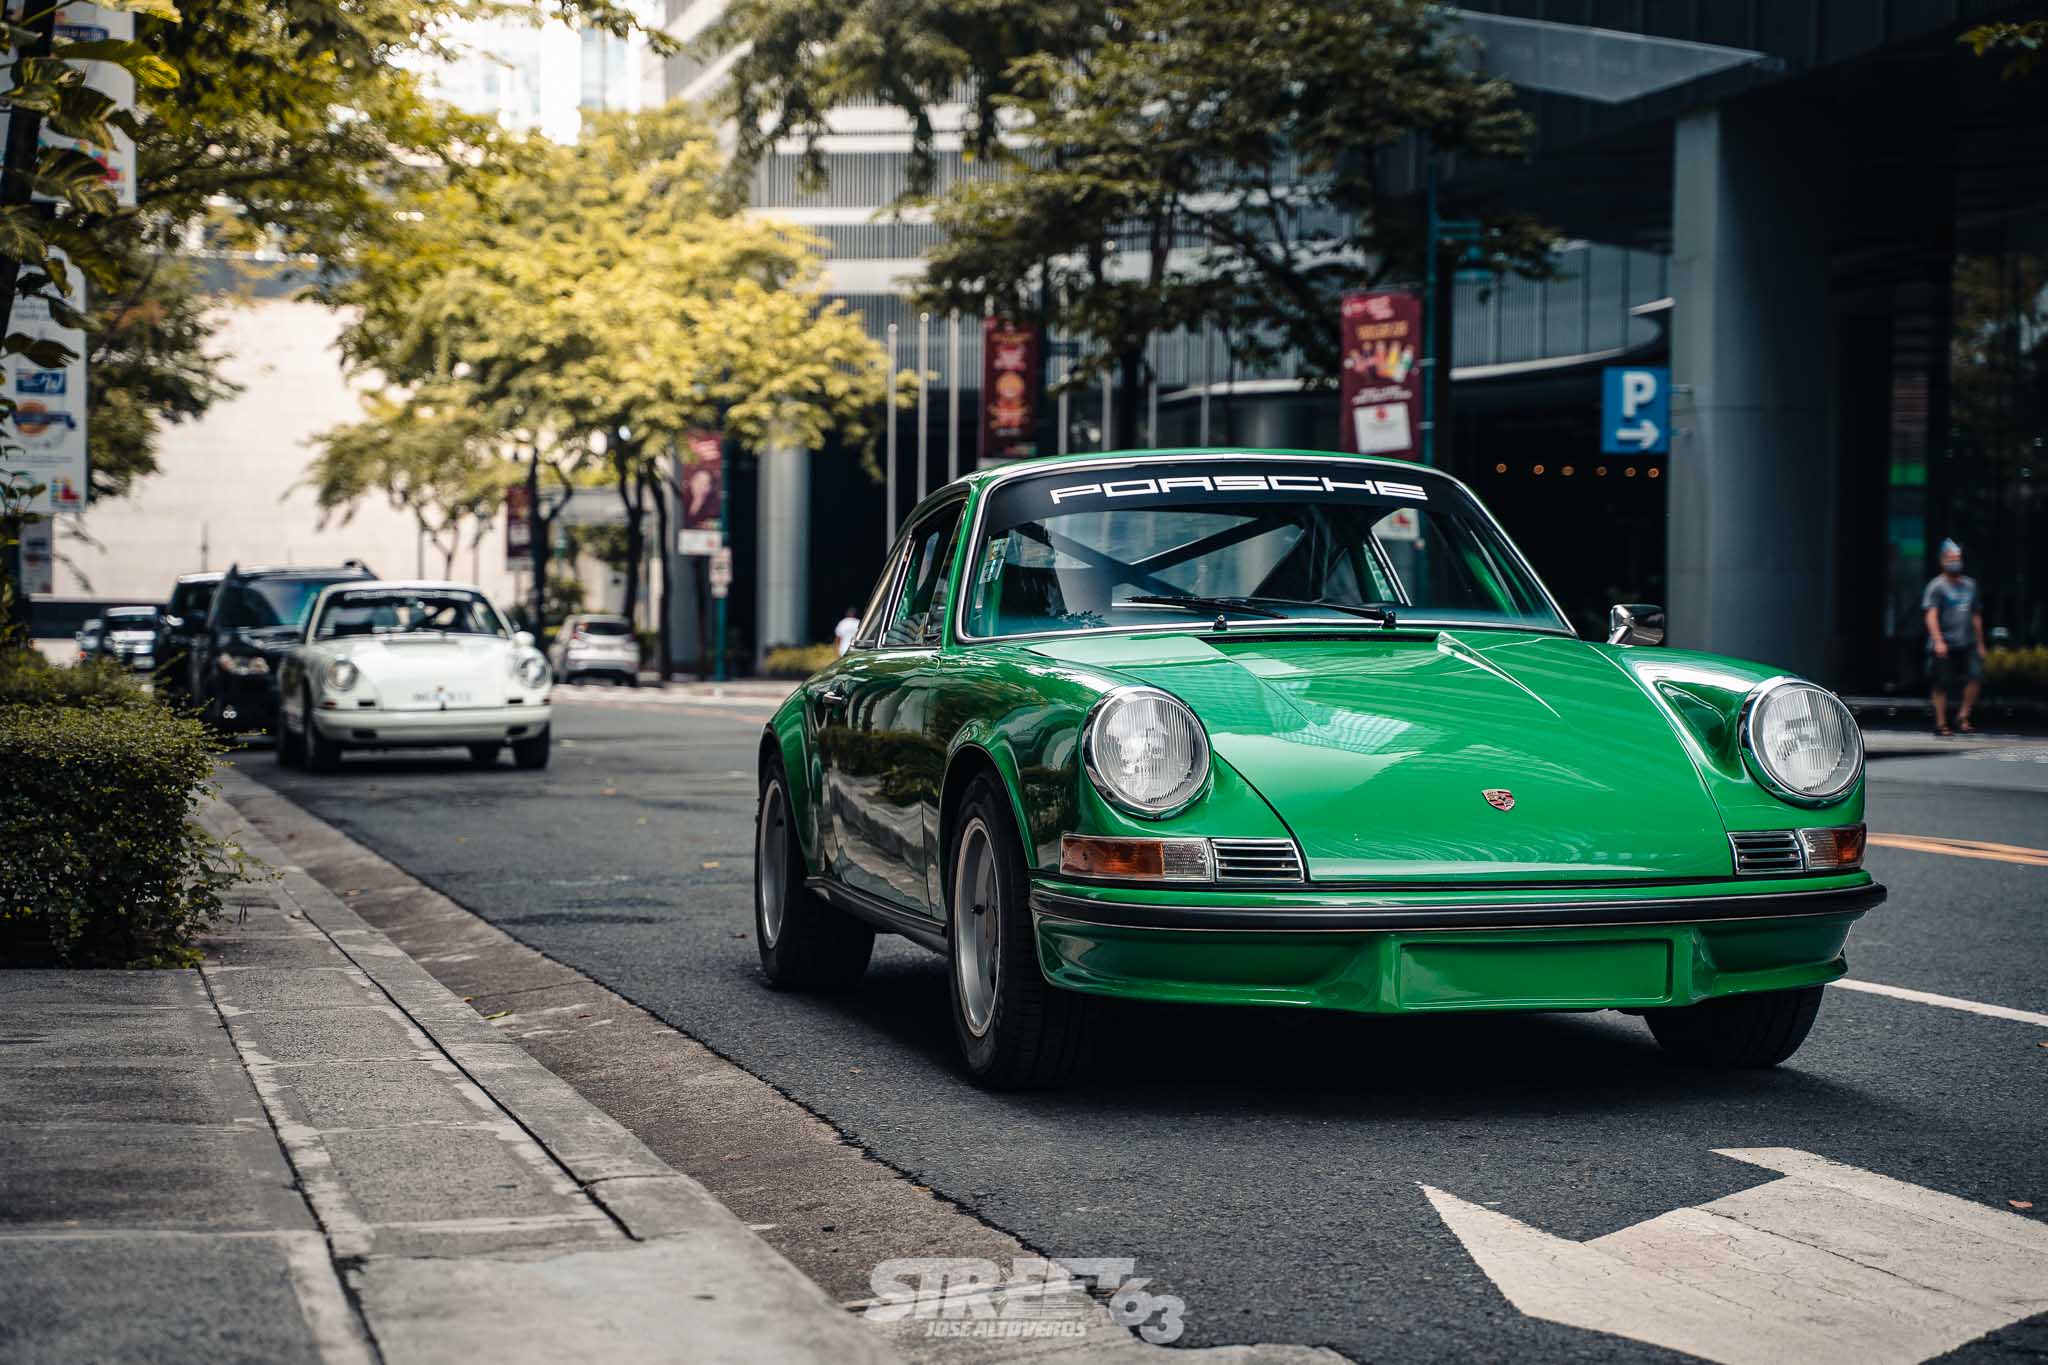
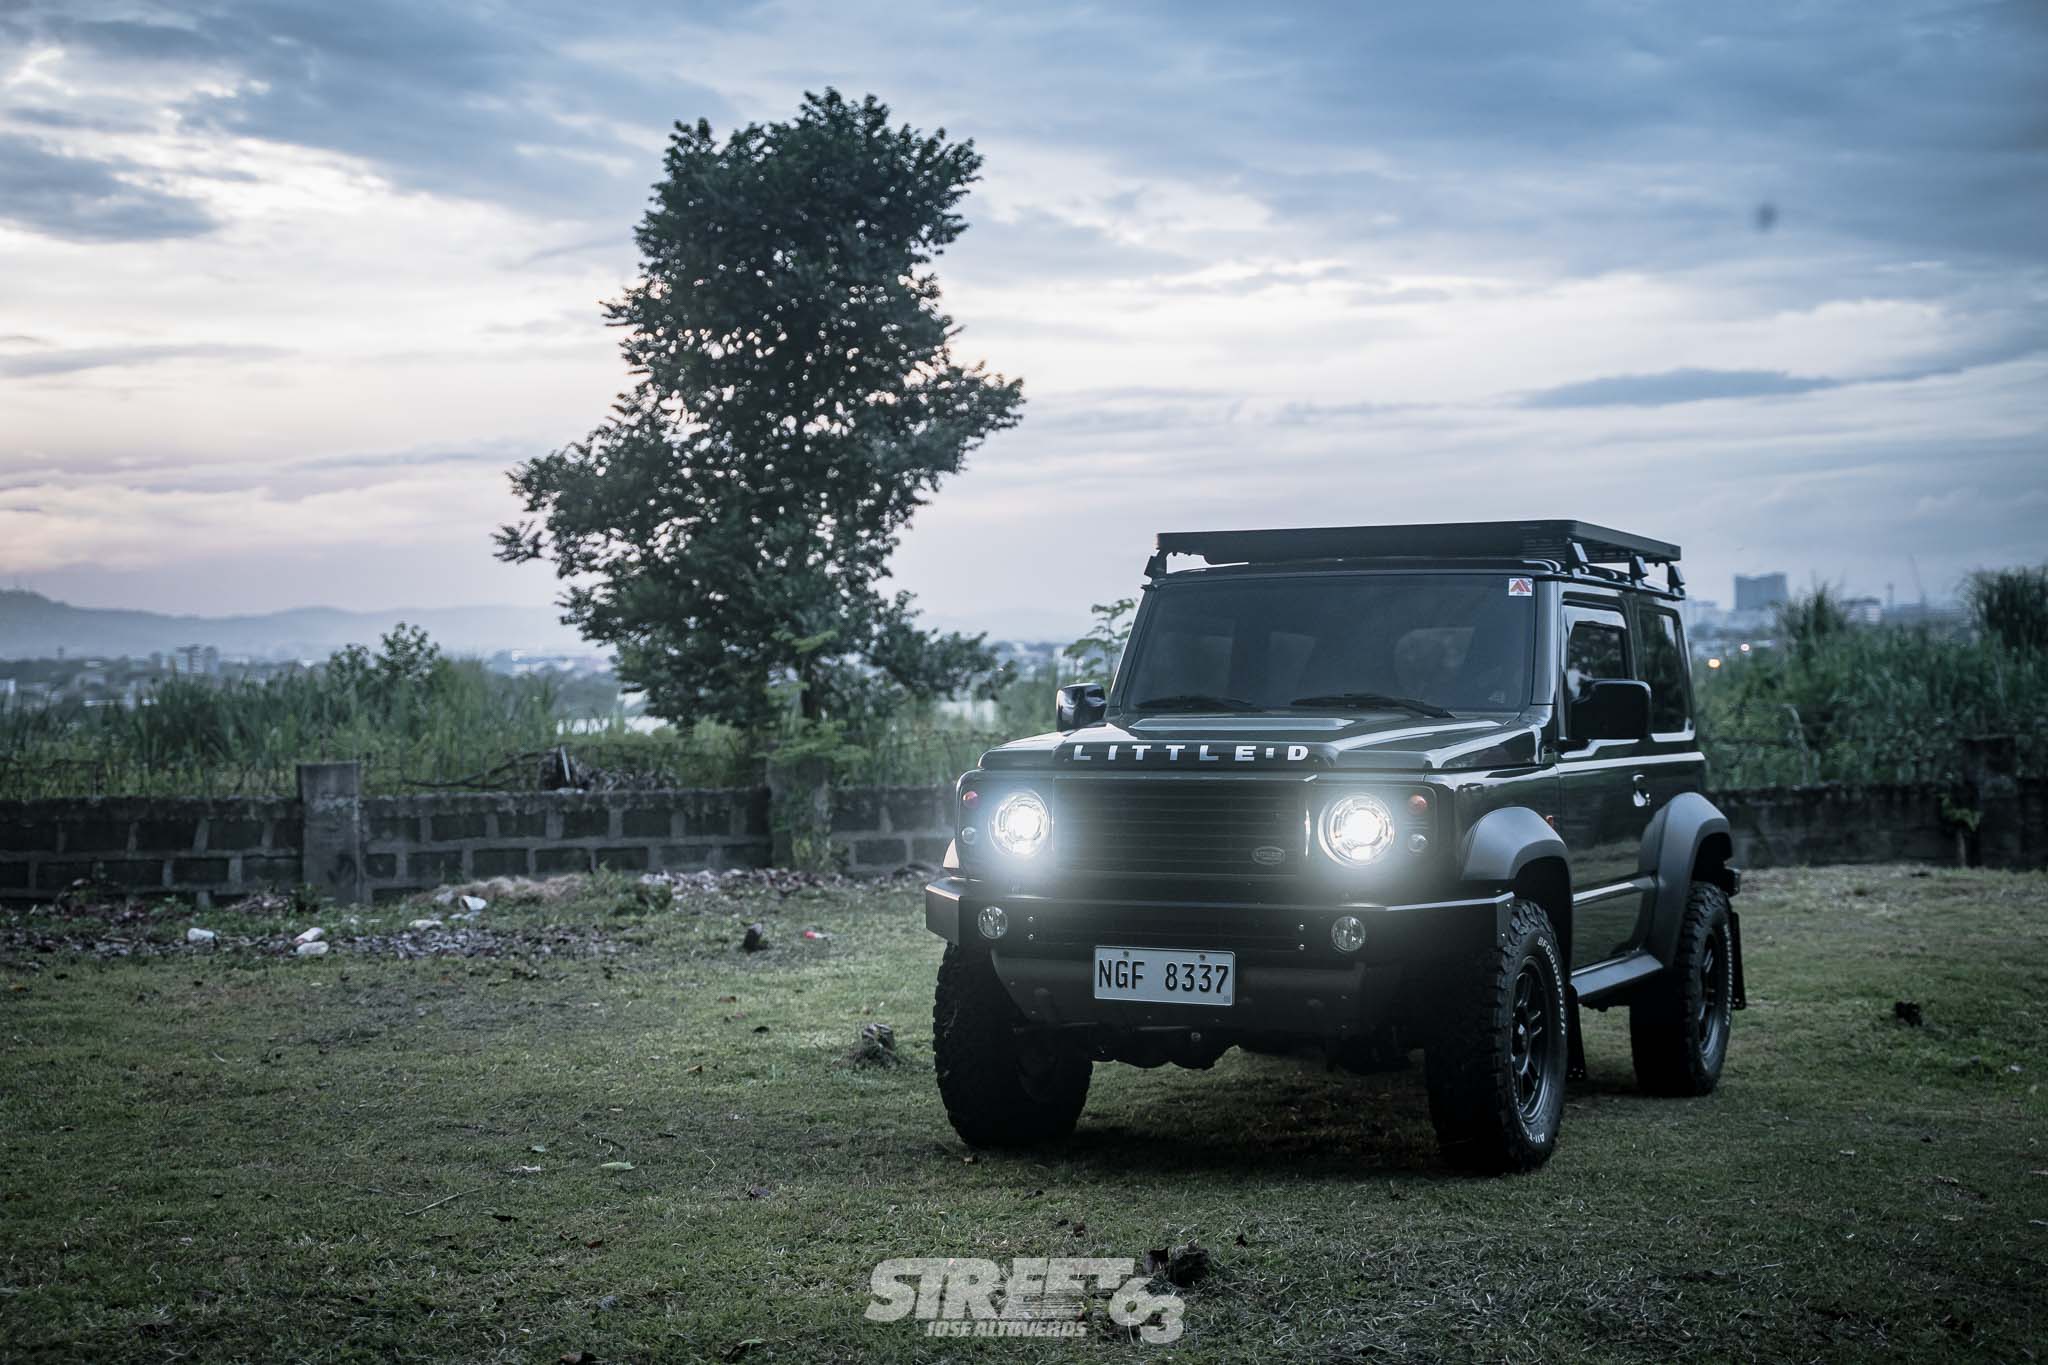
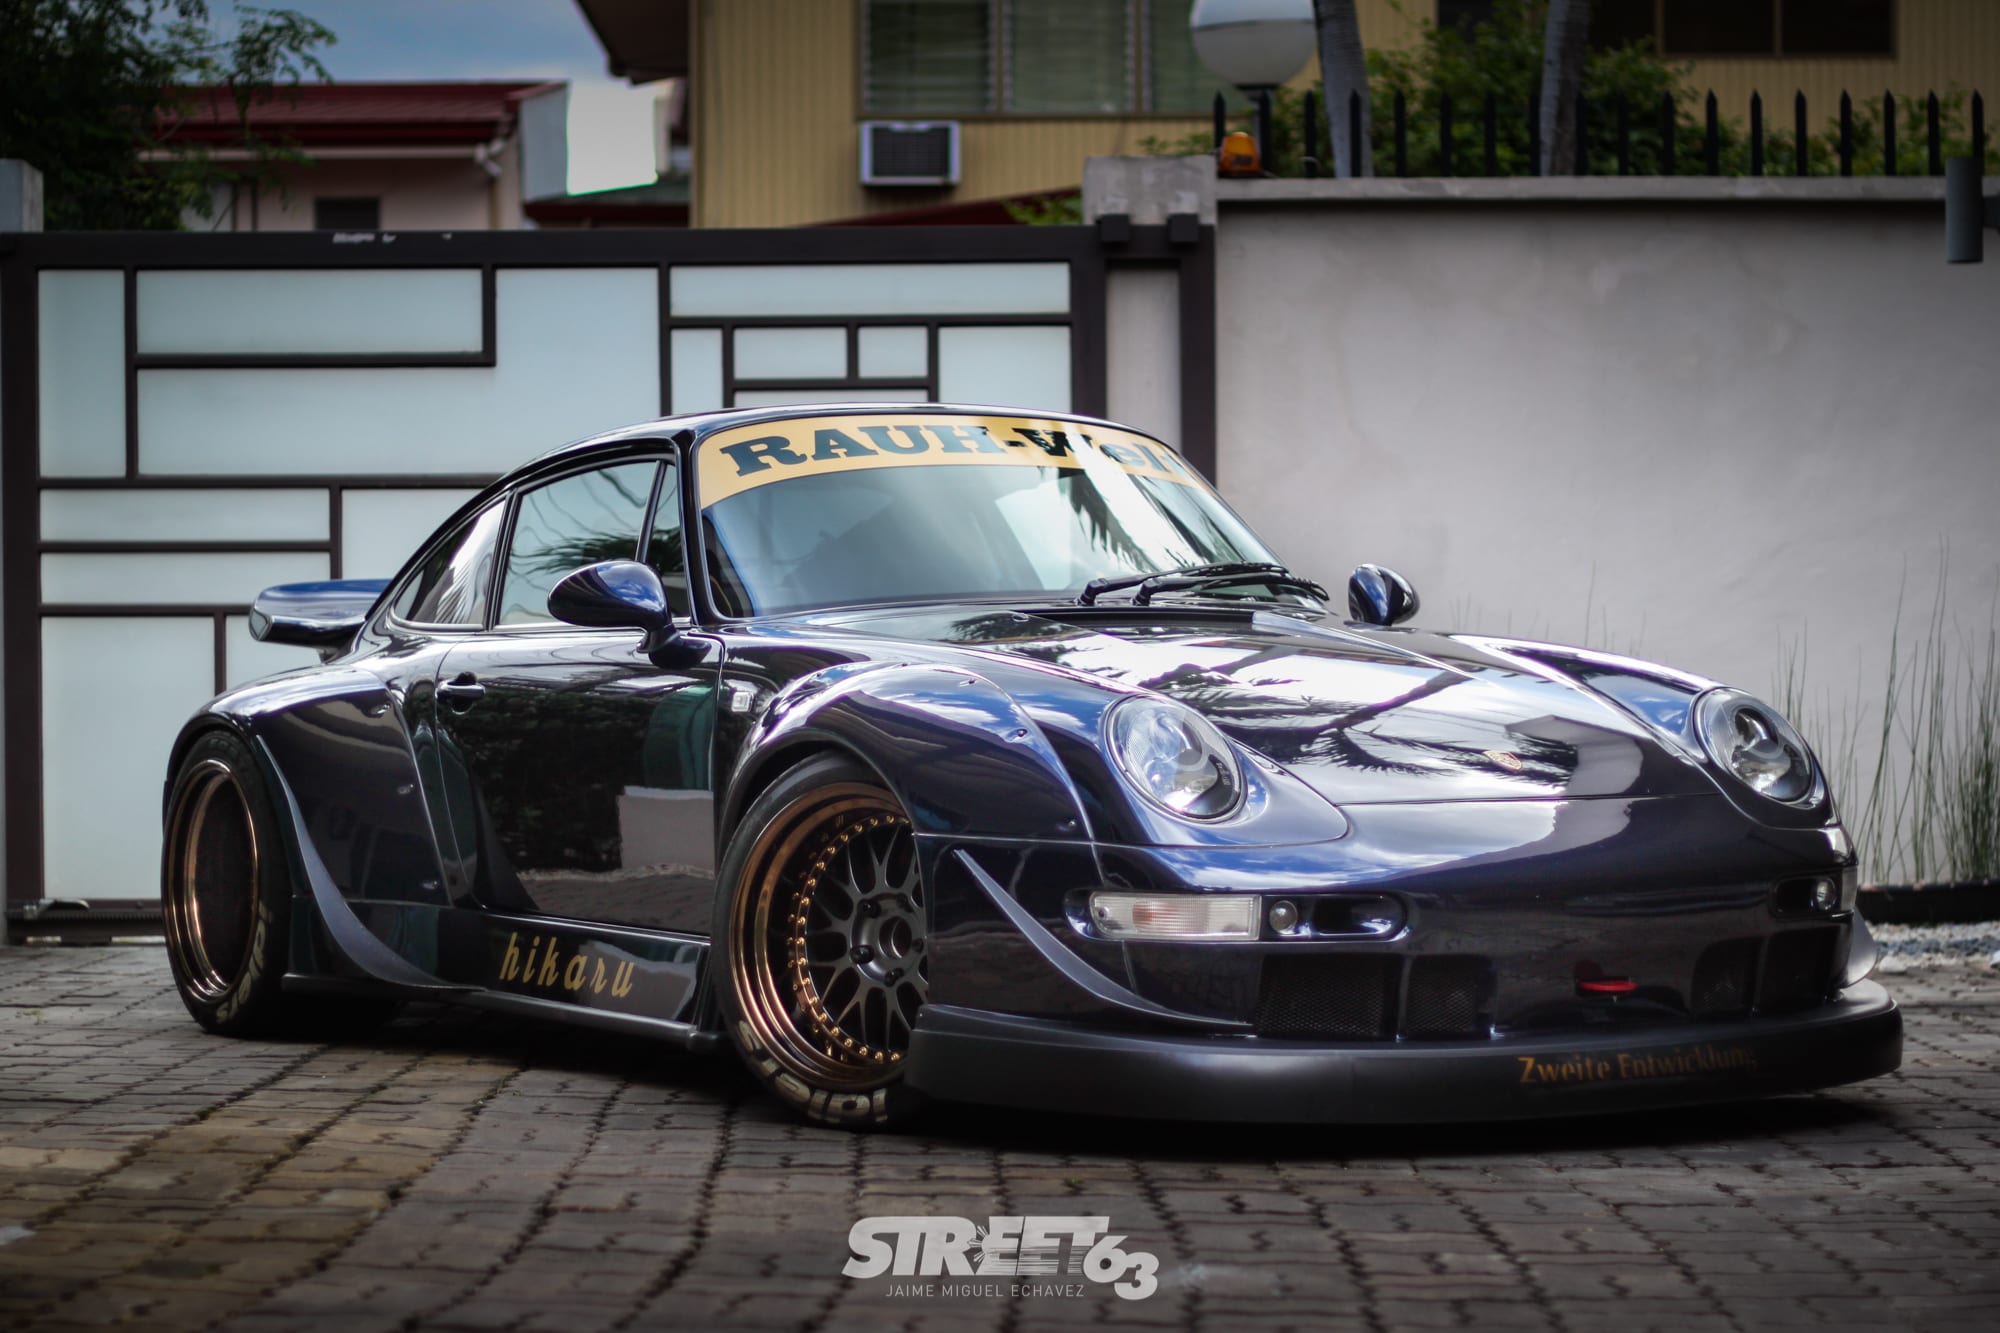
Work From Home: Tips and Tricks for the Automotive Shutterbug
As you can probably tell, Street63’s bread and butter is the quality of content which we create. By taking photos and stories that will do each featured vehicle or event proper justice, we bring another unique perspective towards our local automotive community - not to mention witnessing global events and trends from a Filipino perspective. In order to show these to you, our reader, we have to create photographs that serve as a proper view of what we’re seeing. We all have our own eyes and own perspectives toward photography, but here we will share the basics of composing a proper automotive-oriented photo. To start this off, we will be talking about some factors within photography that we prioritize when shooting cars and editing our pictures.
Composition/Shooting Tips
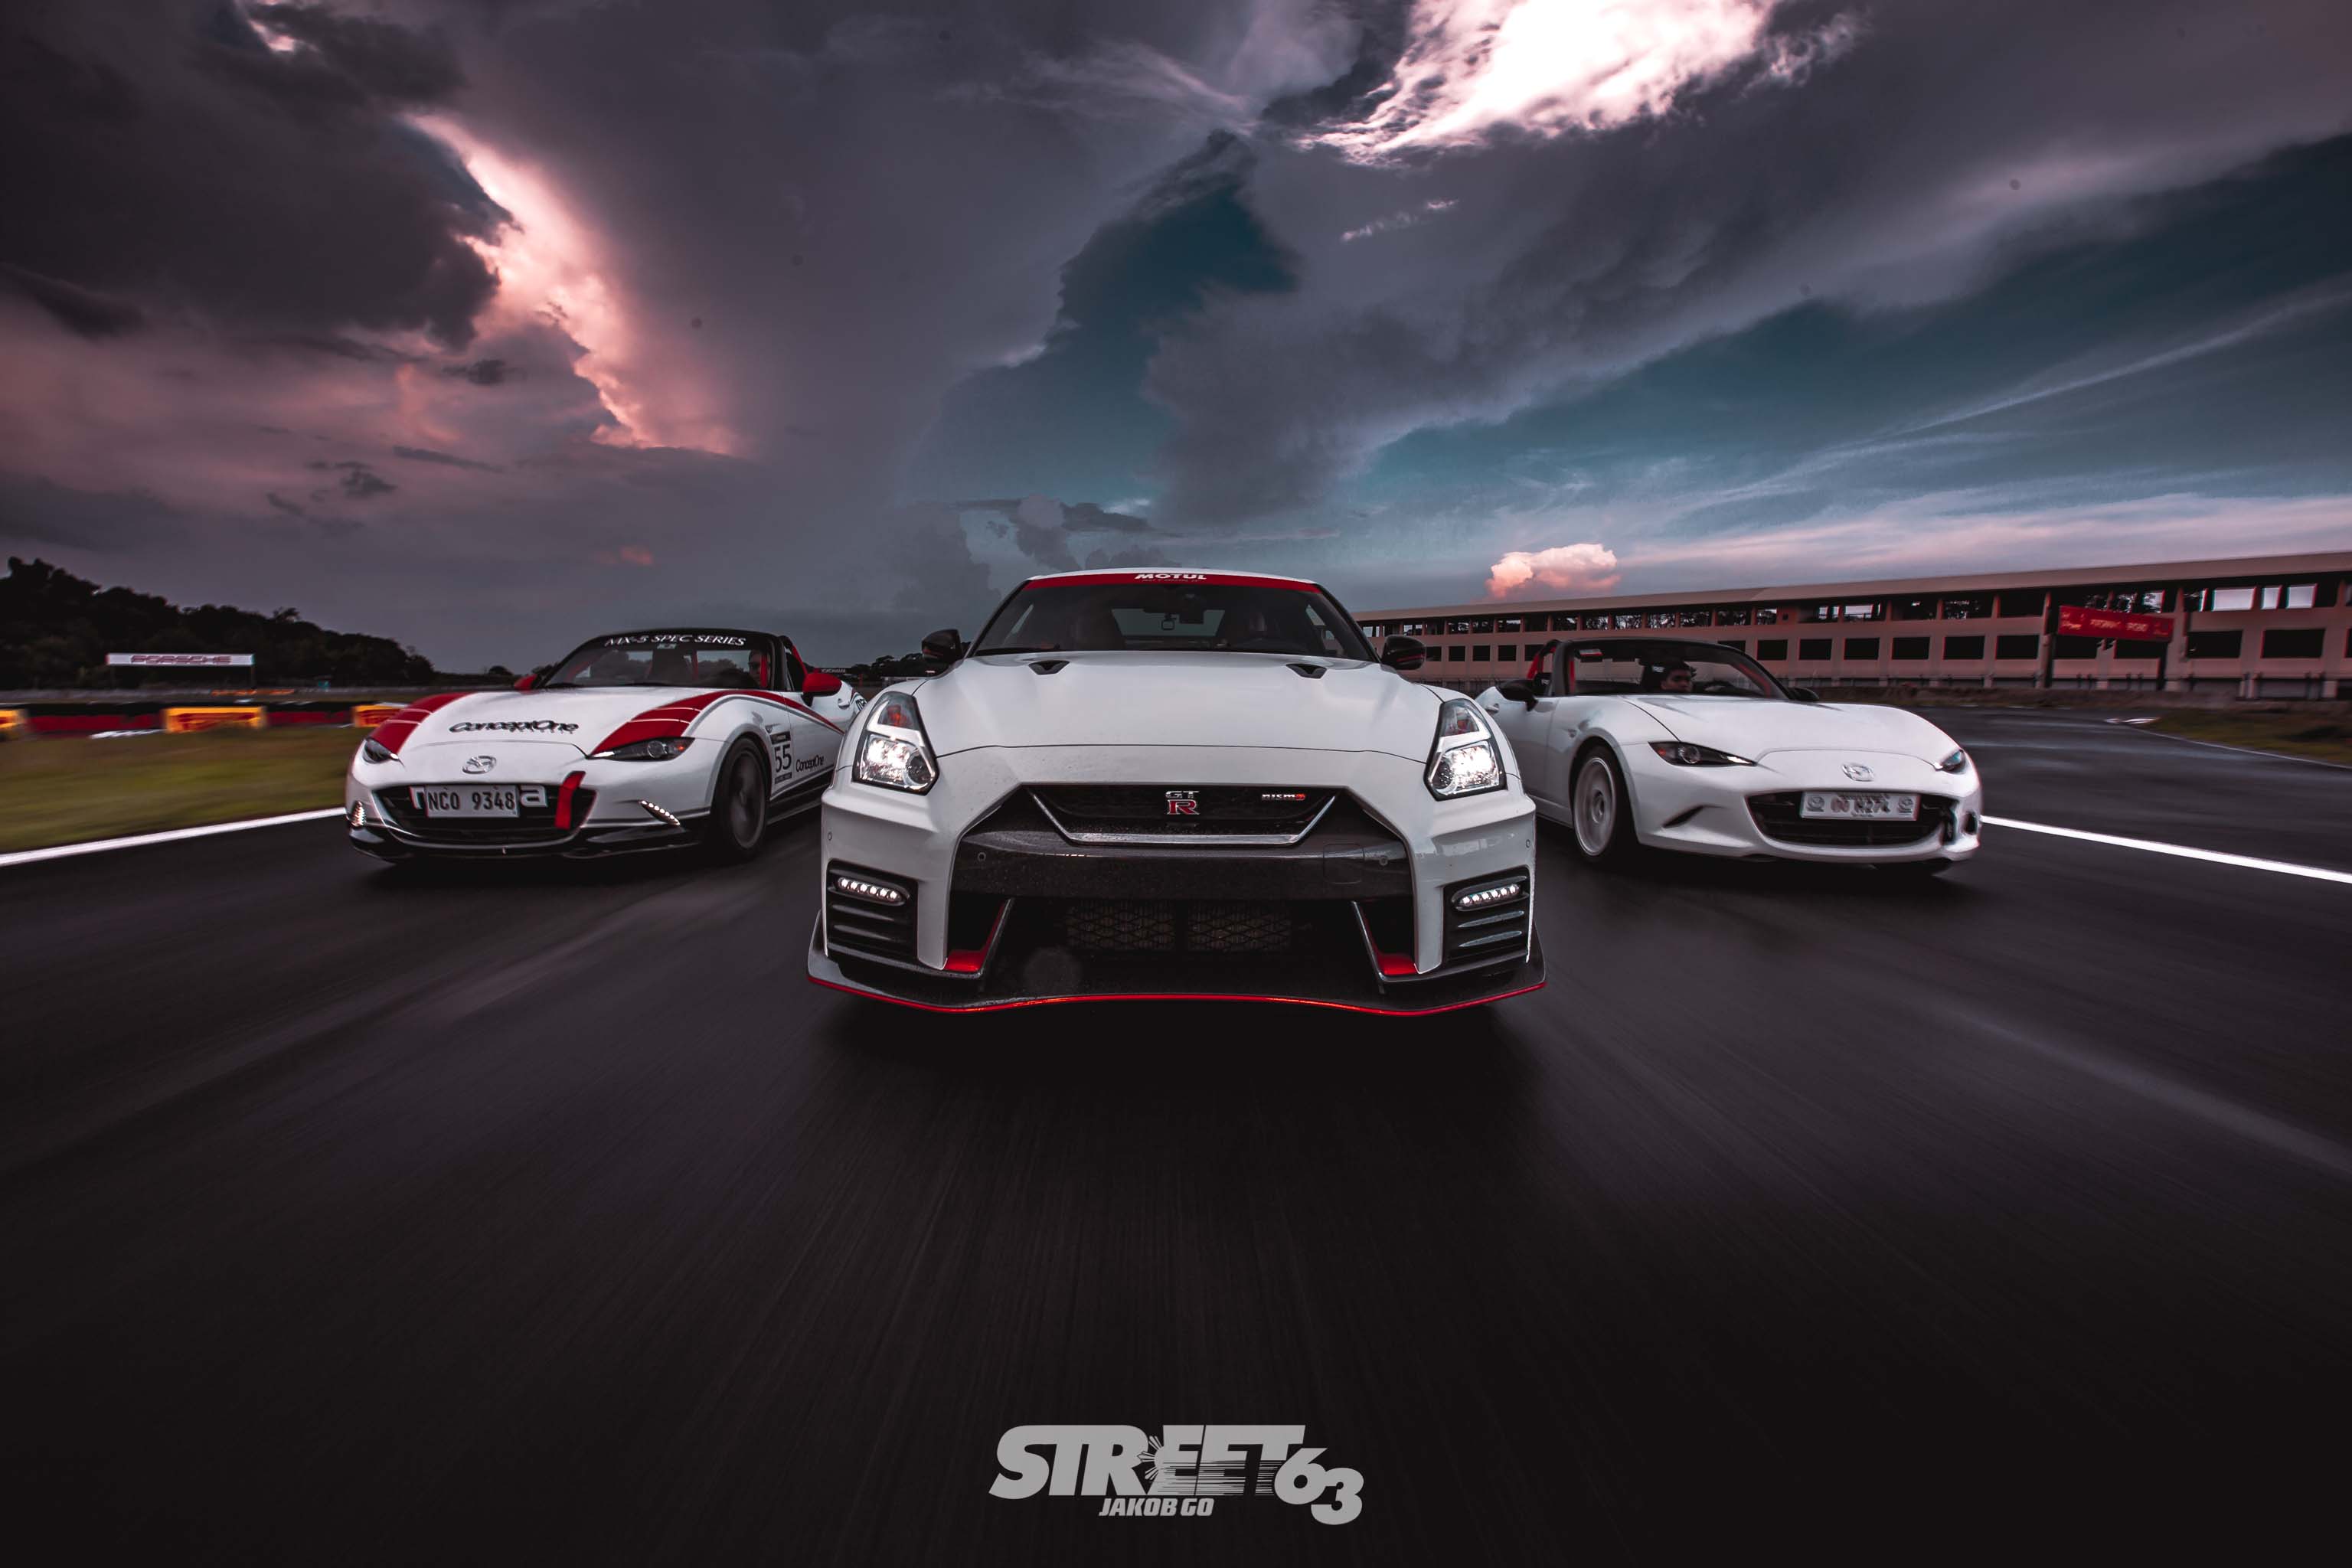
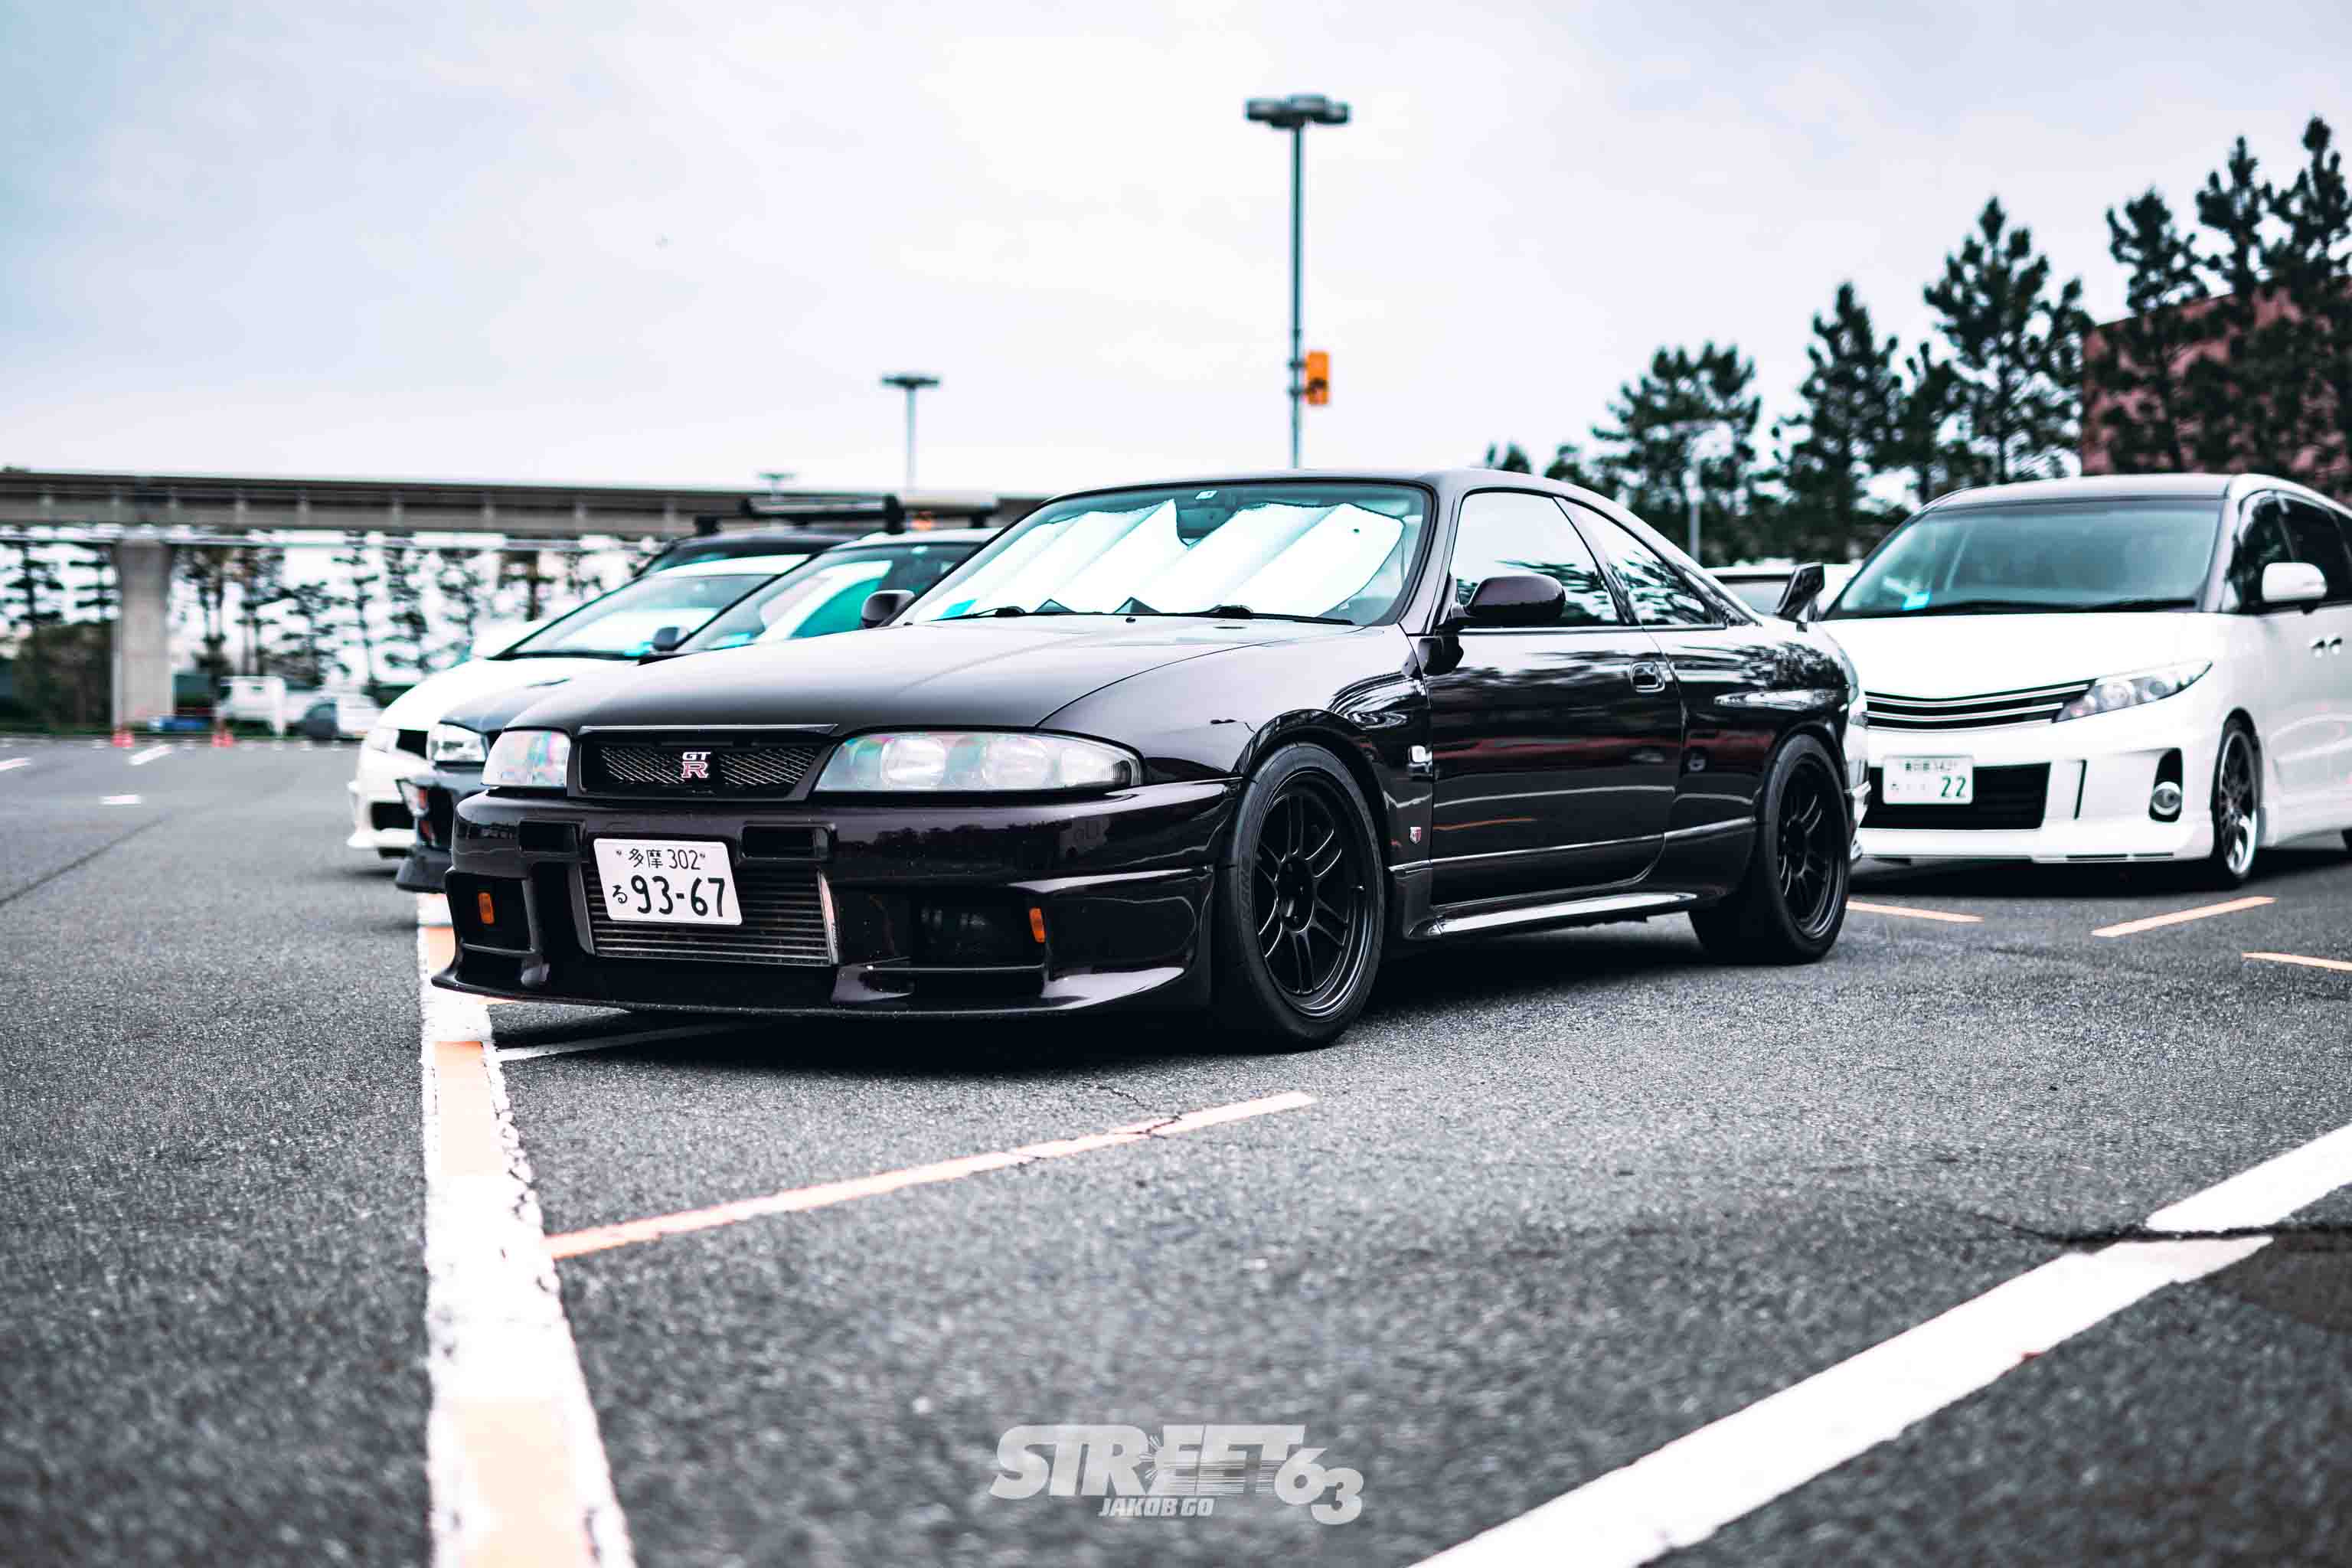
Subject Composition & Background This, we reckon, is the most important factor of taking a photograph - hence why we ought to talk about it first. A photo’s composition is the foundation of everything, every single factor after taking the raw photo will be affected by how you shoot your shot. (see what I did there?) There are a few things we keep in mind when ensuring our photos have our desired composition:
- Centered Composition
- Rule of Thirds (most basic, but we use it)
- Leading Lines
- Frame within frame
- Rule of Odds (only applicable if there is more than two cars)
Camera Metering Camera metering lies under the technical aspect of photography. If you’re an avid photographer like us we’re sure you have heard of the exposure triangle (shutter speed, aperture, and ISO). This exposure triangle basically helps the photographer understand the settings needed in order to take the best (calculated) shot possible.
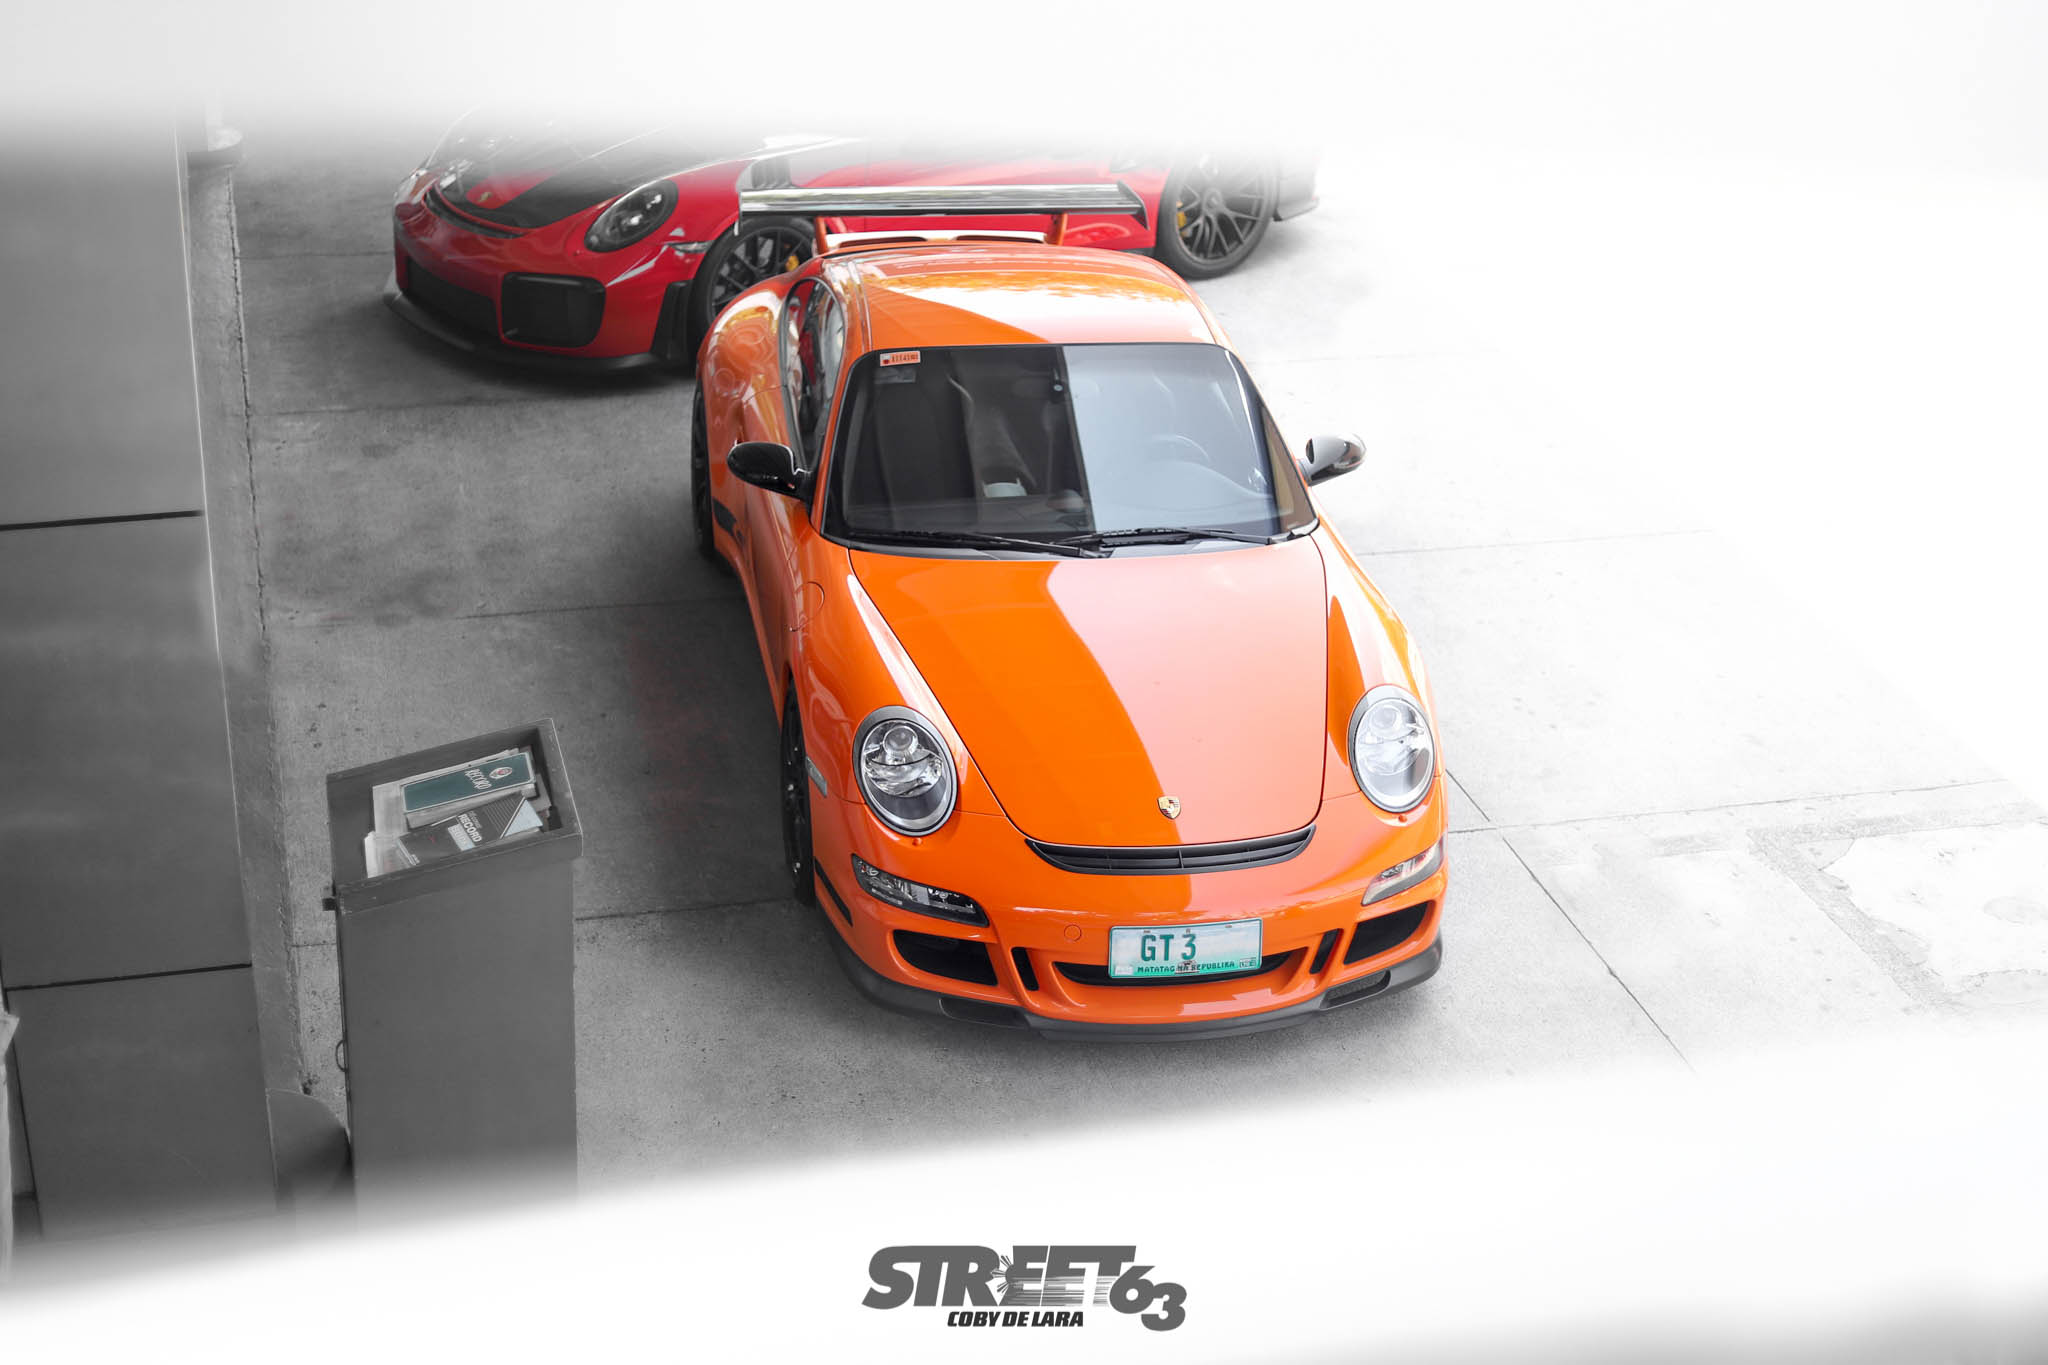
Creativity This is a very vague term used in photography as the word can be used from composition to the post-production aspect. But since we’re only talking about the creativity aspect of composition we can talk about the creativity in post-production another time. Creativity is infinite, not only does an individual have a billion angles to cover the subject from but having the right angle and composition would lead to that one in a million shot. The things to consider when shooting a vehicle is the background, how the car is perceived from the angle, and the lighting that hits the surface of the car. There is no specific guideline on how to shoot a car but making the little details stand out from a unique perspective allows the car to look like Gigi Hadid in a bikini if done perfectly.
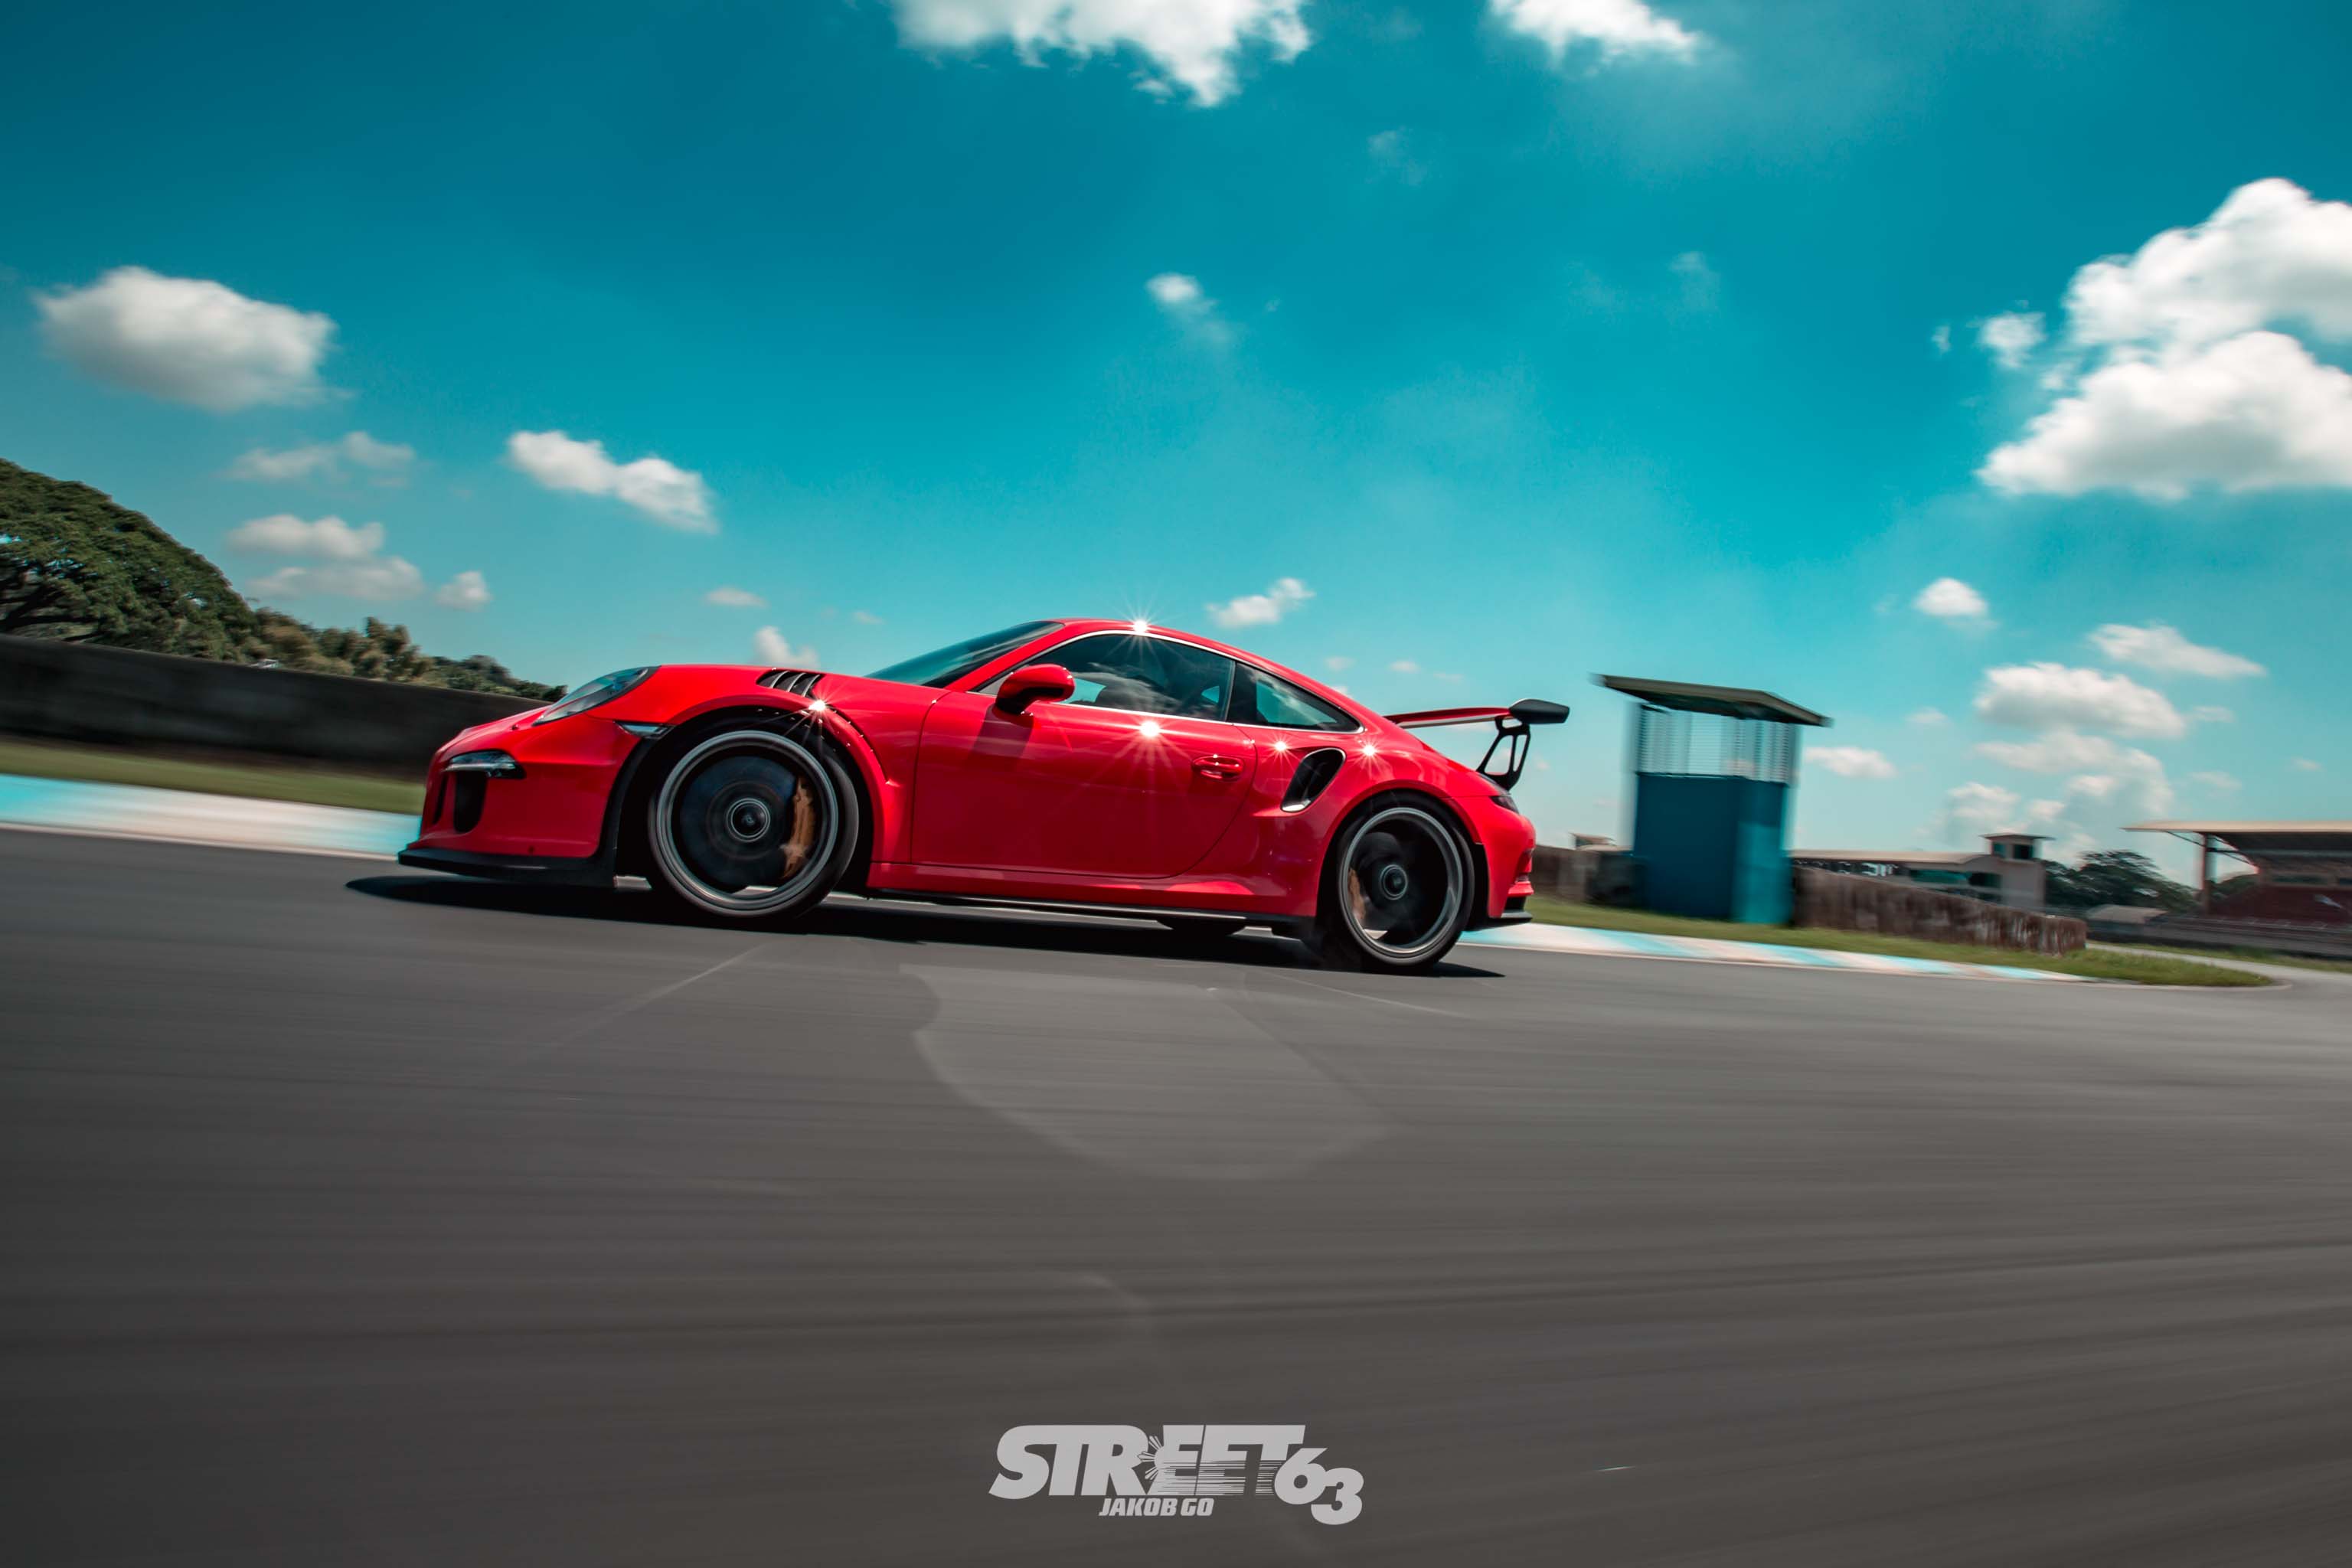
Proper Equipment This is a very controversial topic as the most popular saying in the photography scene is “The creative eye beats a $2,000 lens any day.” To a certain extent, this is true. However, a 50mm f/1.8 cannot beat a 16-35 f/2.8 USM II when taking rolling shots. Nonetheless, not every single piece of equipment has to be the price of a diamond. As long as the gear exists in your arsenal. You, the photographer, have a higher potential to take better photos. We definitely recommend having a tripod and a CPL filter (Circular Polarizer/Linear) or an ND filter (Neutral Density Filter) that would make your photography life a breeze when covering a photoshoot or event.
Post-Processing Tips
Much like the composition side of things, post-processing a photo can be approached in various ways. Each photographer will have an eye for what they ultimately want the photo to look like, thus making edits to achieve that goal. Below we will demonstrate two polarizingly different yet very effective approaches to post processing courtesy of our resident photographers Jakob and Coby.
The first style of editing is shown in Coby’s editing style, he uses a clean and simple style that allows his audience to see the vehicle from a realistic point of view. We’ll let him take the floor and take you through his process:
Cleanliness Shooting around Metro Manila is undeniably hard. Upon reviewing your images, it’s more often than not that you’ll catch a cone, pedestrian, pothole, a few messy cable wires, and trees or maybe some random cars in the background that could pose as a distraction towards the subject of your photo. This is why I prioritize cleanliness in my photos. When shooting objects, especially cars, it is important to keep in mind that the car, or whatever object you are shooting, is your subject and that is what you want to show your audience. In order to fully capture your audience’s attention and assure that their perception of the car is clear, it helps to remove anything that may distract the car. To do this, I use Adobe Photoshop and by using the Clone Stamp tool, I am able to take out a few of these distracting objects. Here are a few things I ask myself when viewing the objects around the cars I shoot in my images and judging whether I should take them out or not:
- Does the object’s color overpower the car’s color?
- Does the object make the background too messy?
- Is the object’s color distracting the overall mood of the photo?
With these questions in mind, I am able to judge whether objects such as cones, street signs, and other random objects are worth taking out.
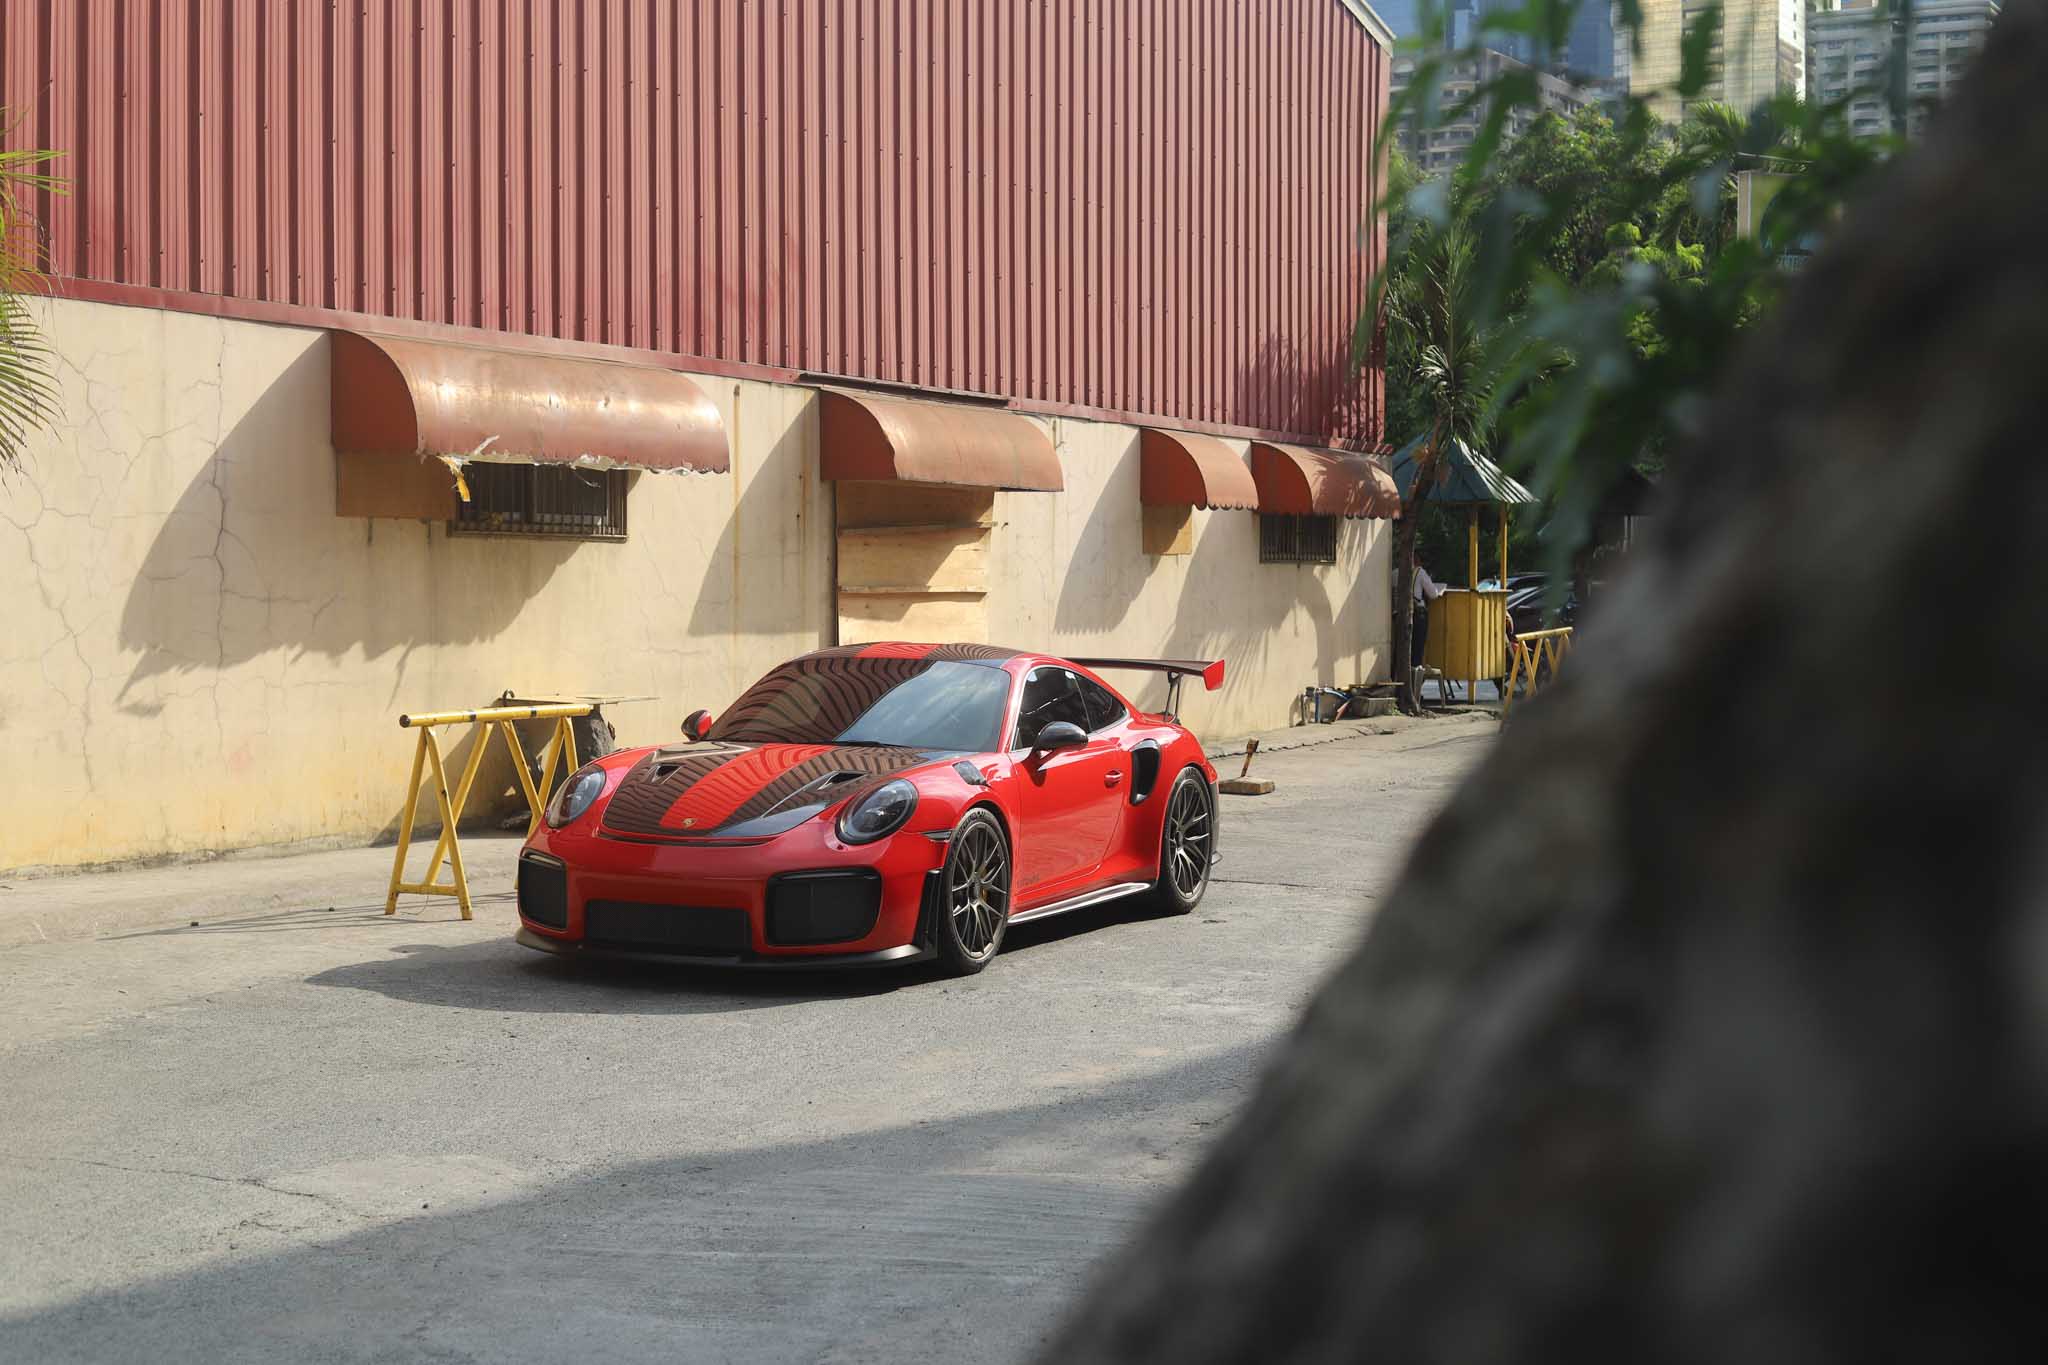
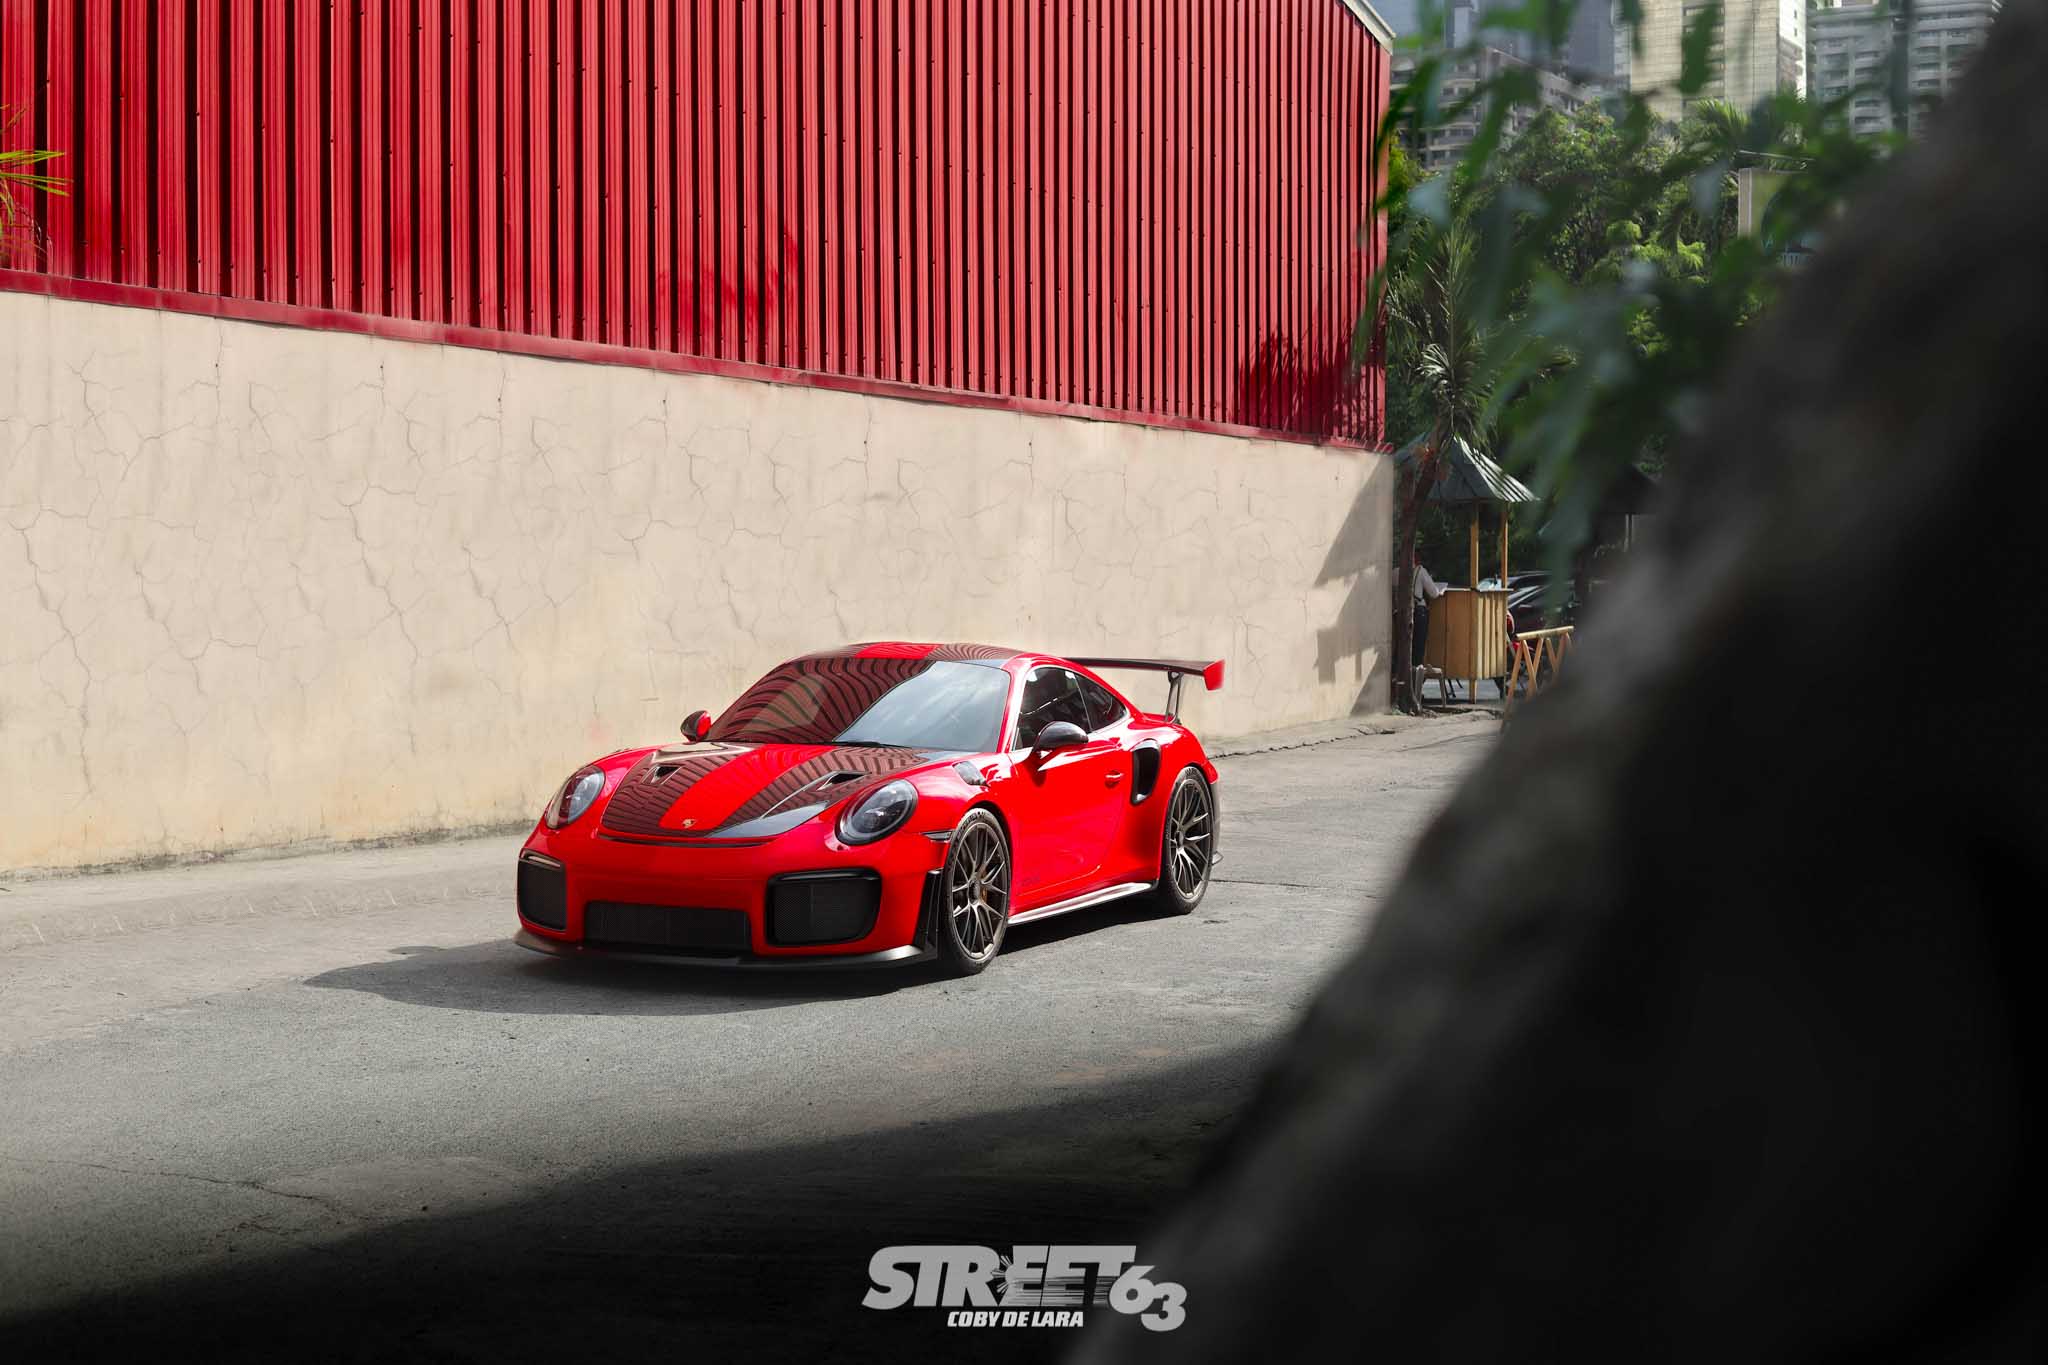
Simplicity After you’ve cleaned up your photo and after you’ve made sure that every distracting object has been taken out, it’s time to focus on simplicity. By this I mean don’t edit your pictures too much. Sure, adjusting your exposure, contrast, and highlights may help in your image’s clarity, but don’t overdo them. Keep the image as genuine as you can.
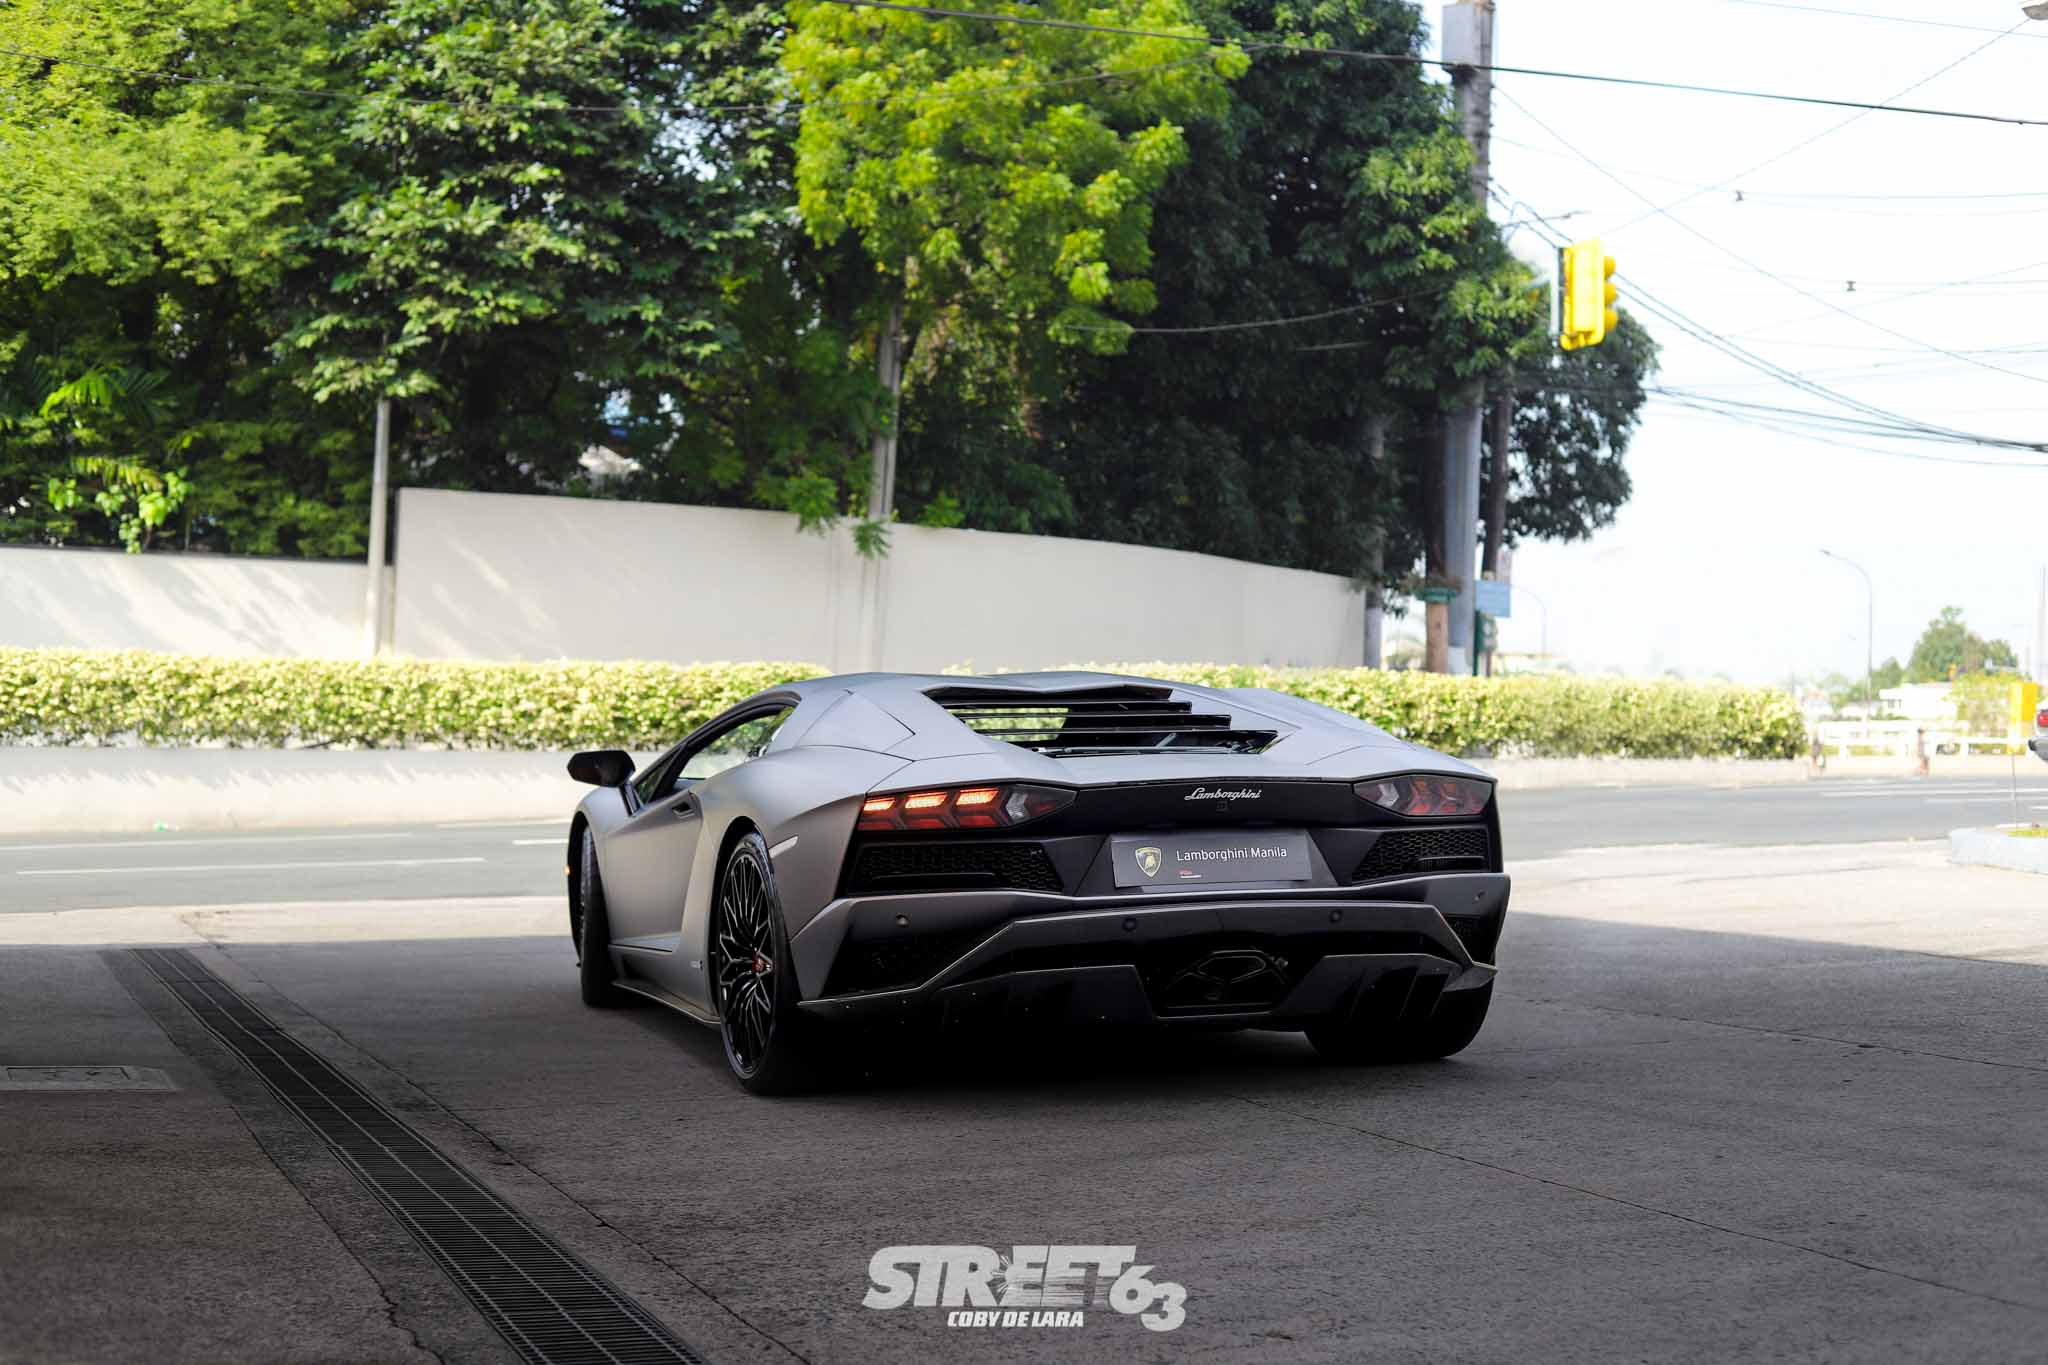
Genuinity / Purity of a Photo Continuing where I left off in the previous paragraph, genuinity is the last ingredient in making sure that my photos are up to my standards. By this I mean, keep your photo as real as possible. Whatever the sky looked like or whatever the weather was on the day you shot the car, show that to your audience. It’s alright to enhance some factors in your photos such as temperature. But then again, refrain from overdoing it. My goal when it comes to editing my pictures is to make sure that the edits are not visible.
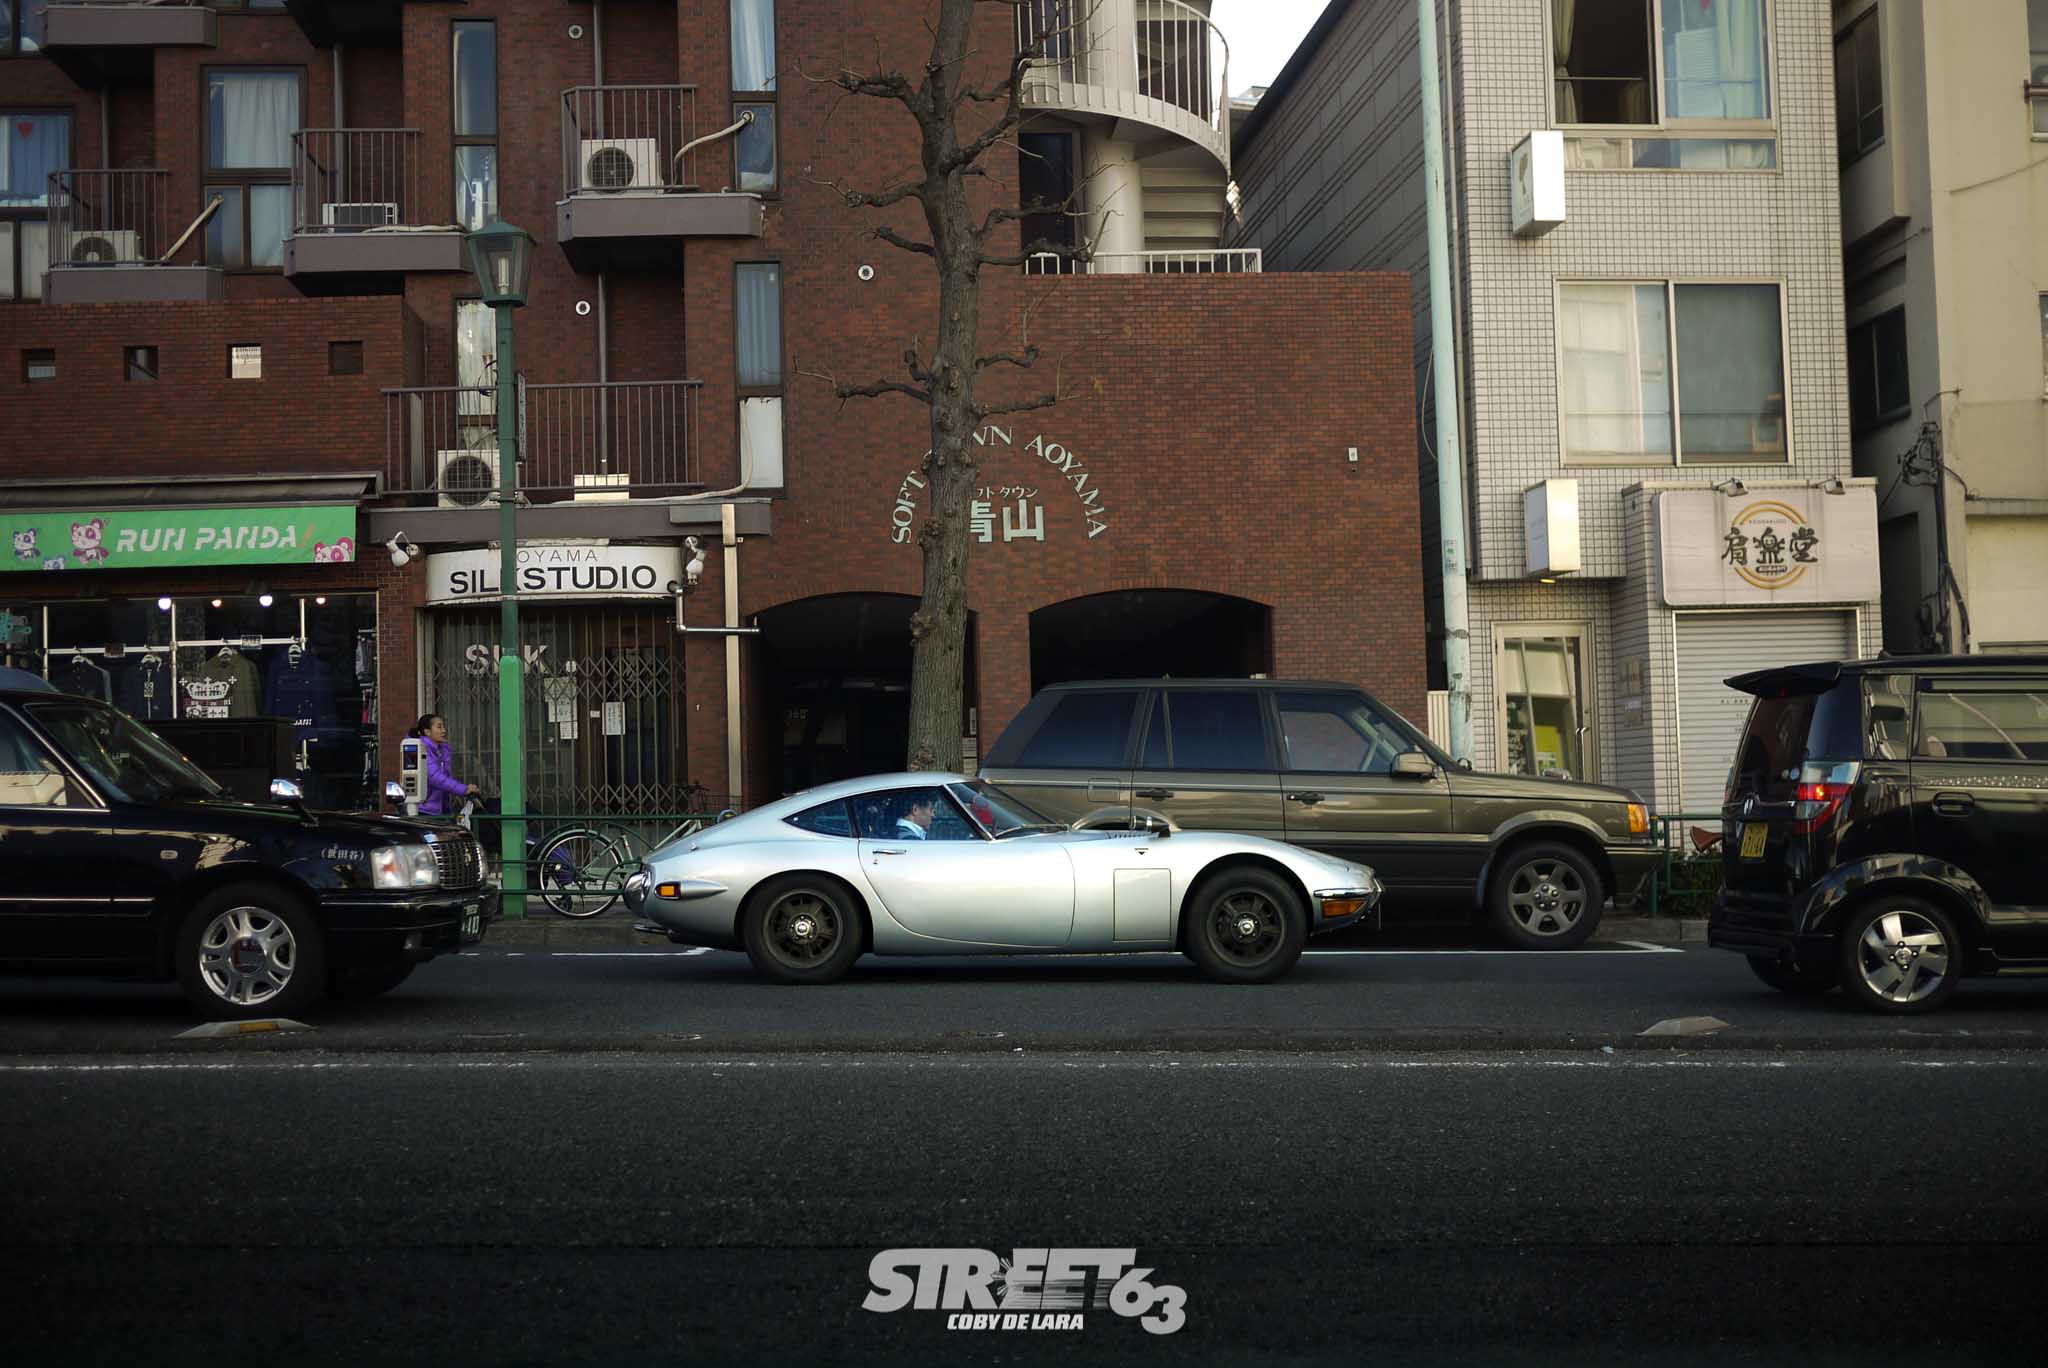
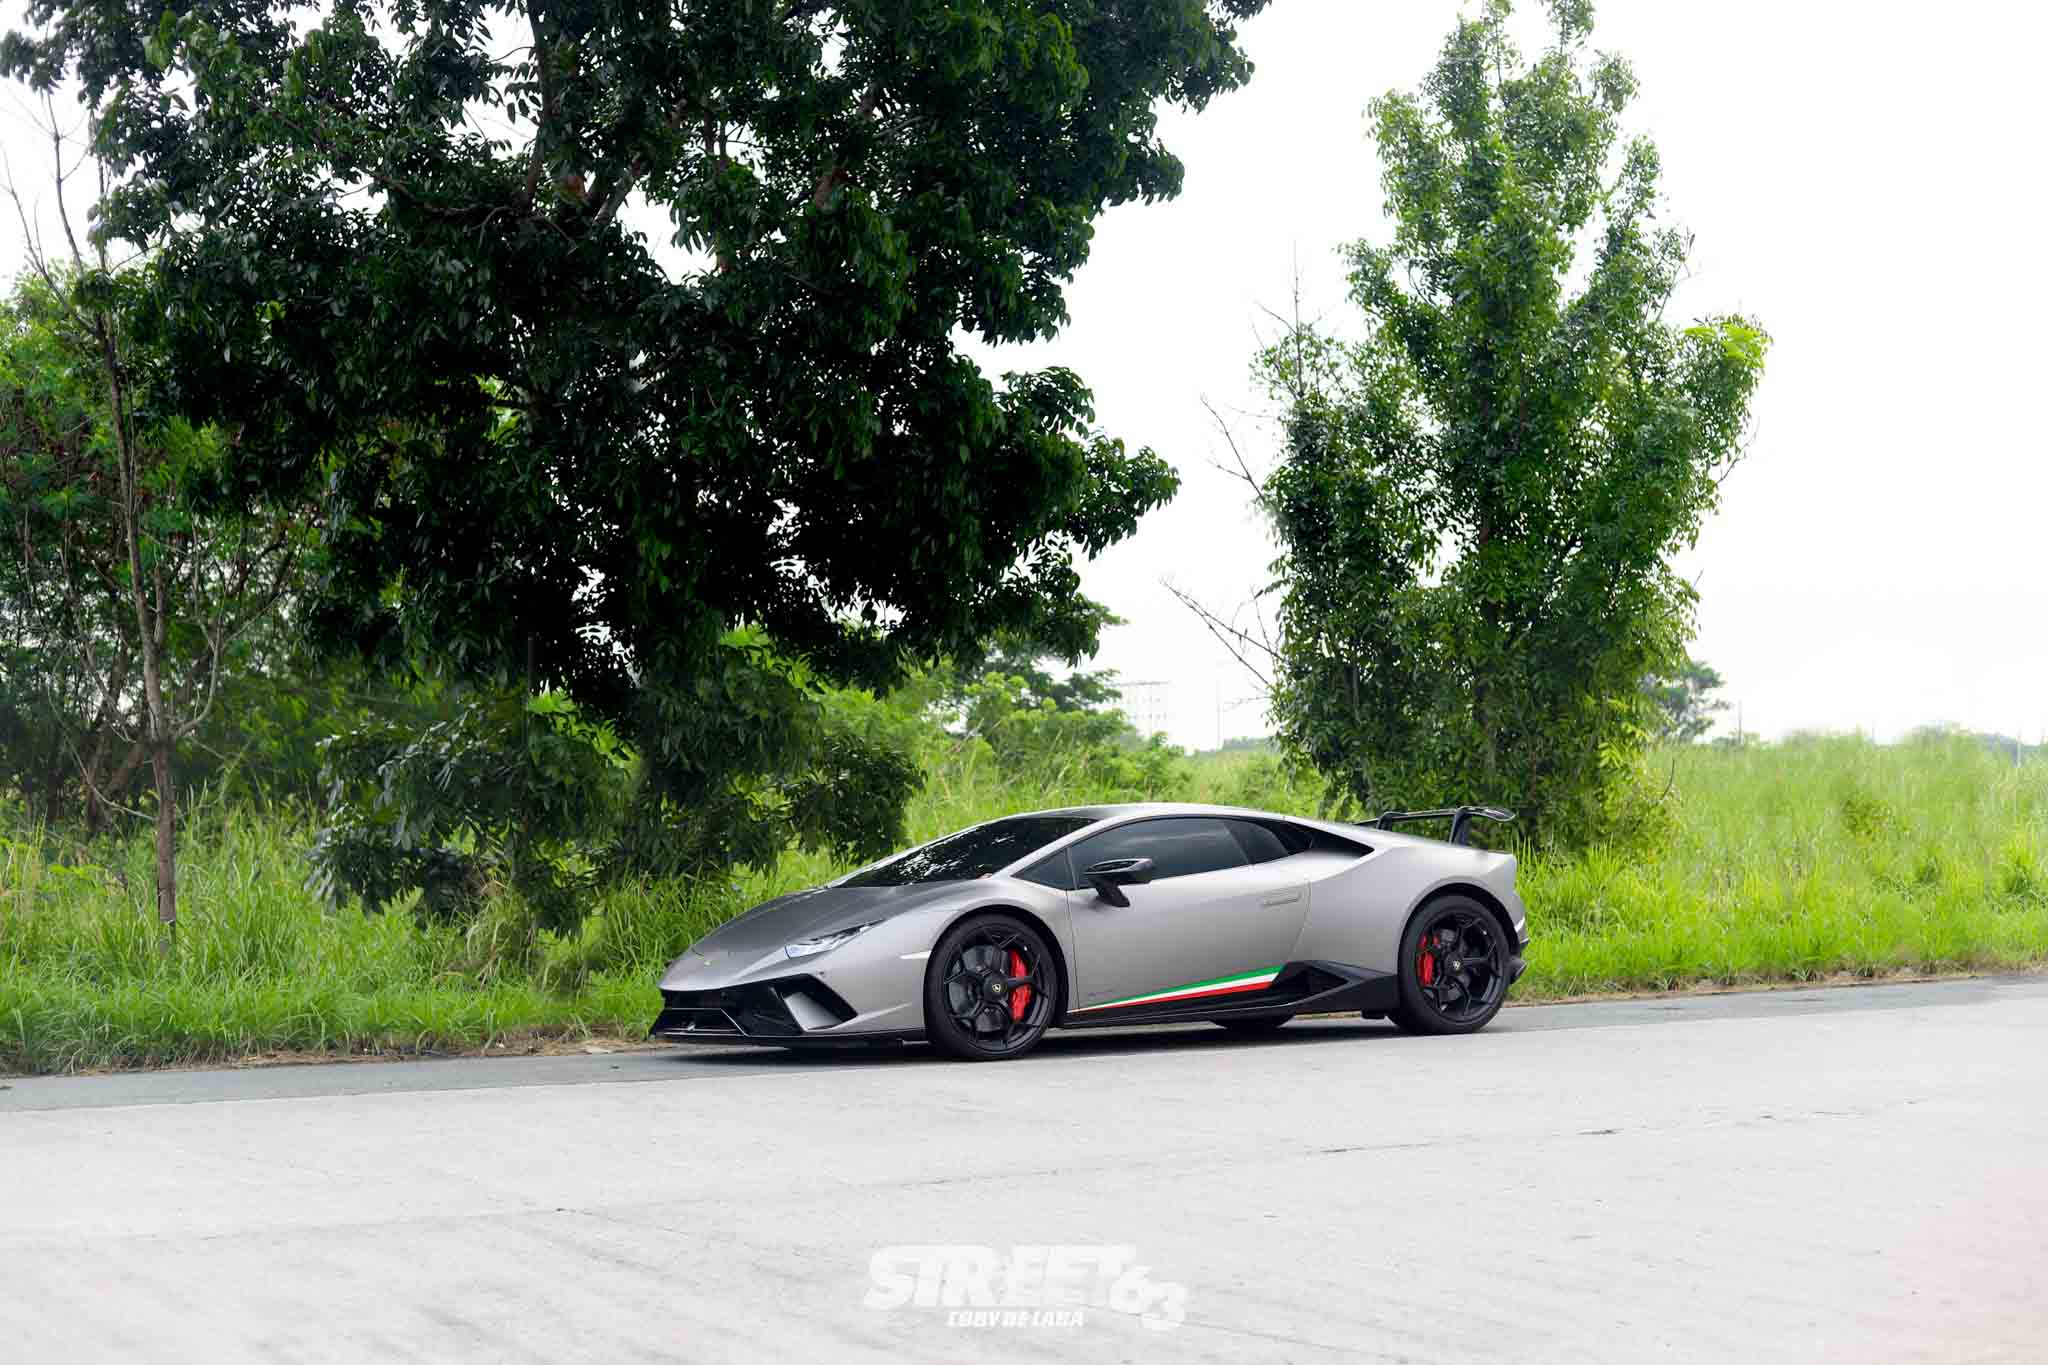
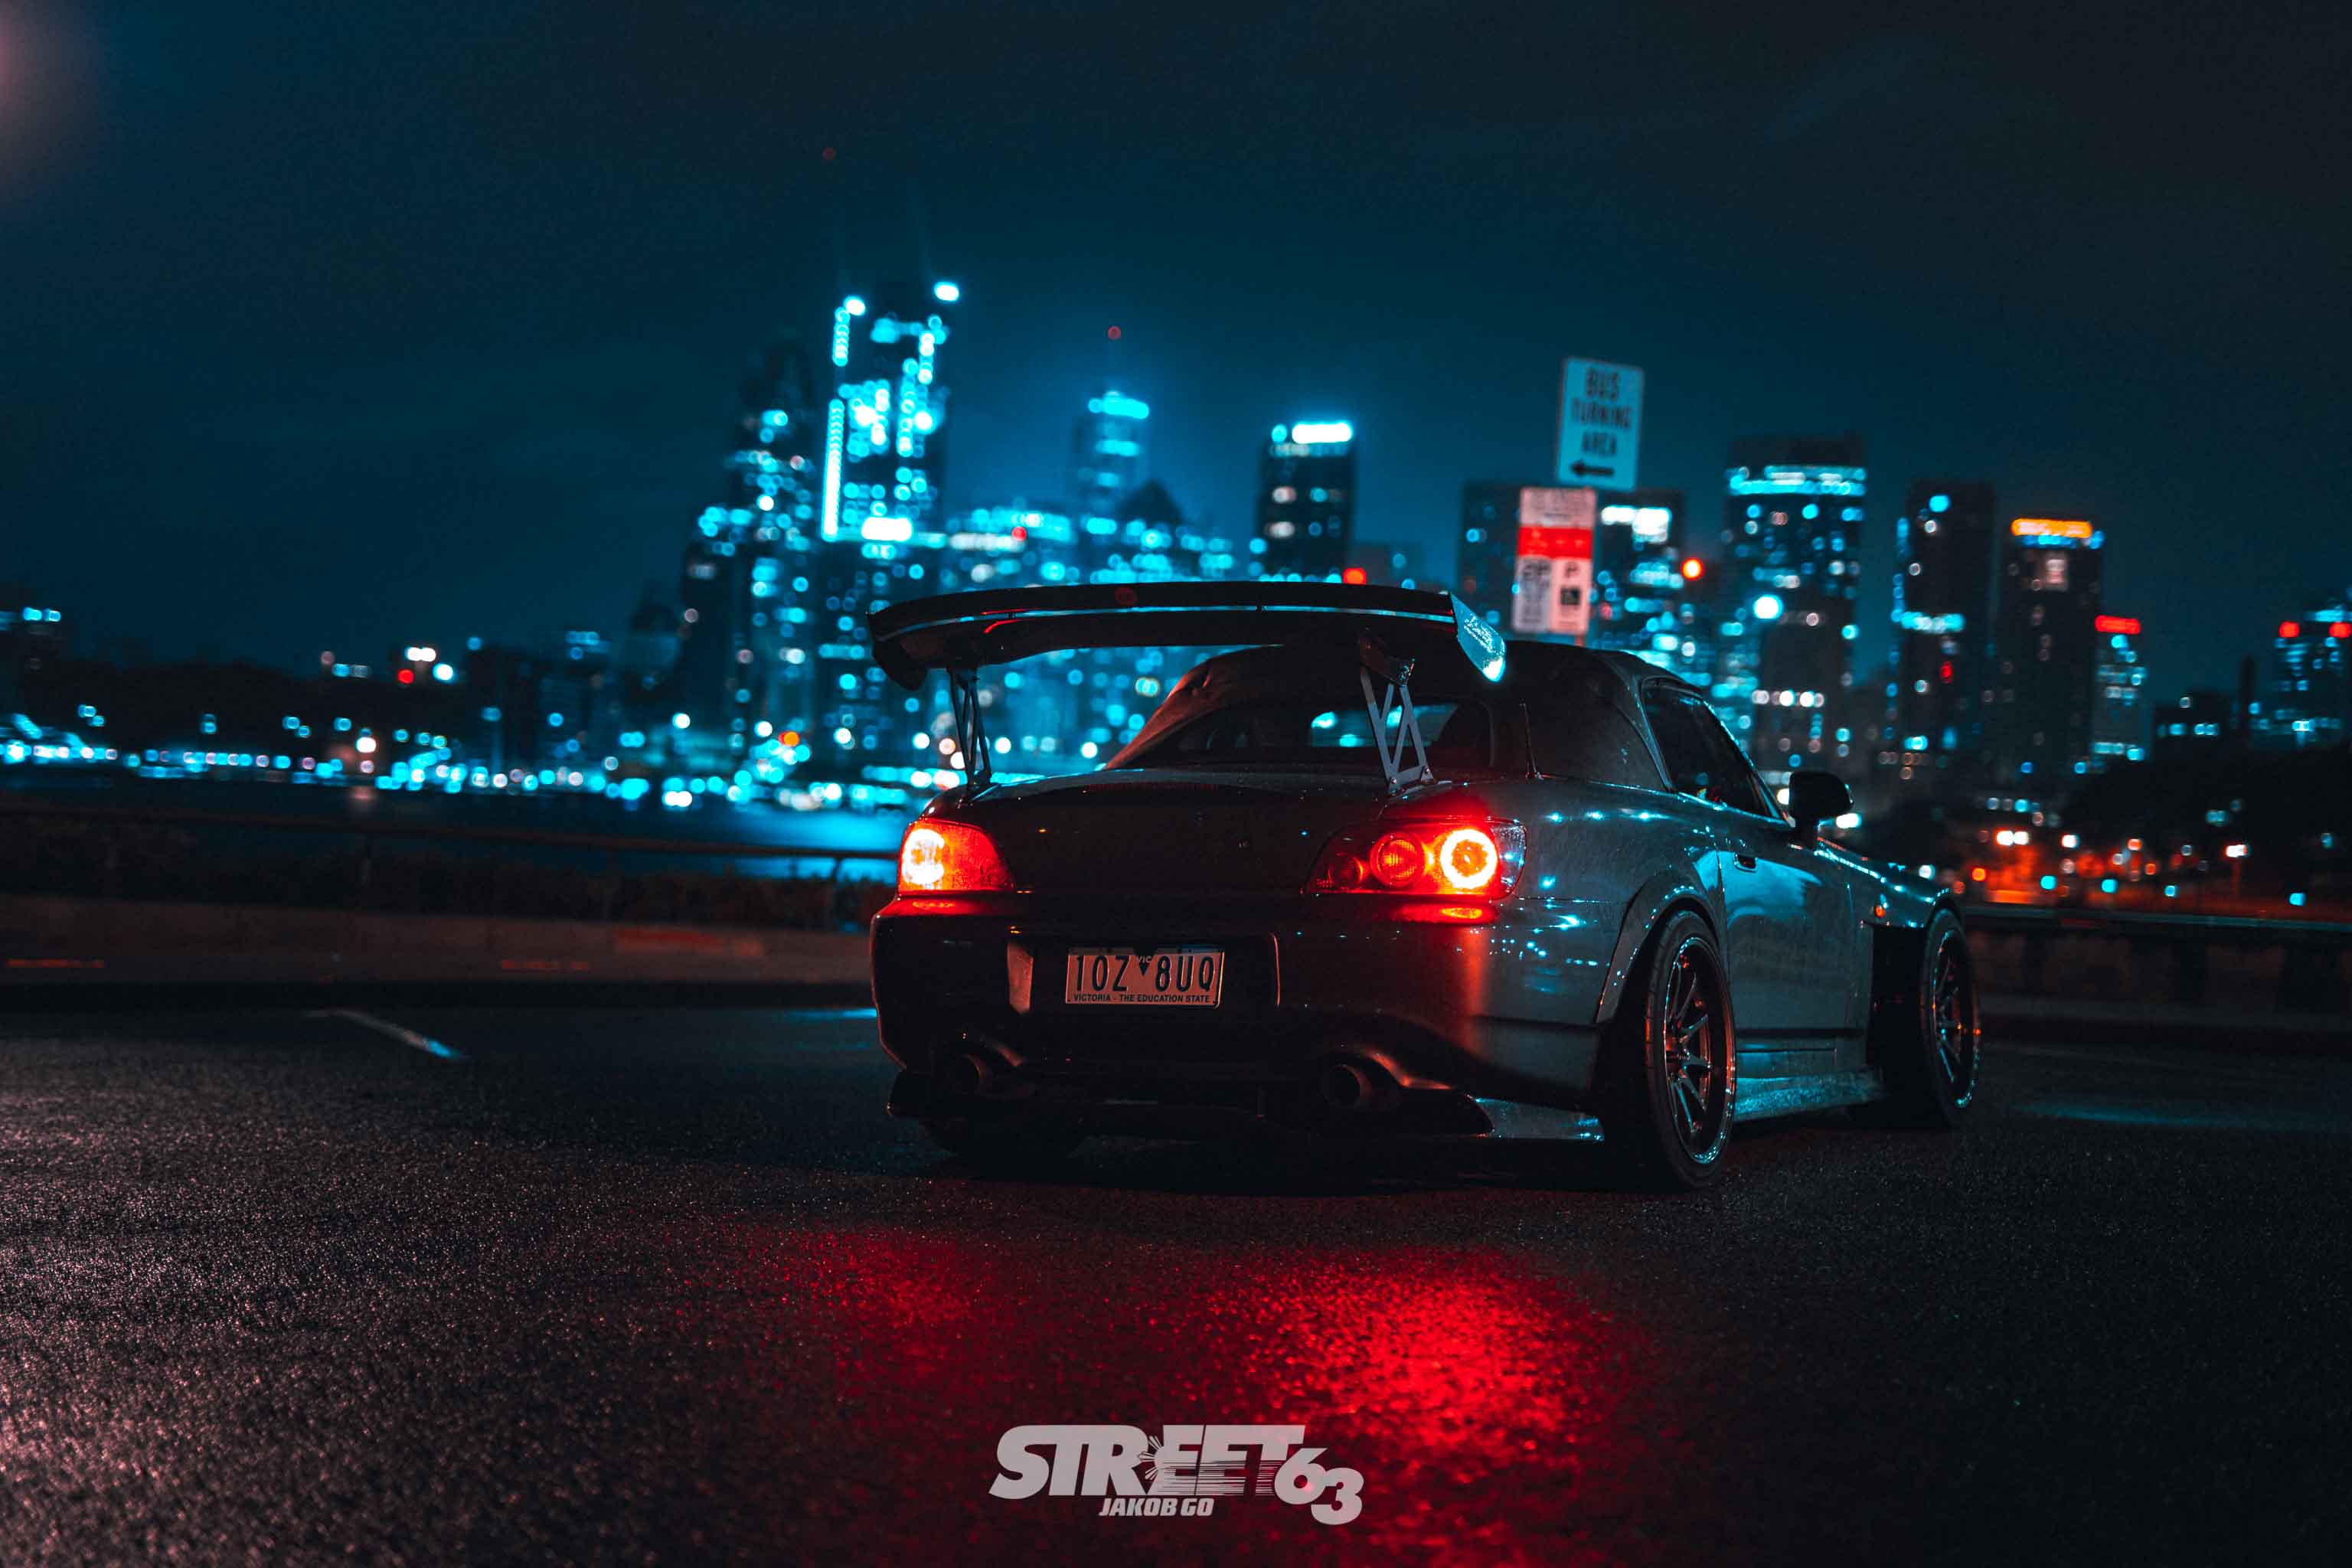
On the other hand, Jakob’s style is different. The style he aims to achieve when having a photo edited should be unique, something that has never been seen before. This is why his photos have a very heavy influence on colors in the final product of his edits.
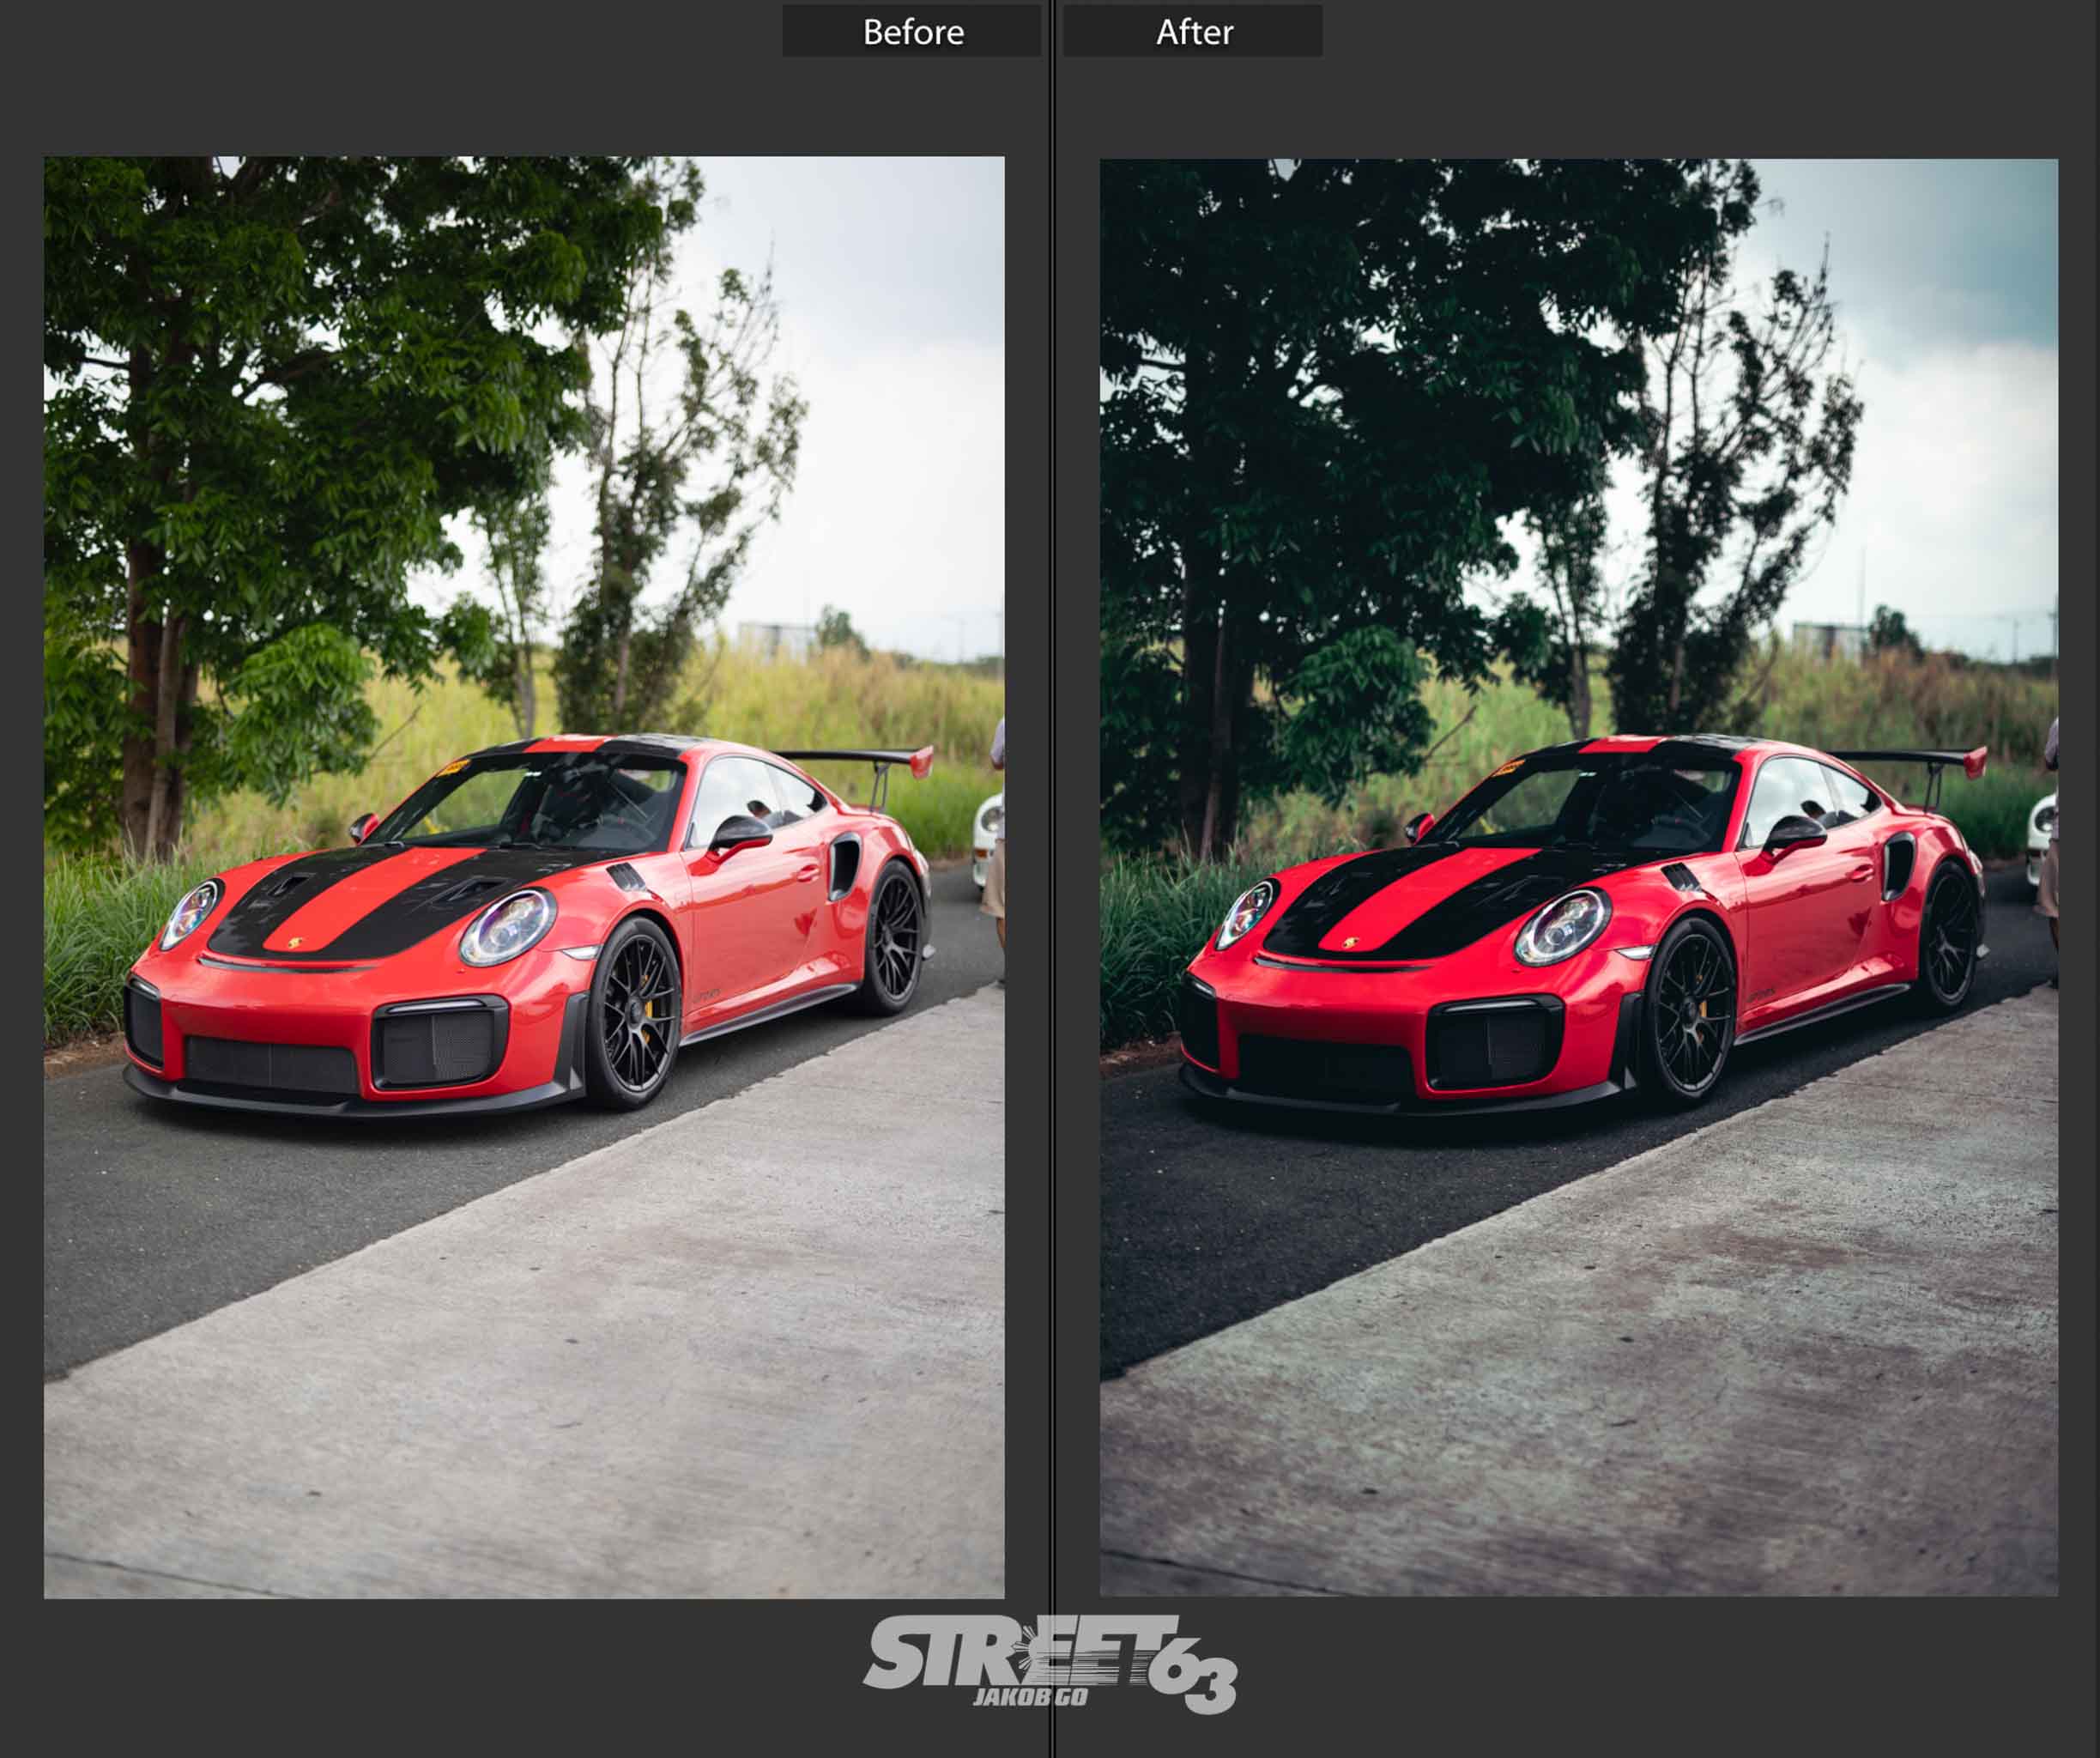
Exposure No, this is not the exposure people want to give when they can’t pay for a photoshoot. By this I mean the brightness and contrast aspects of your photo that can be adjusted in Adobe Lightroom by simply using a slider. Exposure is a very important factor when editing because it sets the overall mood or tone of a photograph. For instance, a bright photo can set a lively and vibrant mood whereas a darker photo can portray a gloomier and moodier setting.
Clarity Clarity is something I see that as either overused or sufficiently-used in other photographers’ photos. Think about clarity as sugar when baking cookies. If there’s too much sugar the cookie will be too sweet, if it’s sufficiently-used then the cookie will be too salty. Just like baking, there needs to be the right amount of “sugar” to make it tasteful to the eye of the viewer. In photography terms, it makes the subject look well refined. My advice when adding clarity to the mix would be to make sure the subject doesn’t look like it has an HDR effect on the surface of the car.
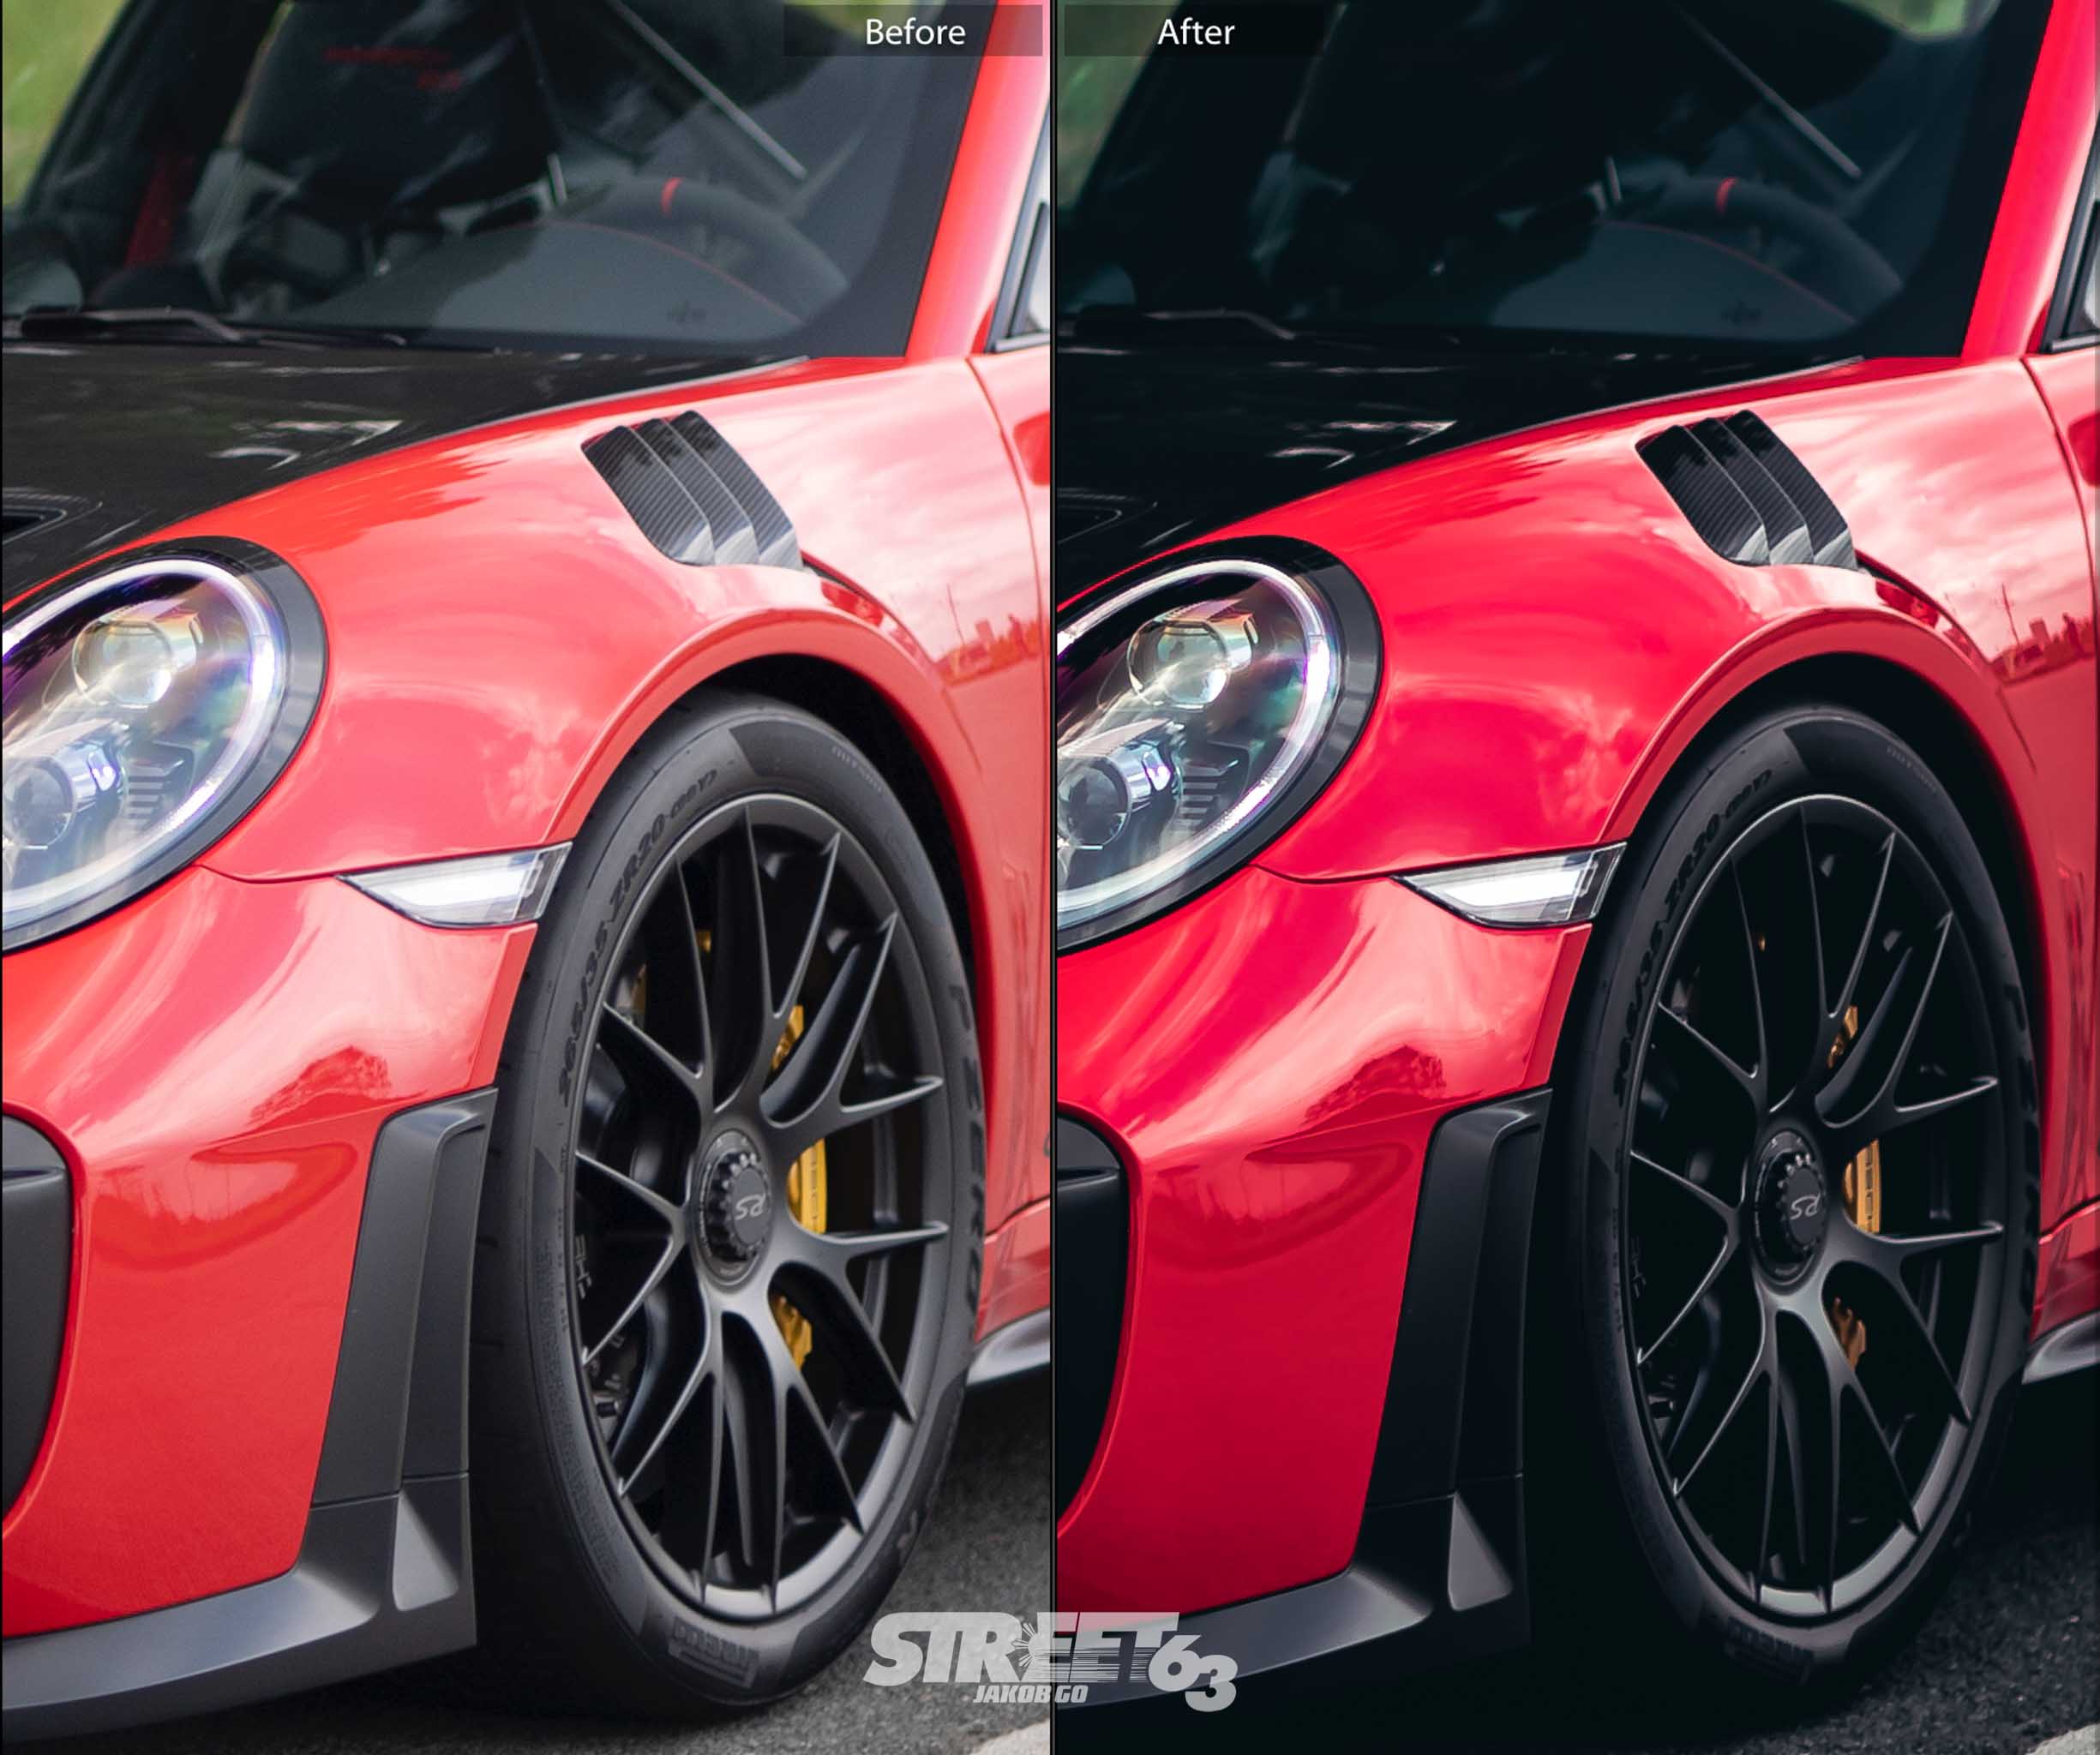
Colors / Tones Colors and Tones are somewhat my secret ingredient when it comes to editing a photo, not only does this have a heavy influence on the photo but it also impacts how the car is perceived in the view of the targeted audience. How do I know when to use color tones? That’s probably the most frequently asked question I get but I can’t say, even I have a hard time applying tones. But, the answer I can give is as long as it’s aesthetically pleasing to the eye then you’ve hit jackpot.
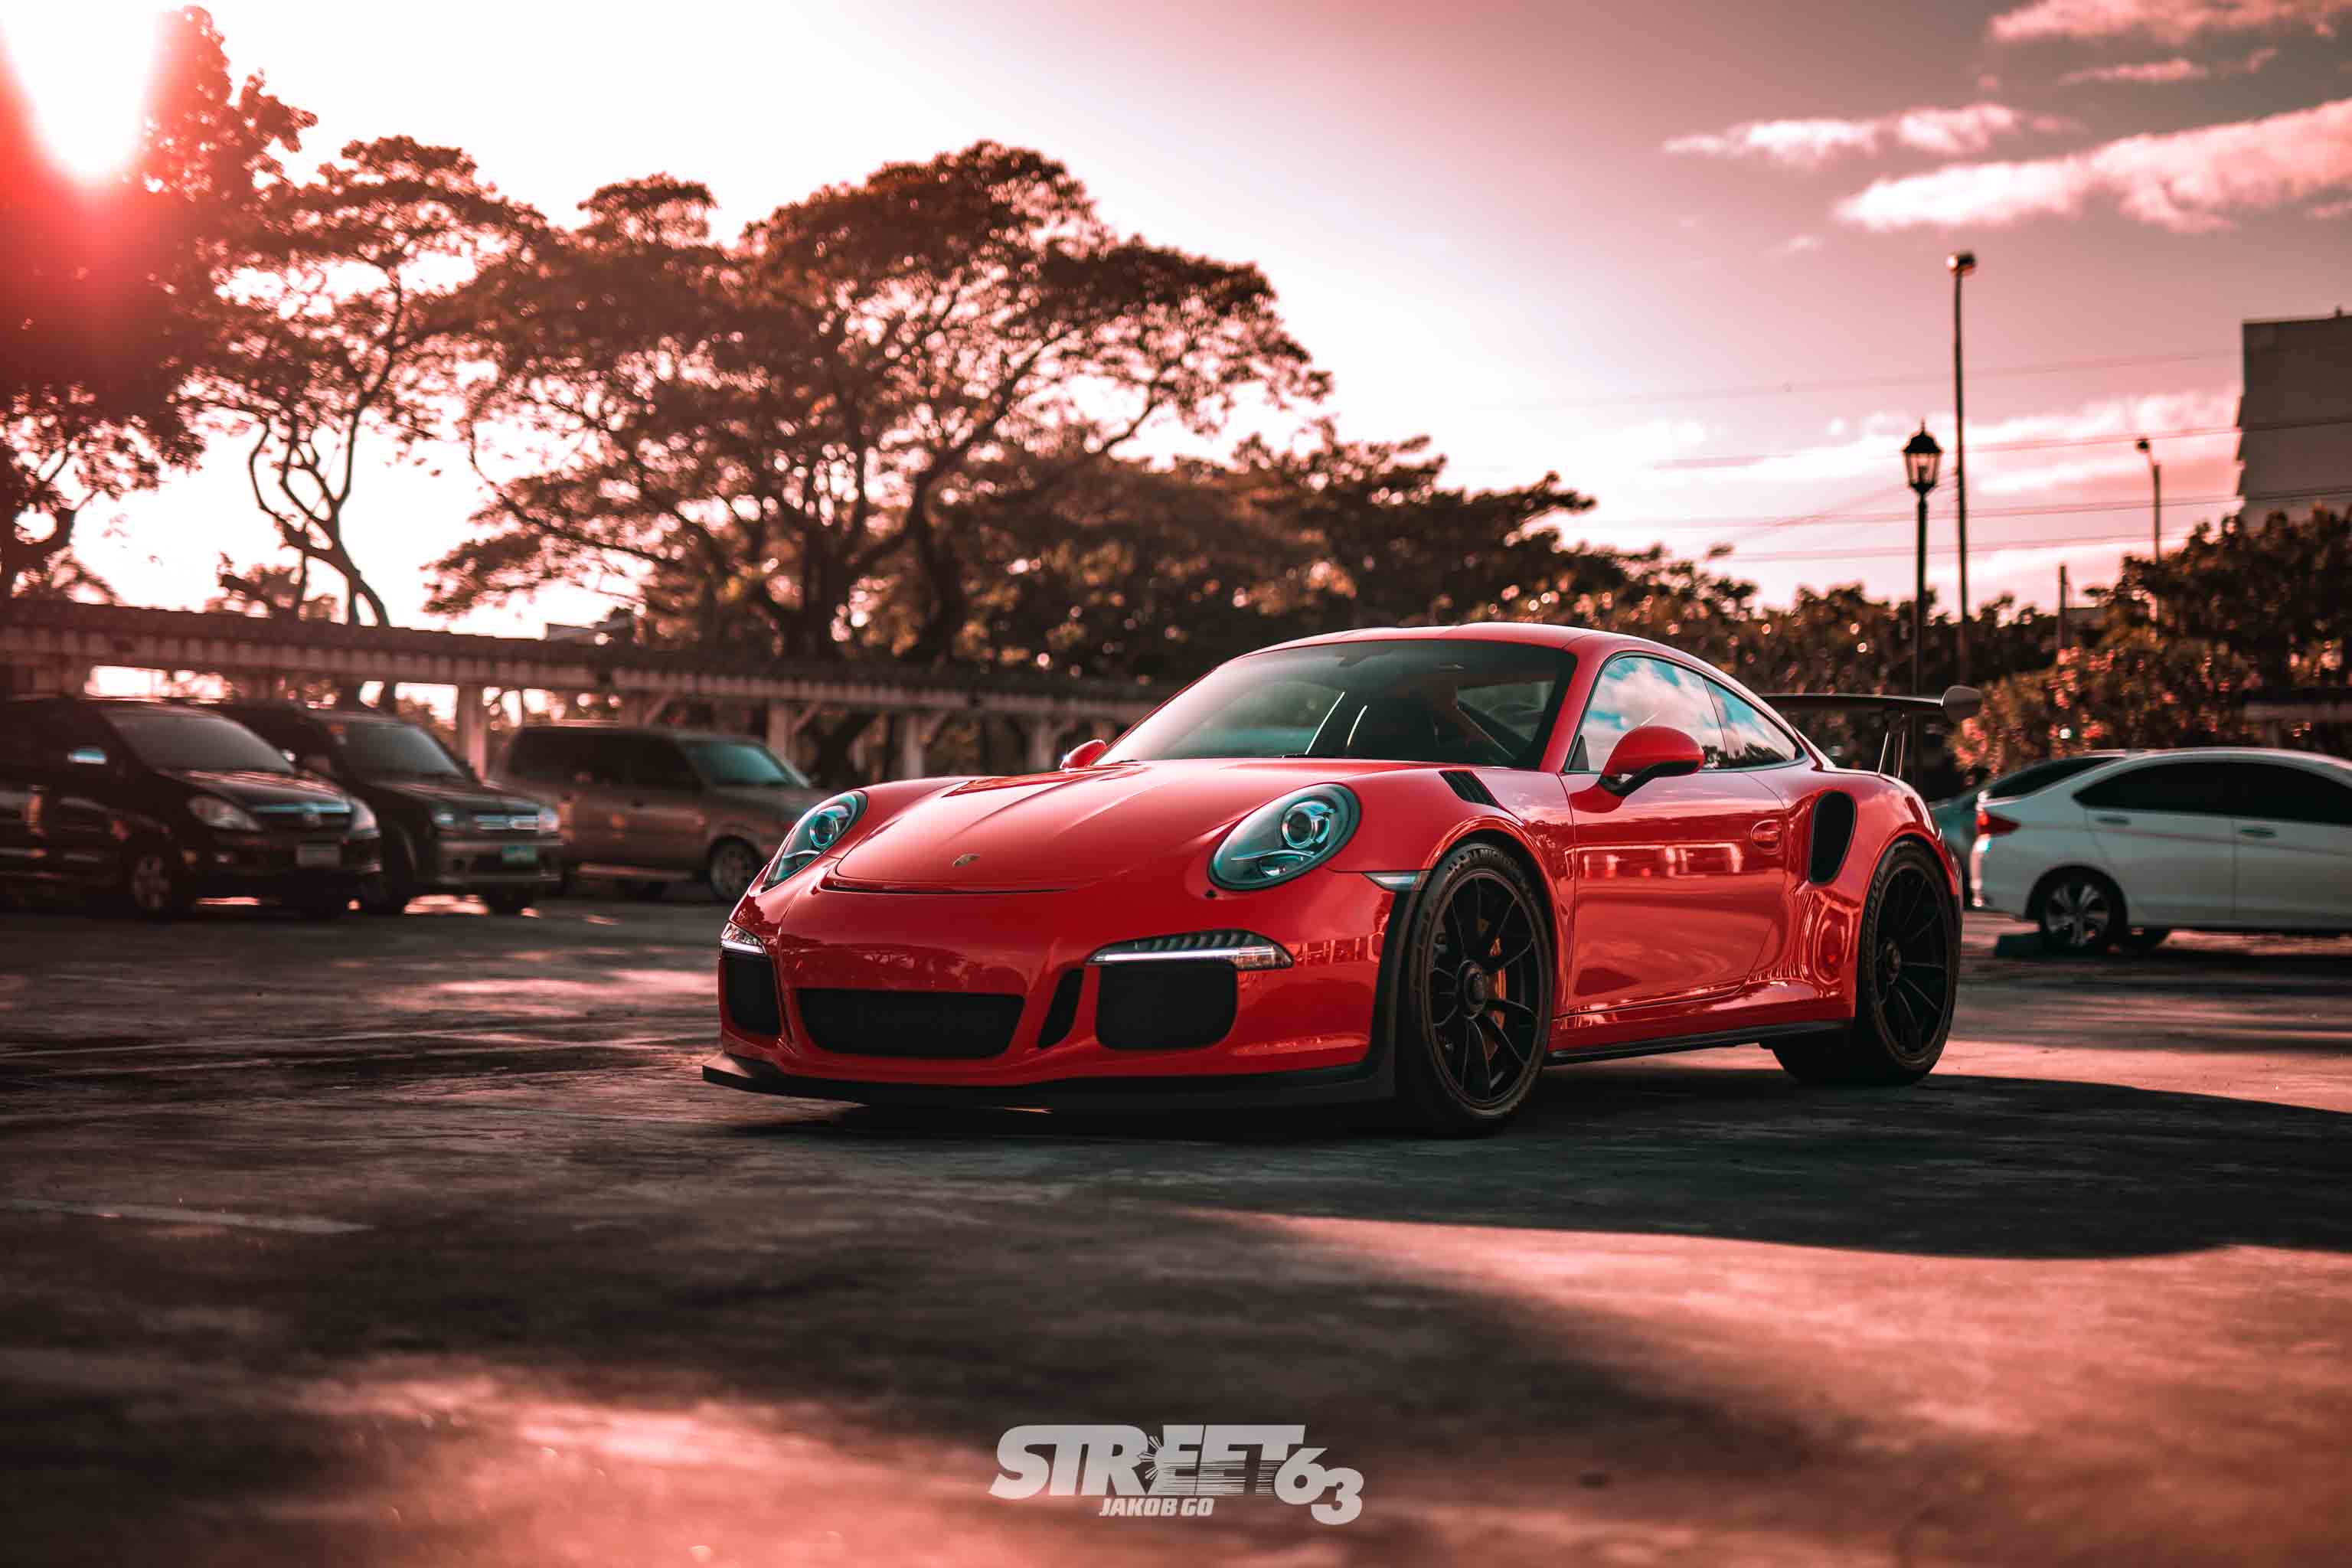
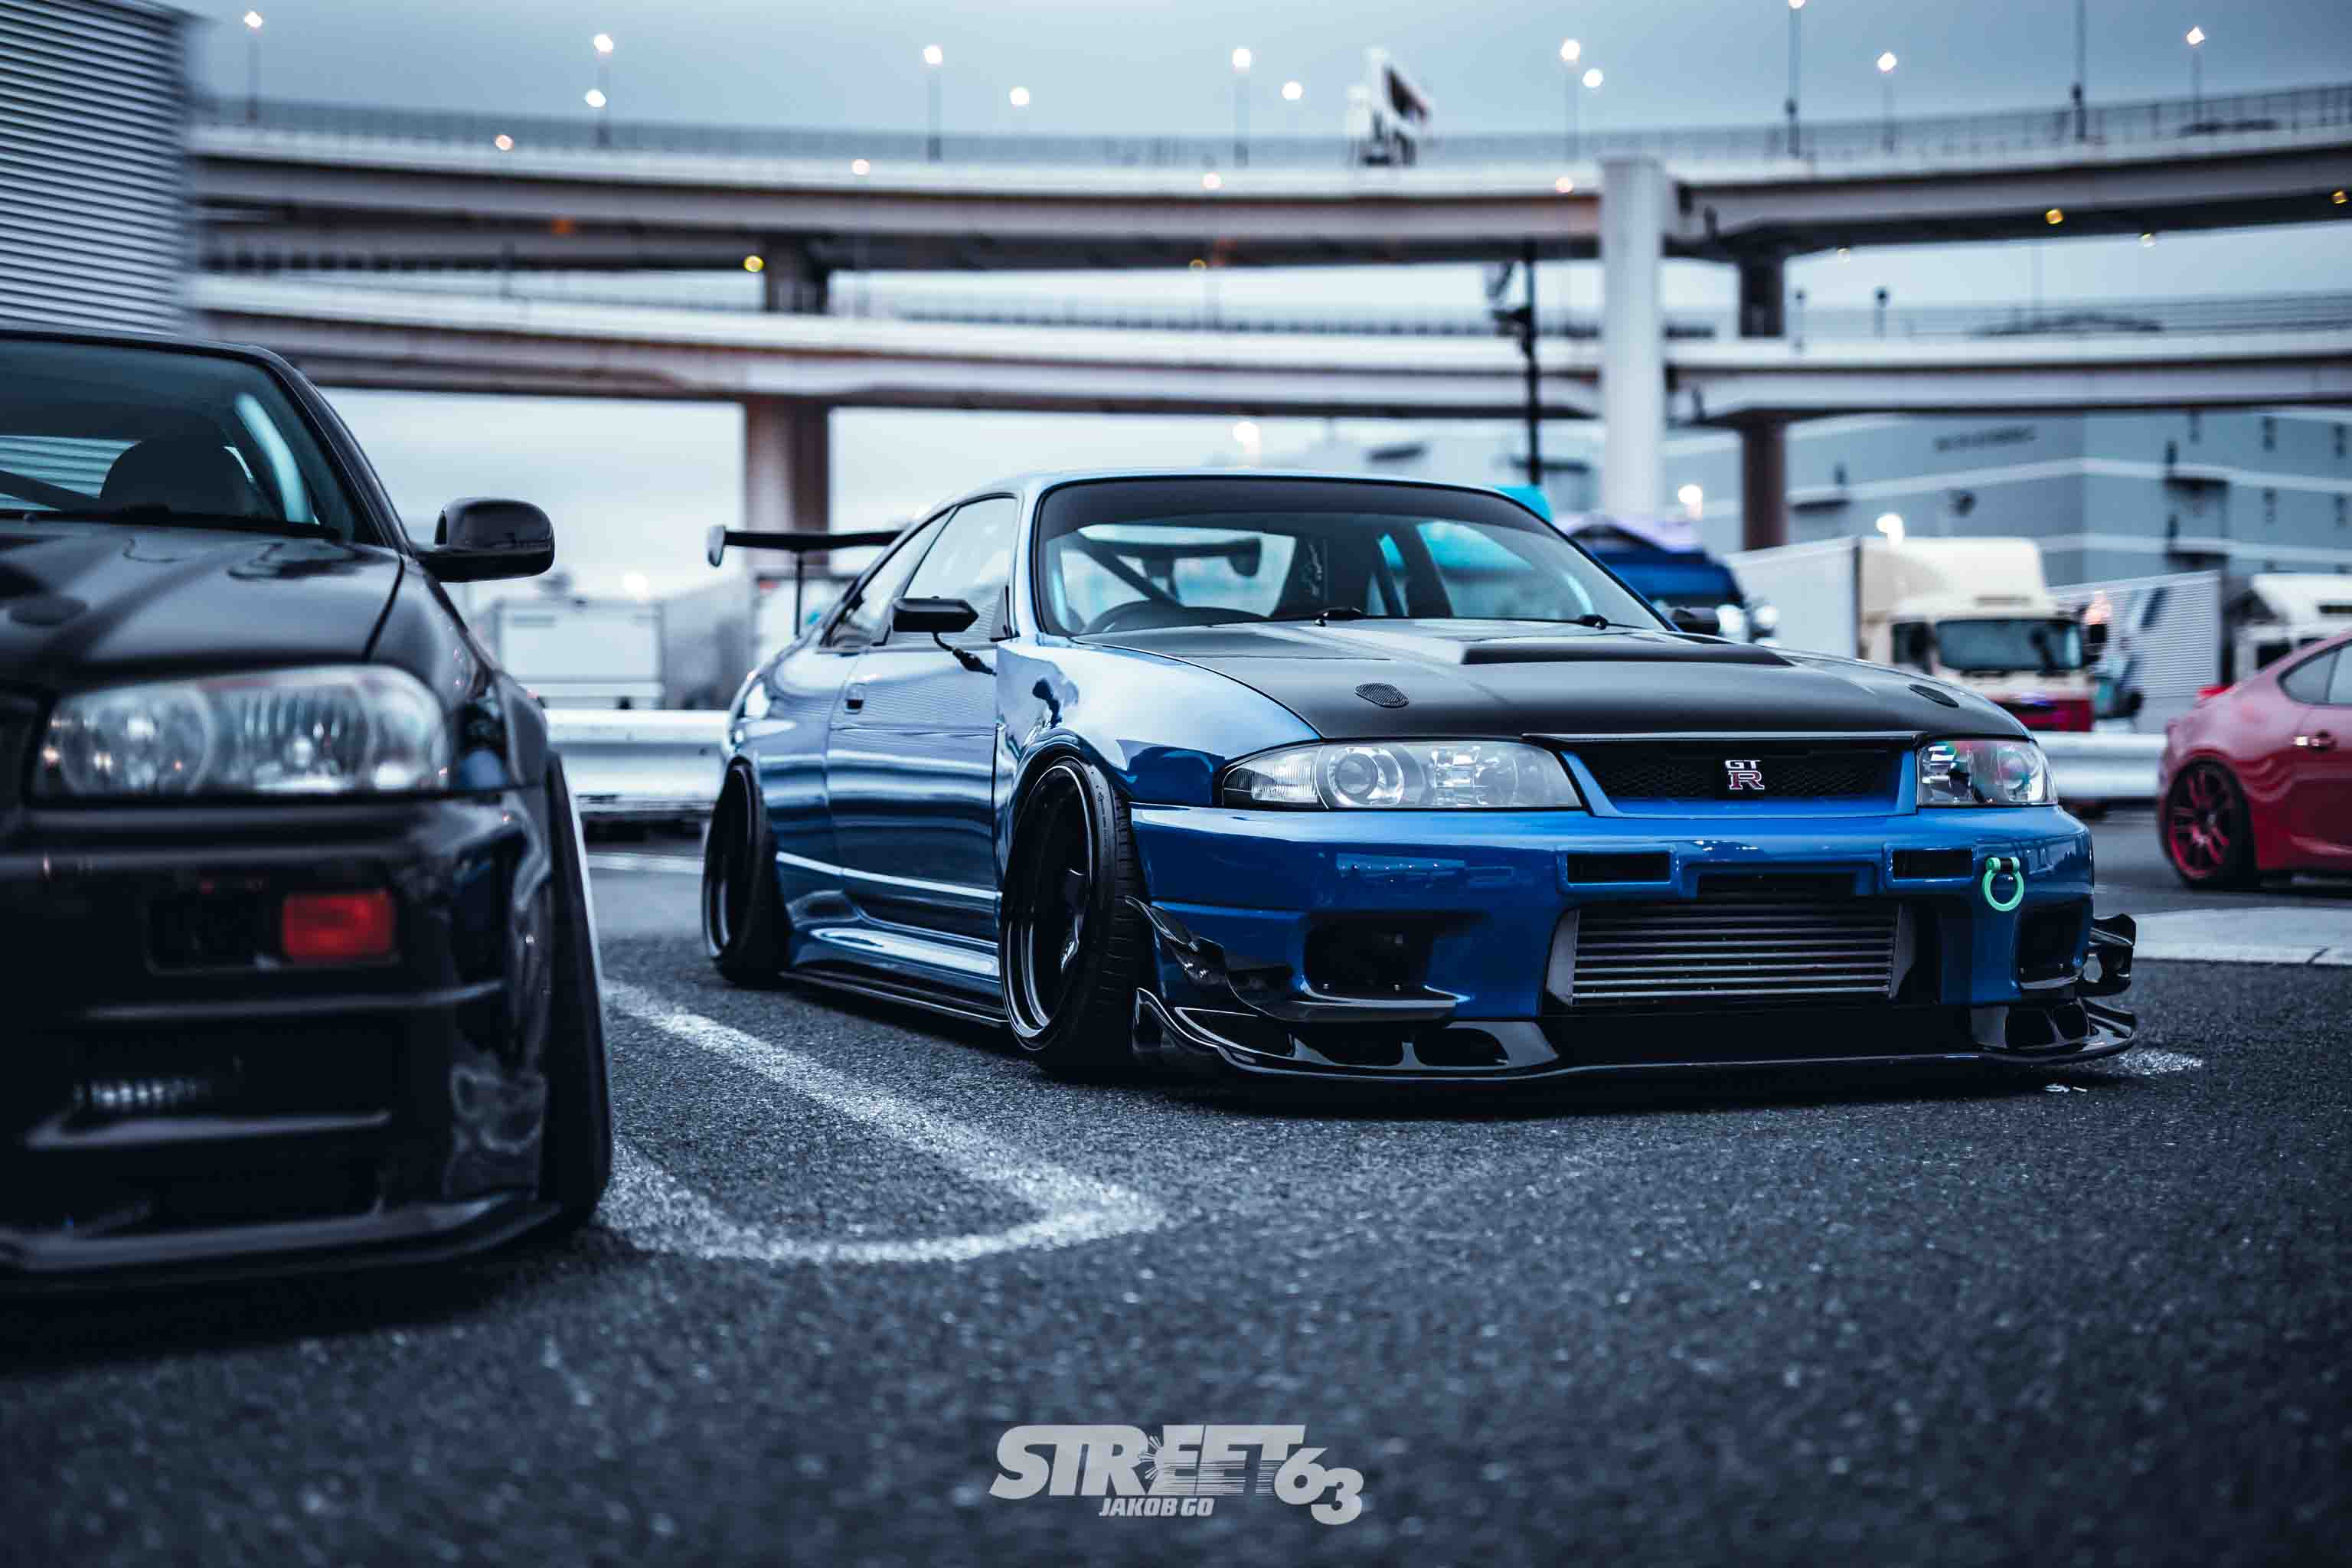
At the end of the day the output of the photo is dependent on your preferences and taste when it comes to post production. Coby personally chooses a simple yet clean style to capture the realism of the car. The feeling Jakob personally gets from Coby’s style is him being actually there with him when he goes around using his camera shooting cars - a good cue considering his realistic approach. Even though Coby’s style is simple, there are a lot of procedures he does when editing to maintain that realism effect.
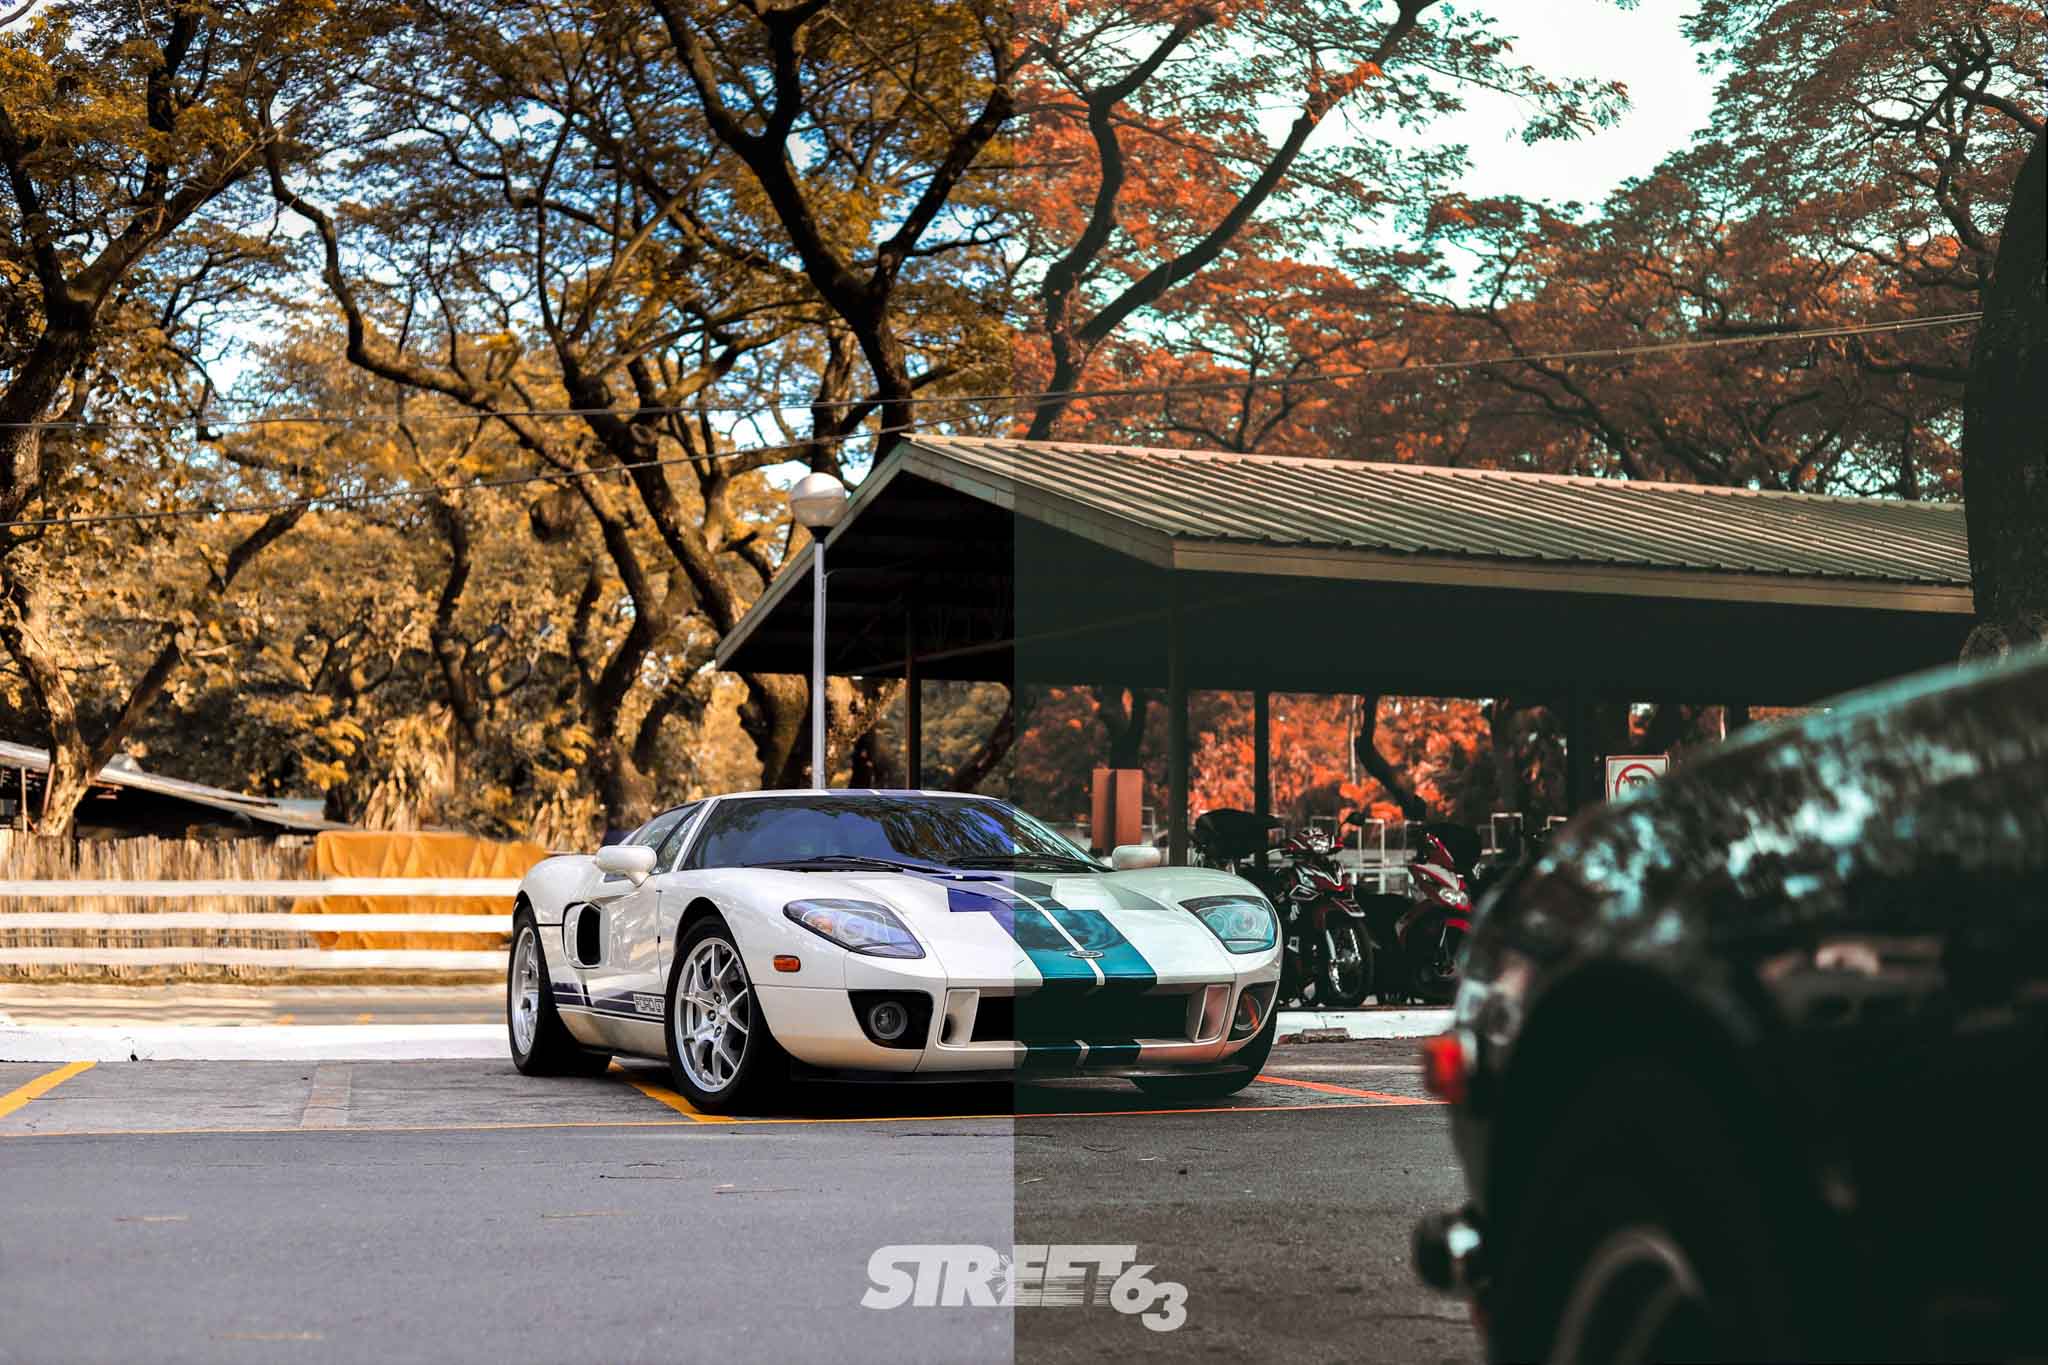
Jakob’s style on the other hand is something really different, a style that is controversial enough to be disliked by some other photographers. However, since they’re not the photographer, Jakob aims to have something wild in the creative process which brings out the specialty of the subject he shoots. This is why you can see a lot of photos that have cold or warm tones and nothing in between. Why? Because Jakob wants to emphasize everything that has been captured by his lens, from the background, distractions, and the subject.
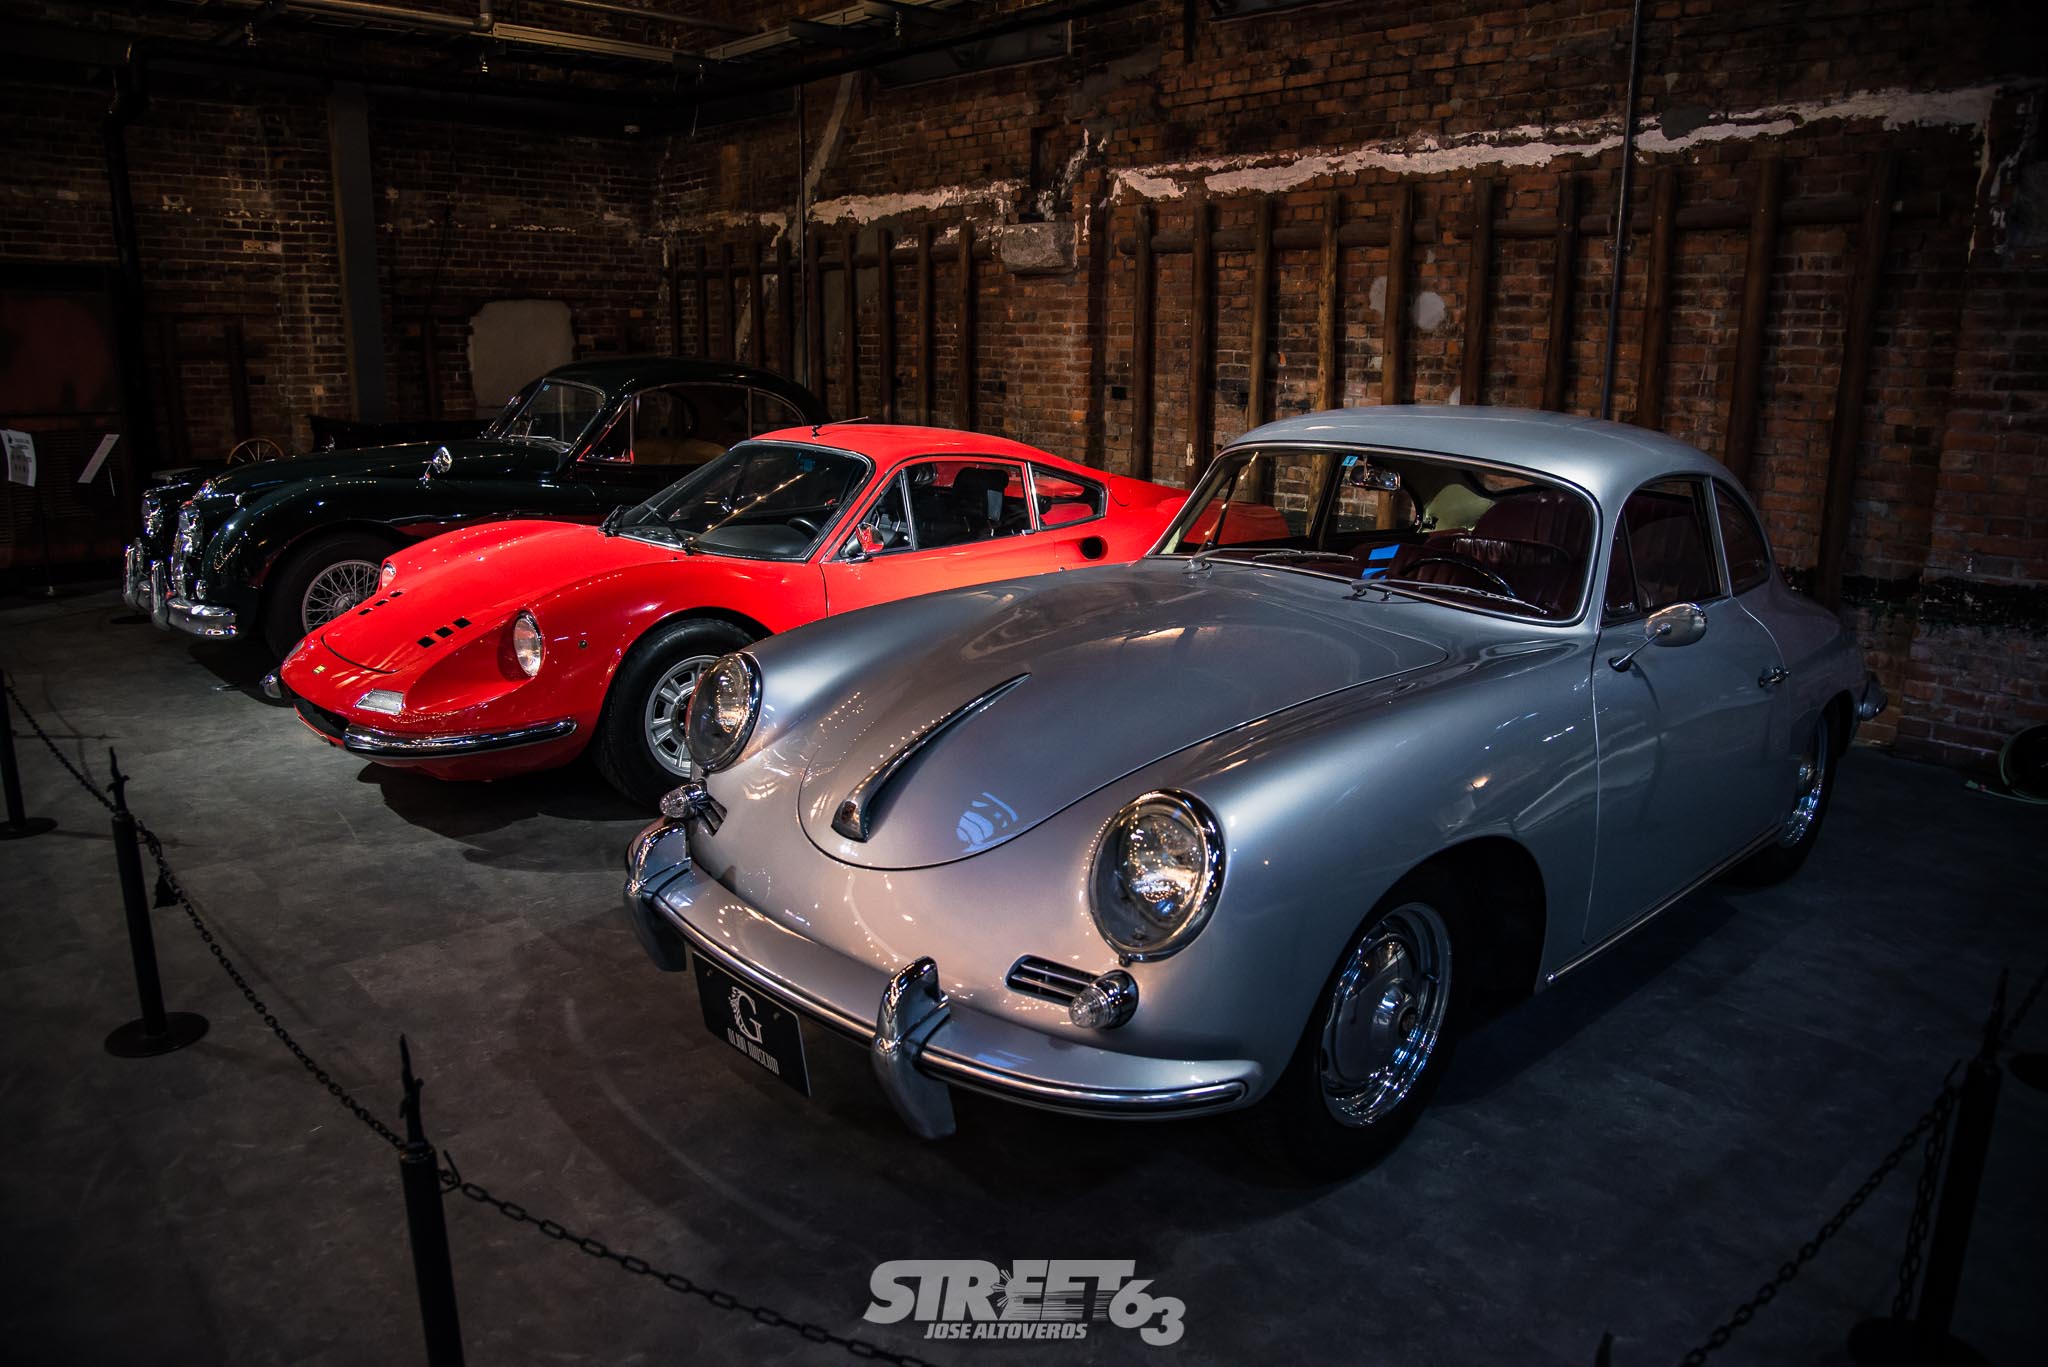
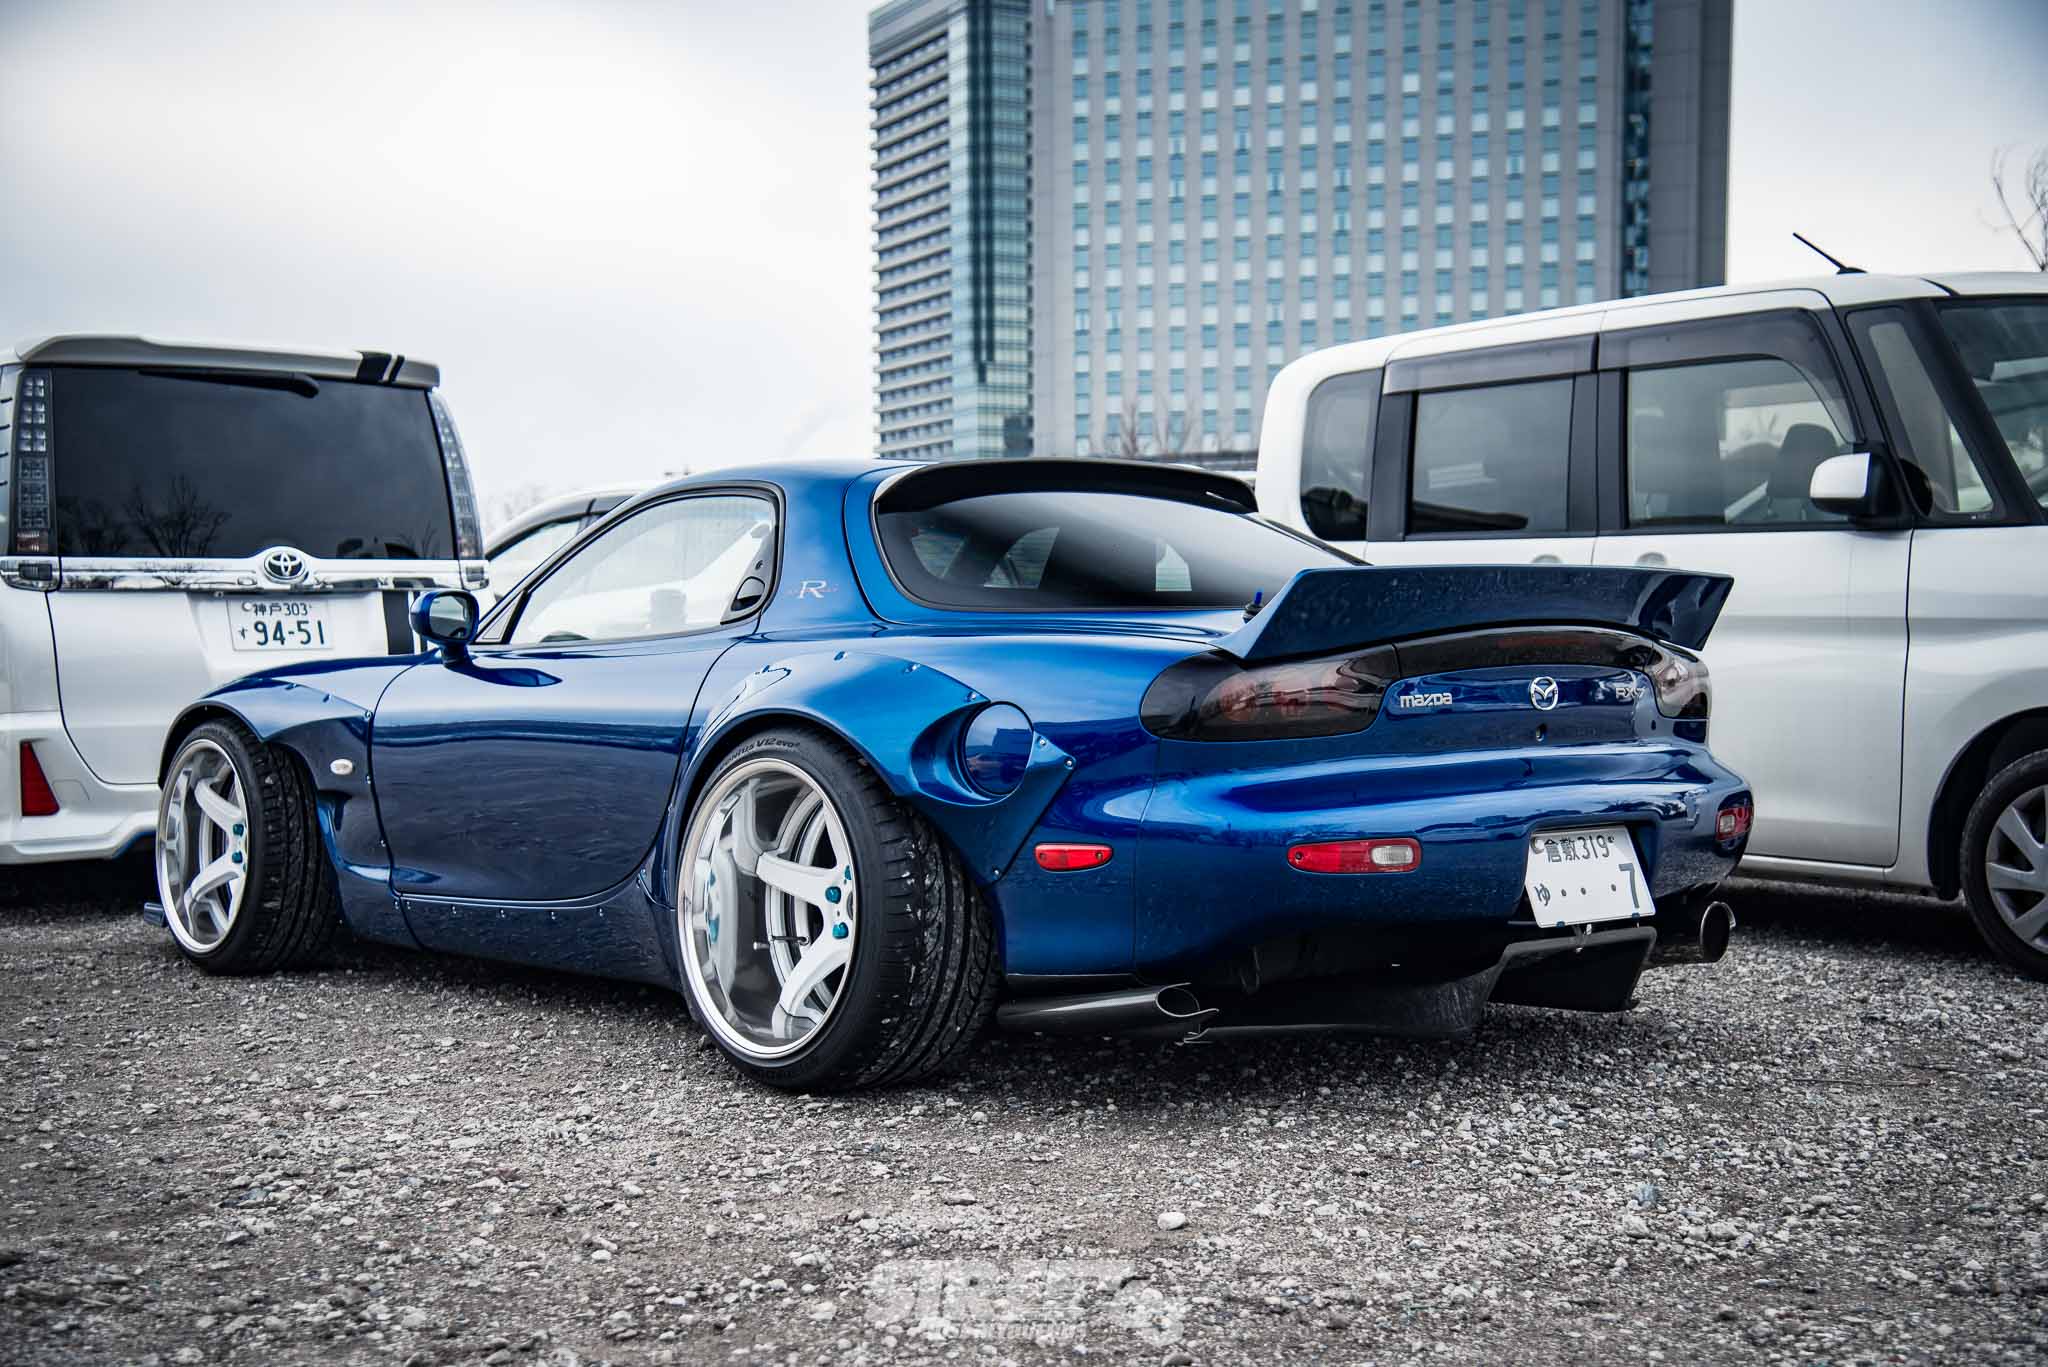
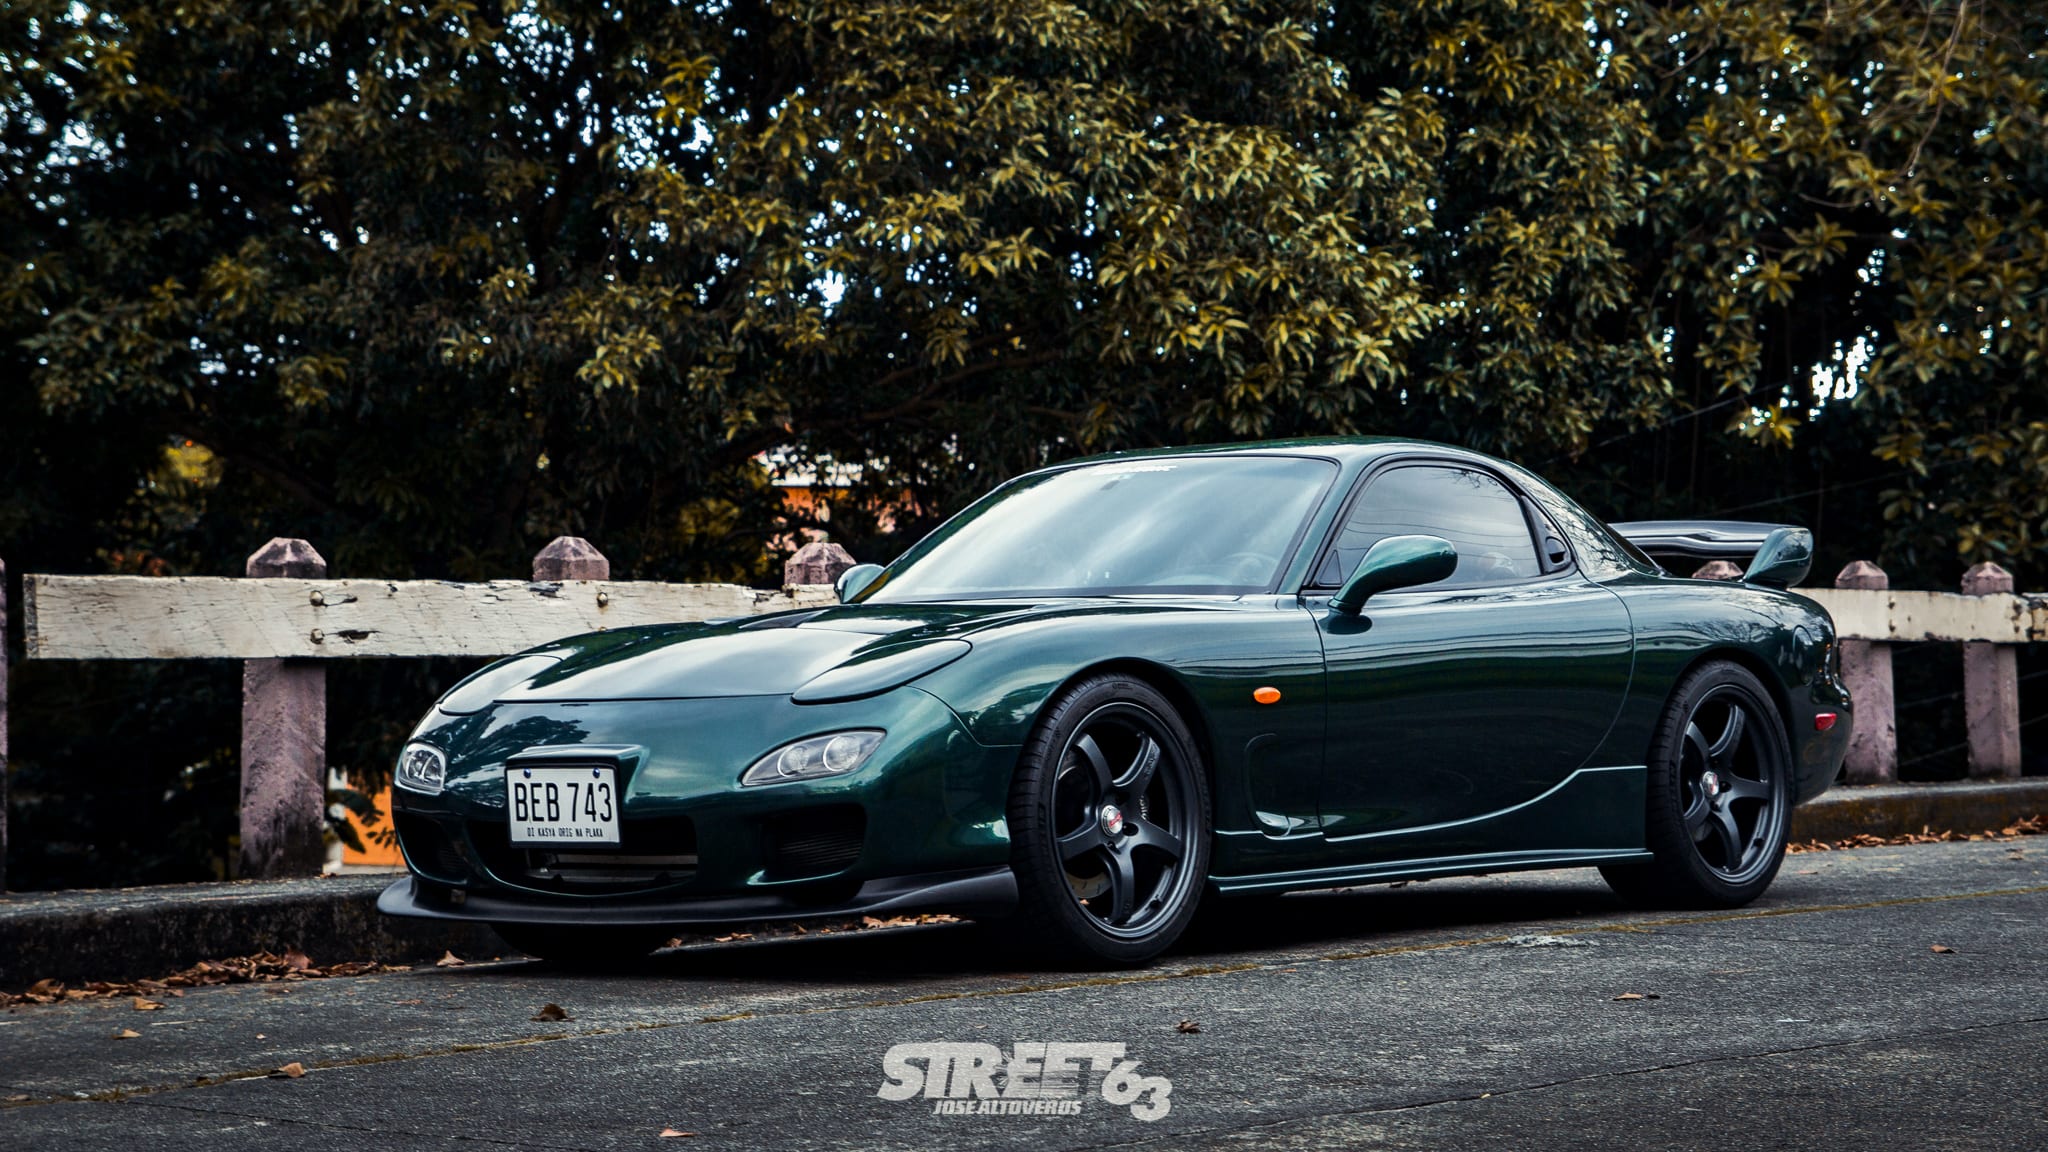
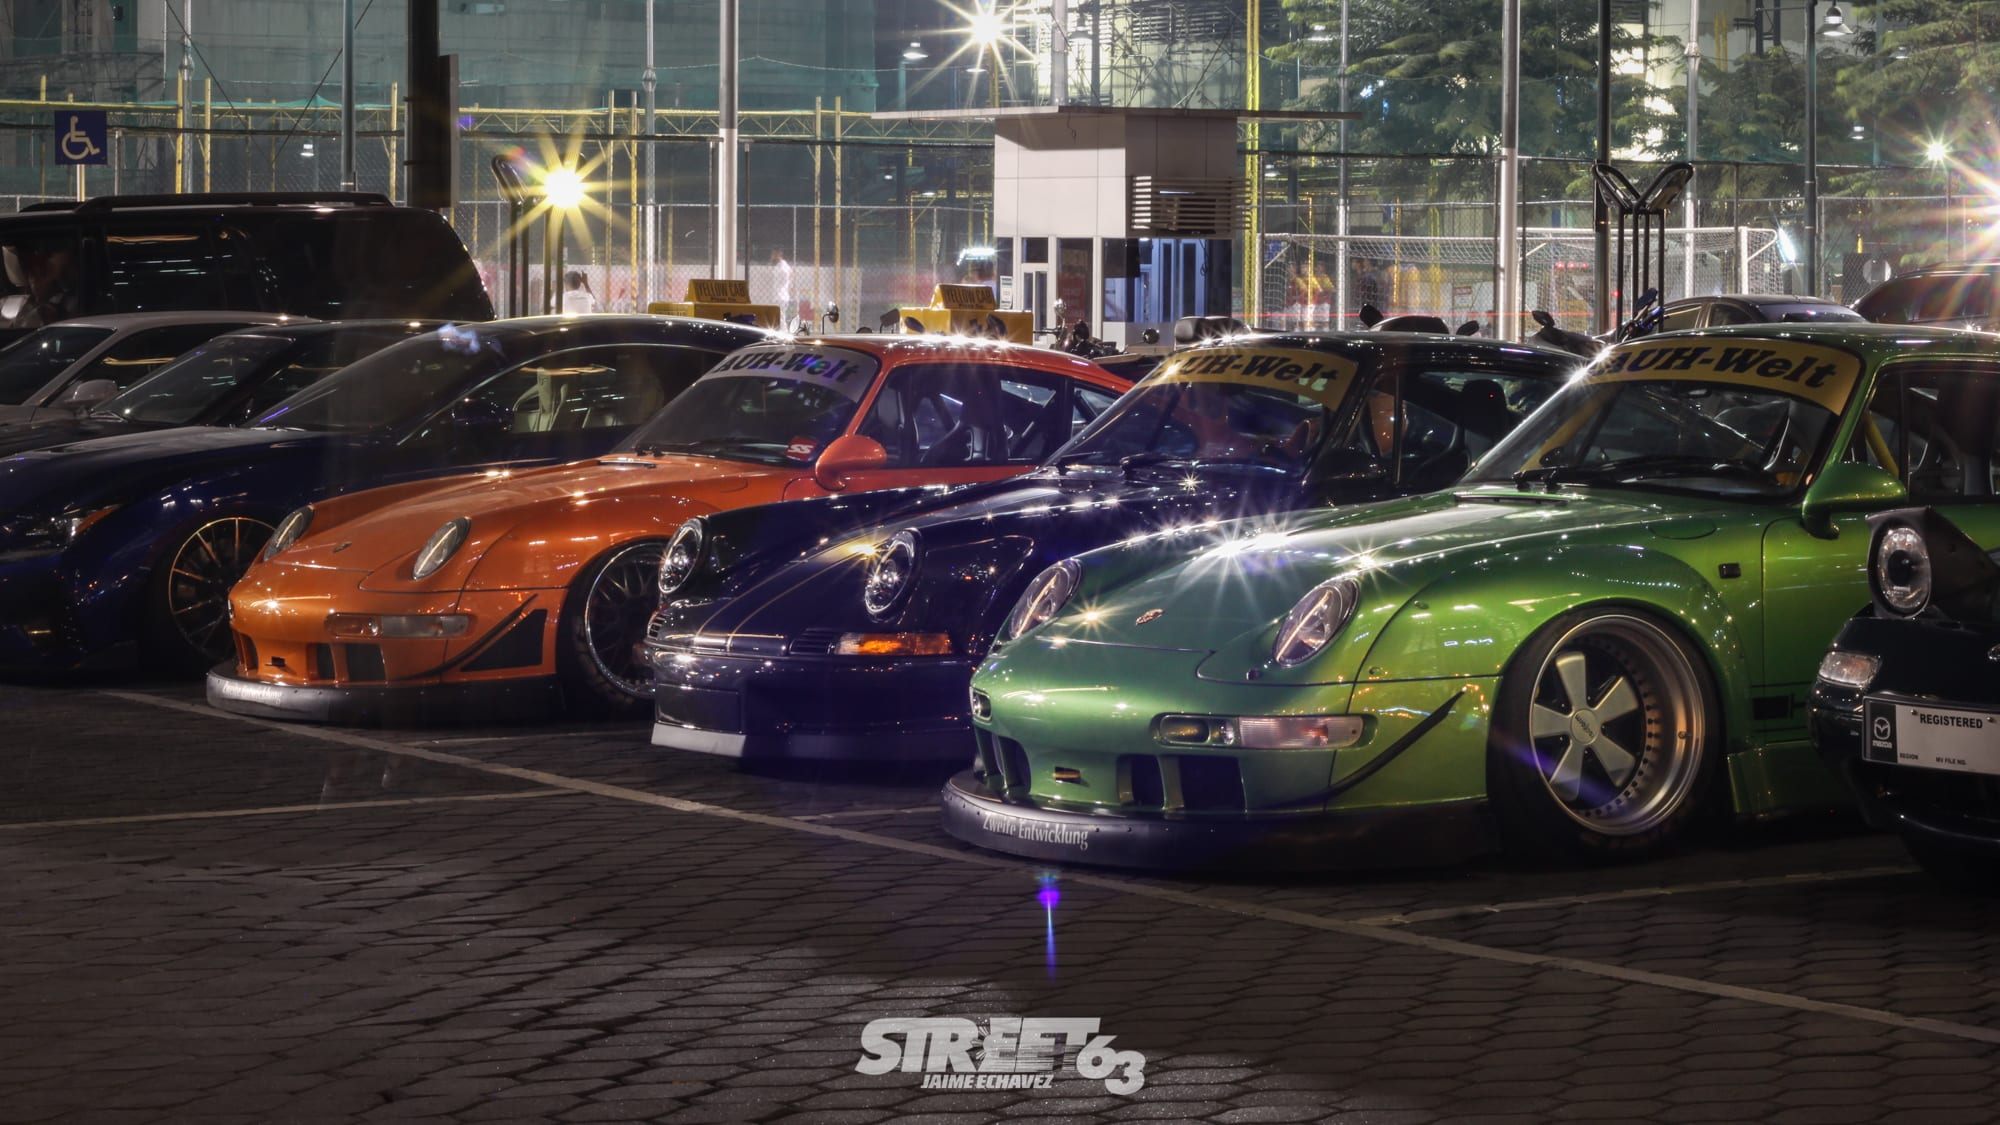
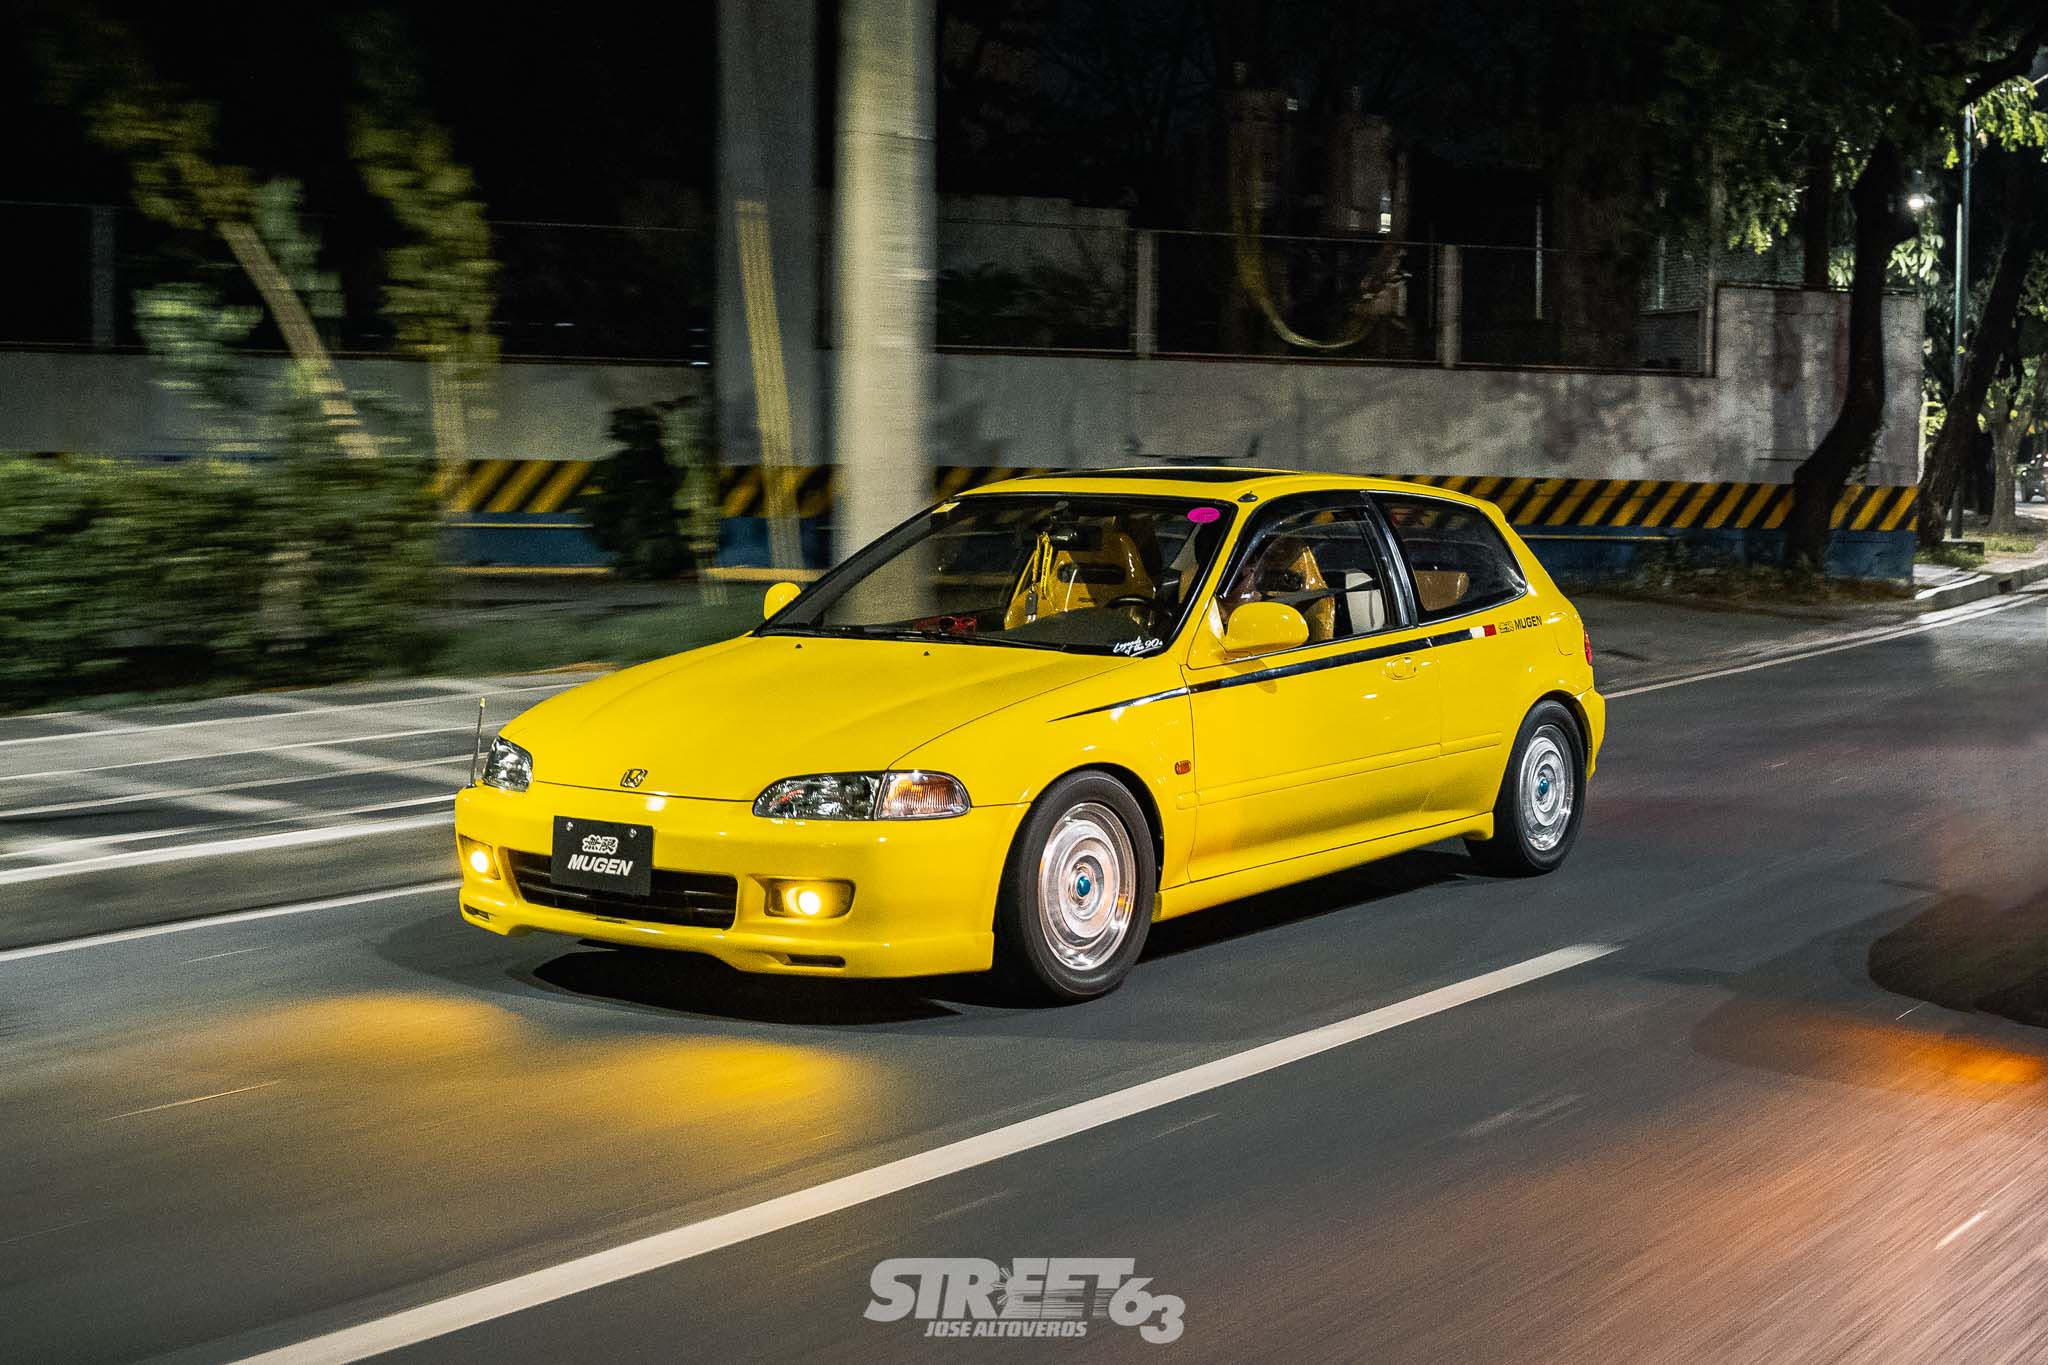
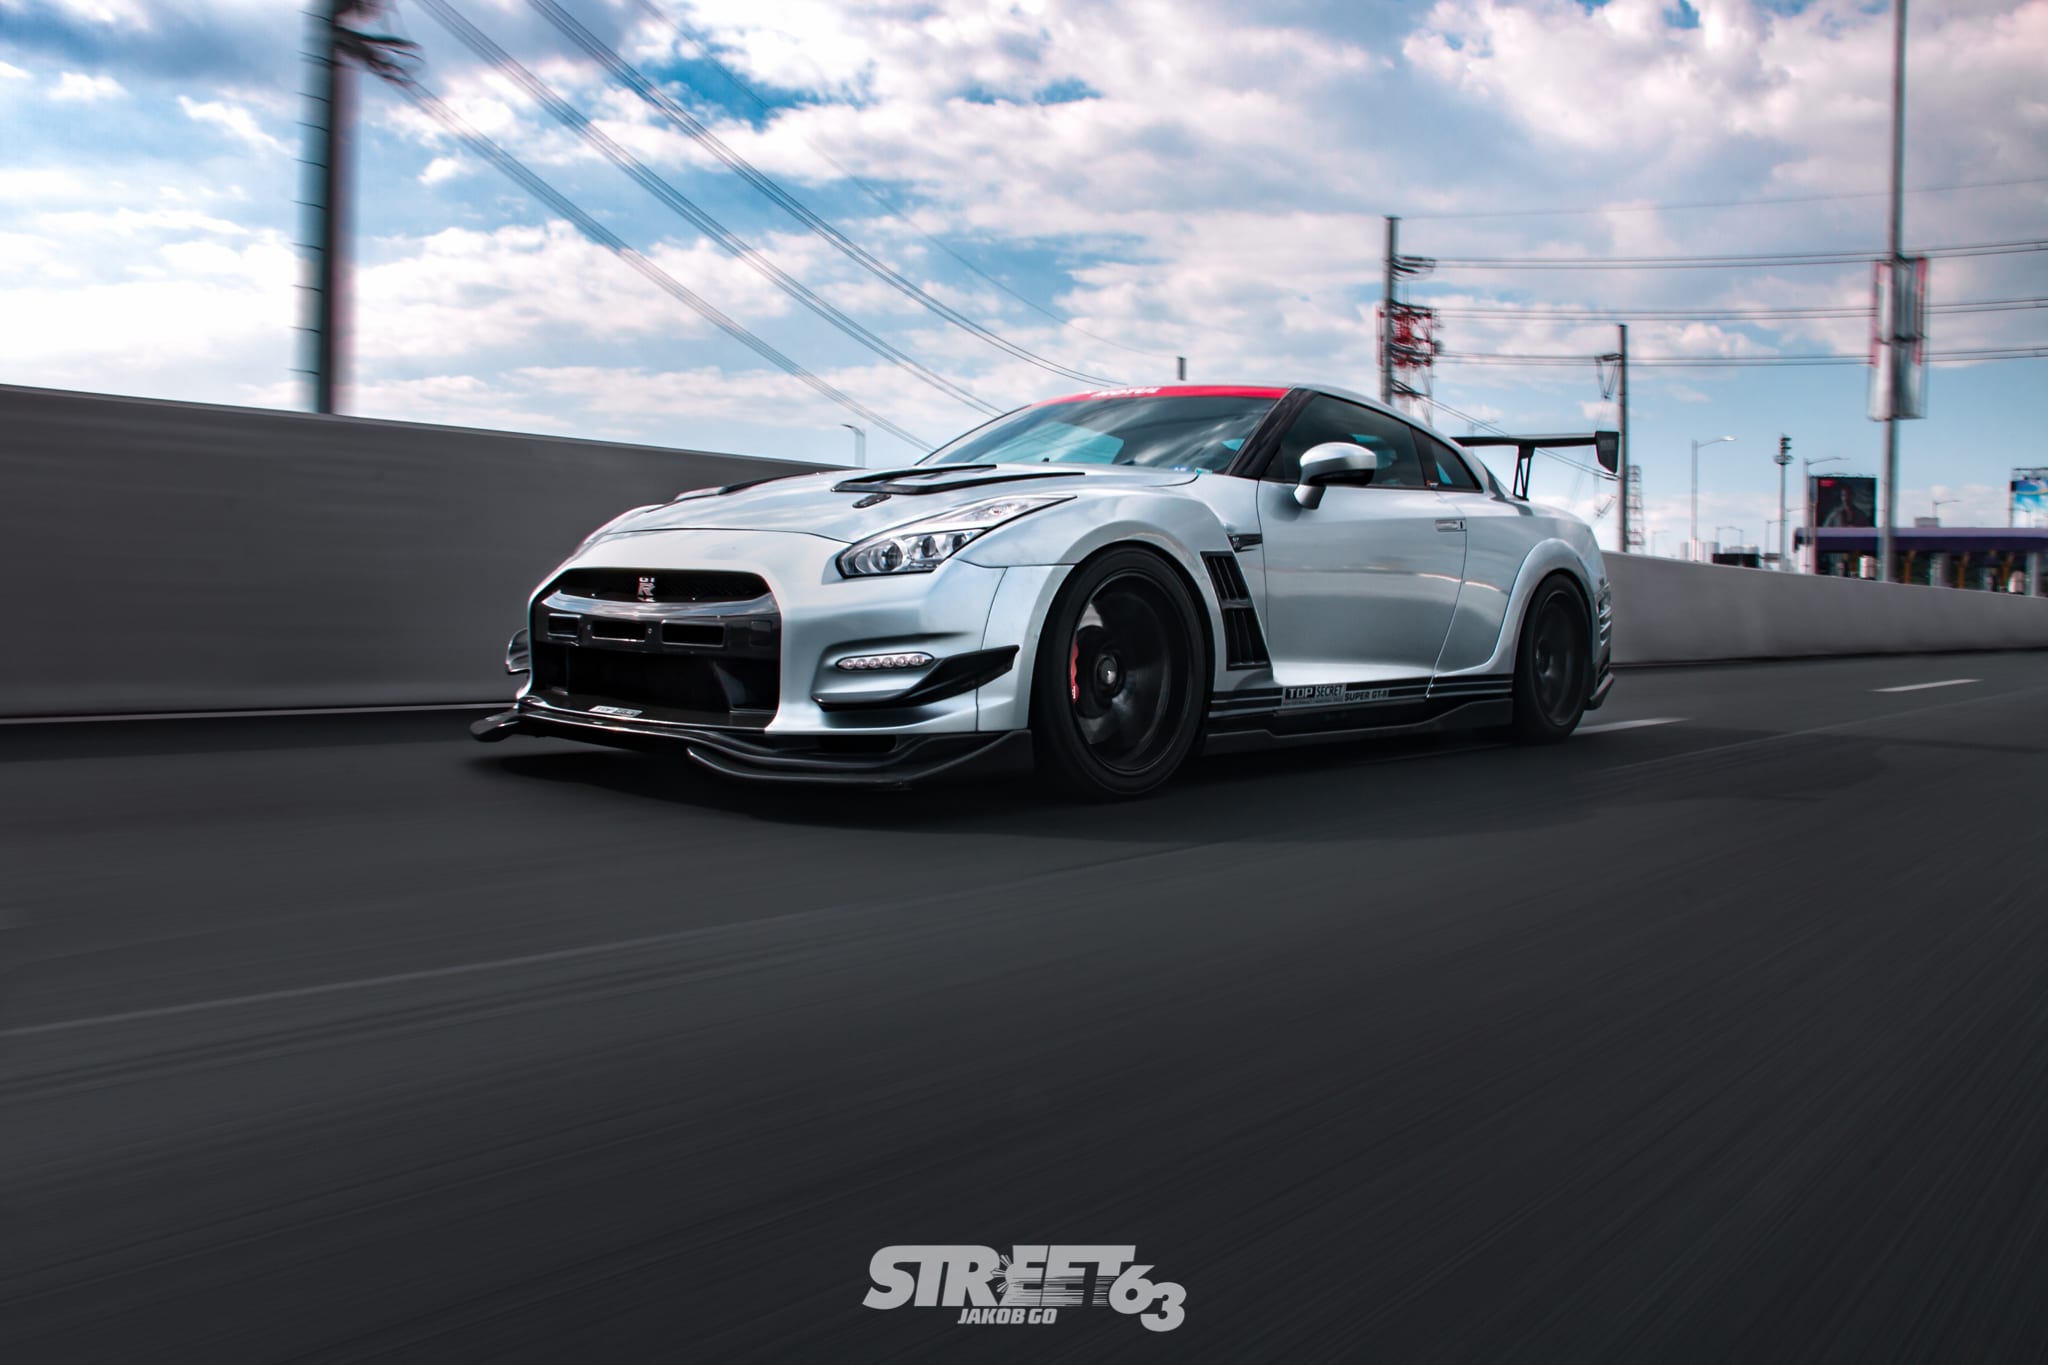
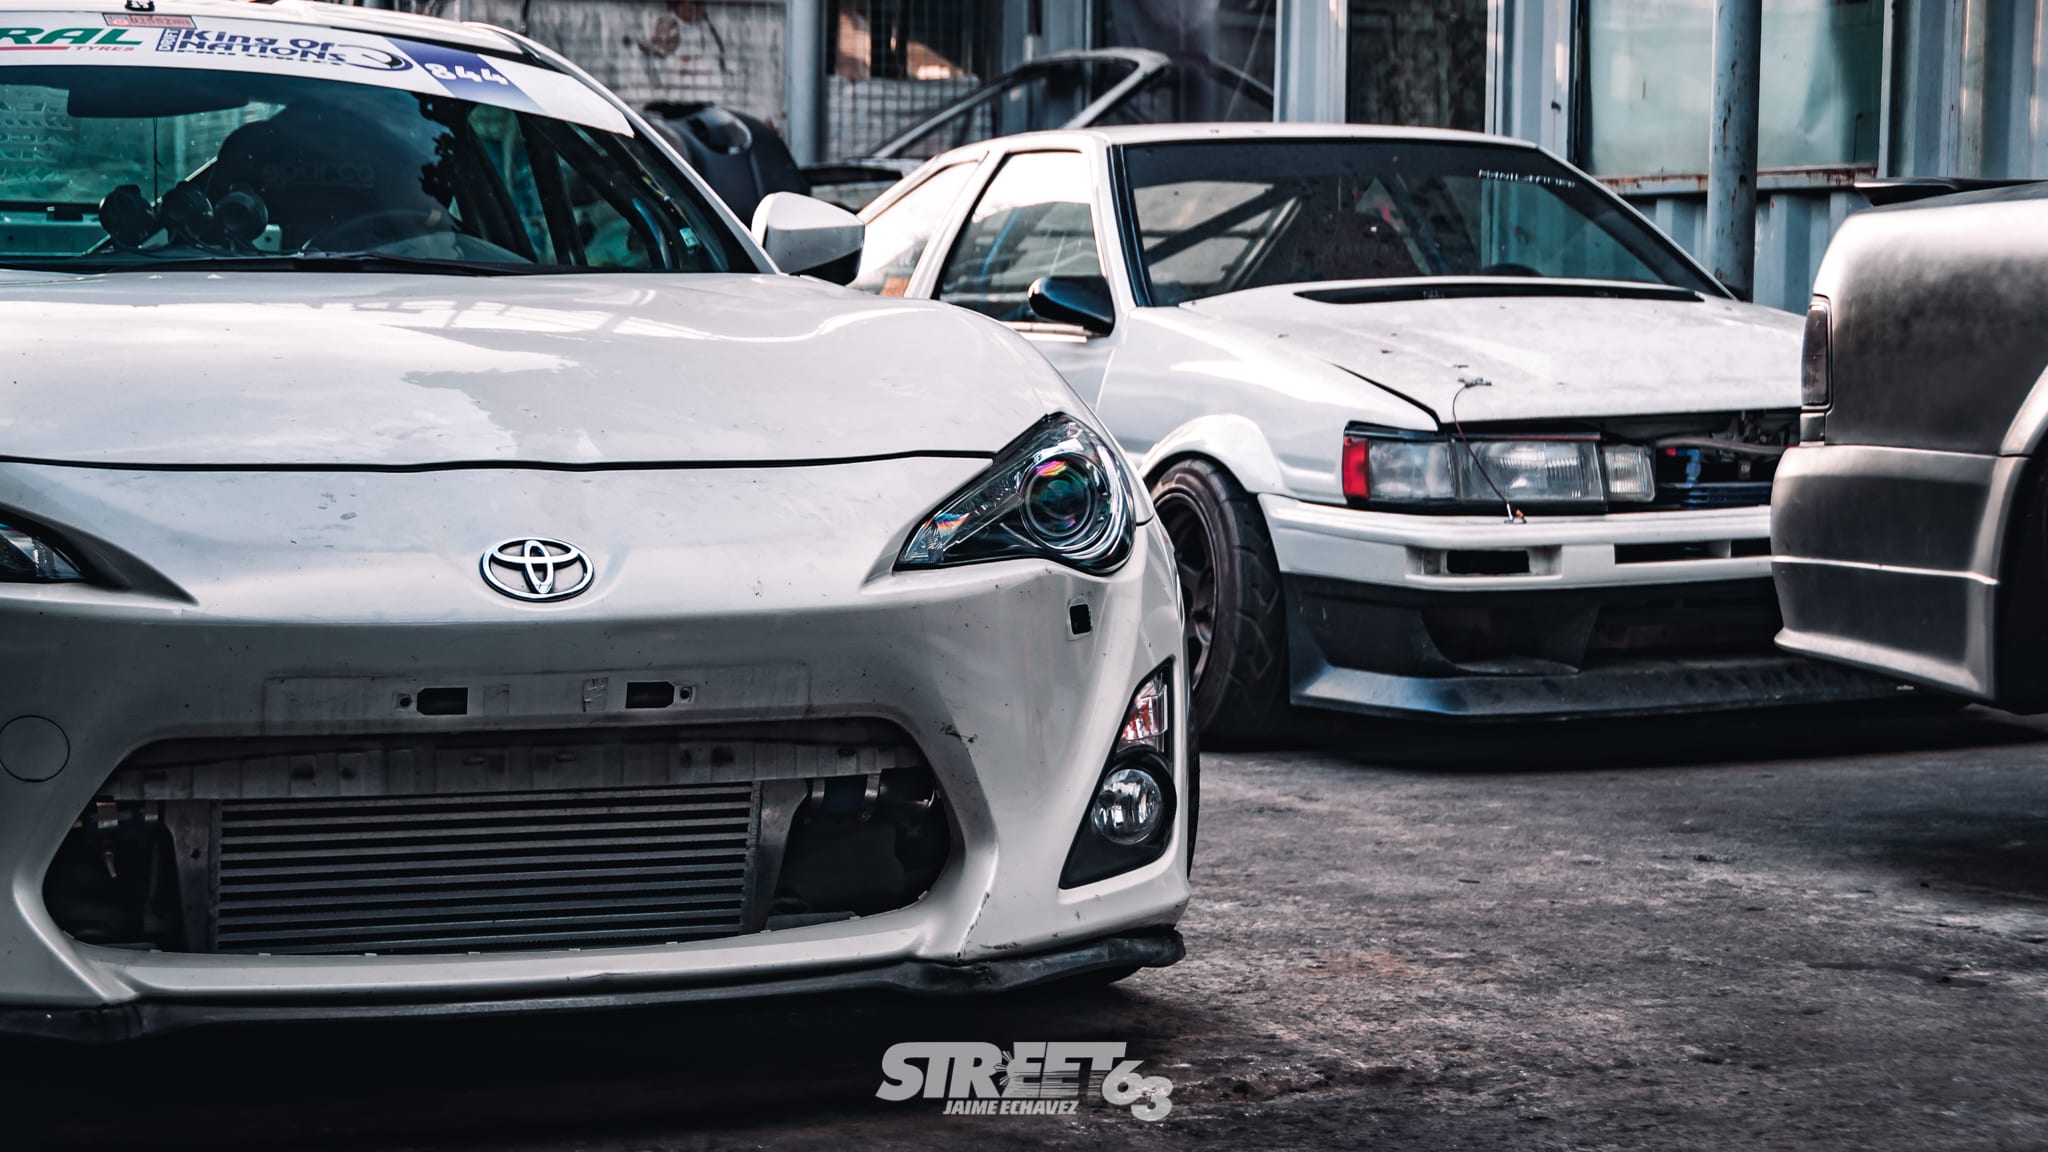
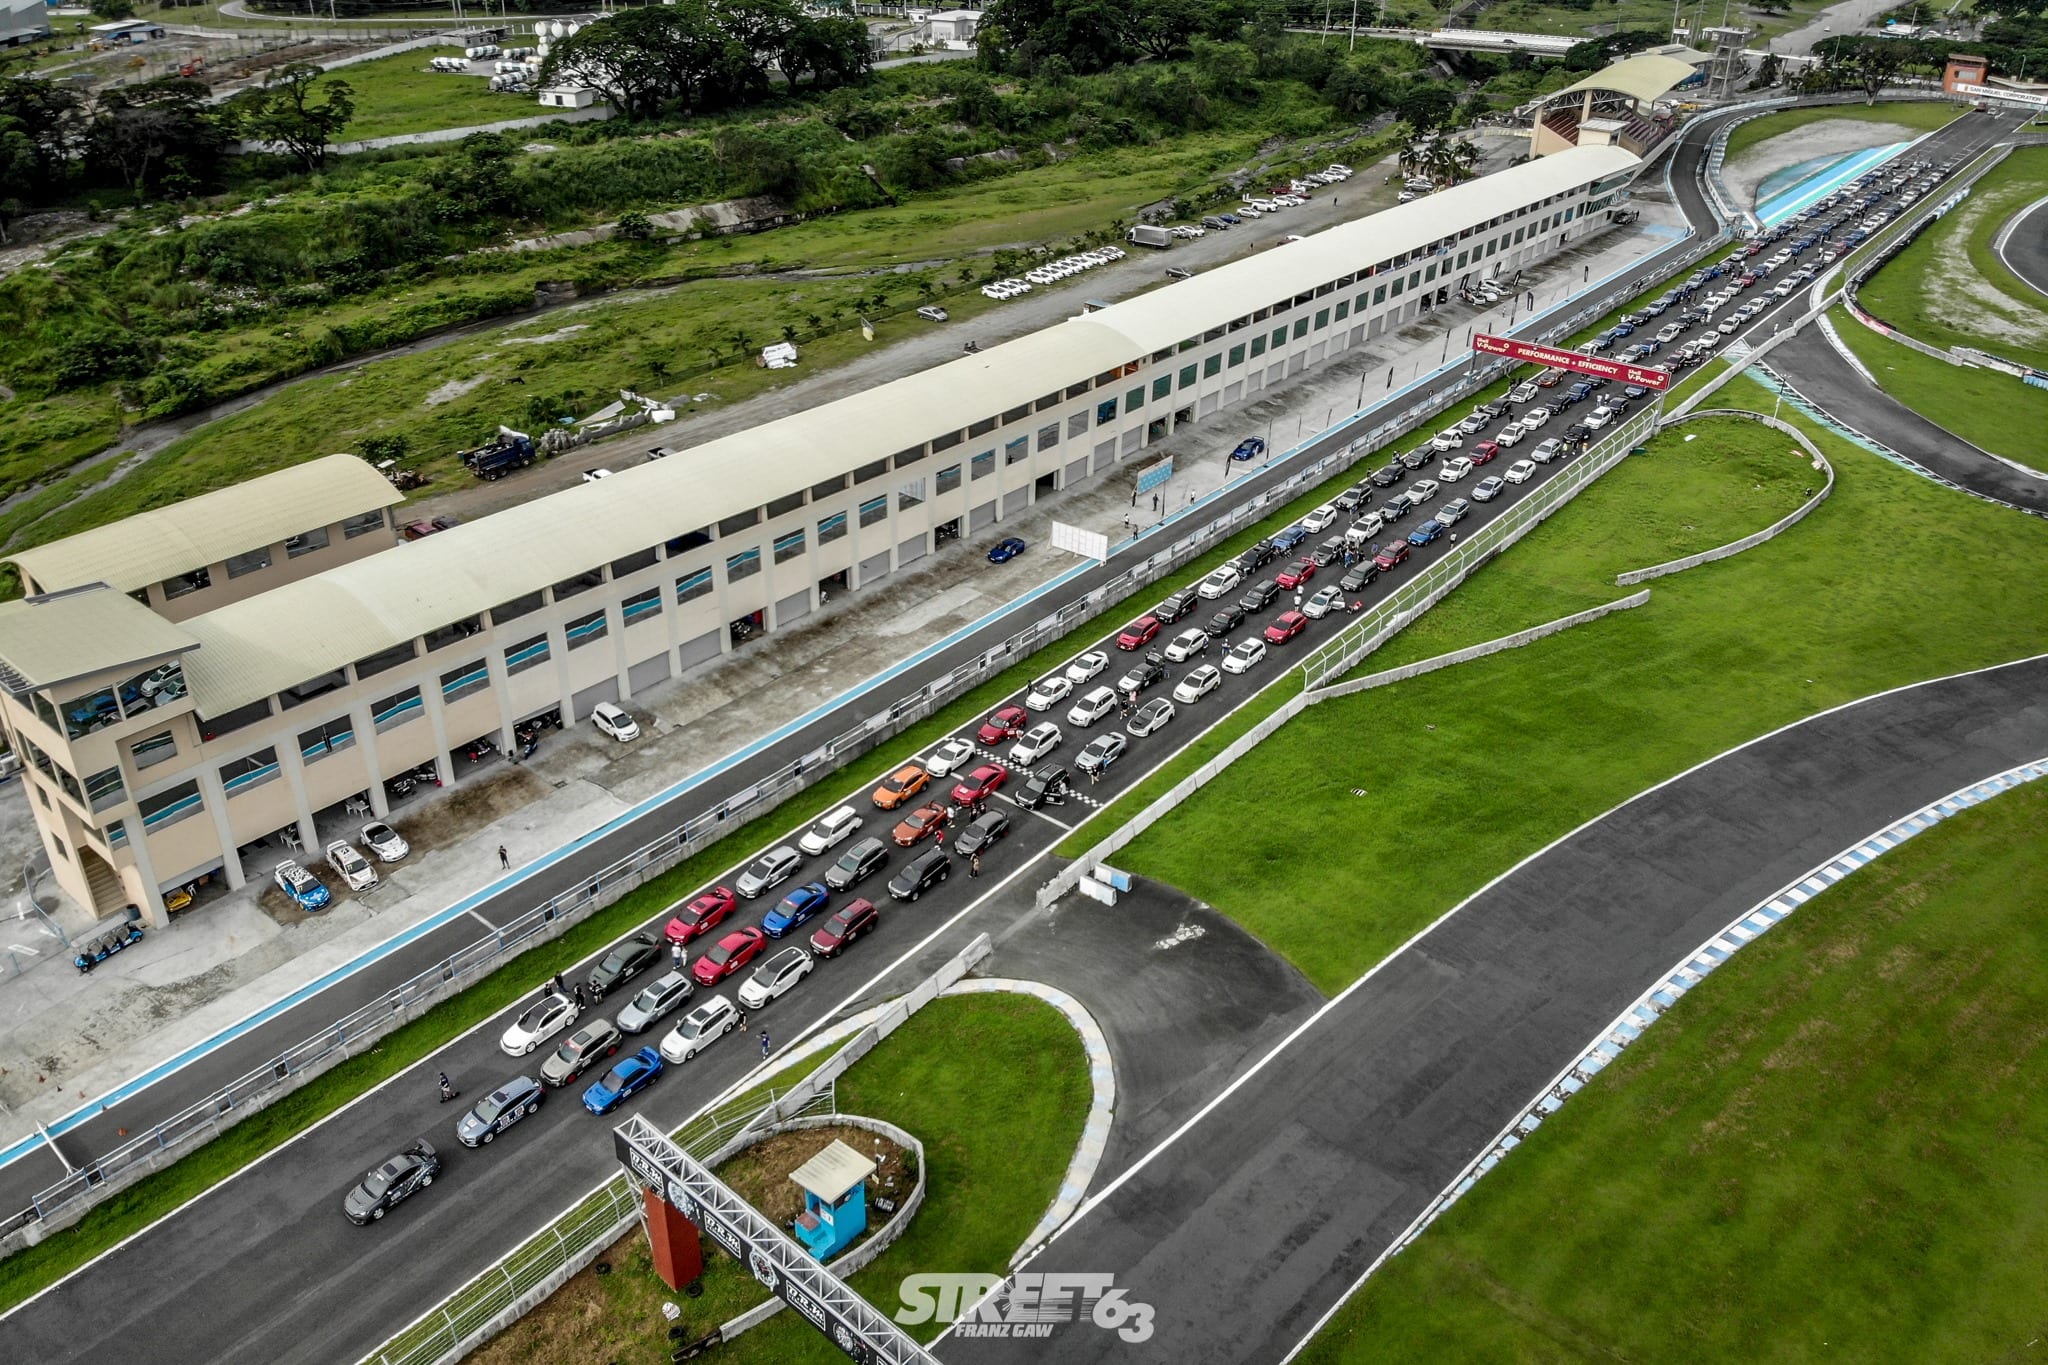
Photography and all its processes depends on your eye or what you want to achieve. It is very hard to be objective about its output since there can be many, many ways to take a photo - which is also the beauty of it when you think about it. Ultimately it is up to you as a photographer to decide/discern what to make out of your photographs. To get you started, here are a couple raw photographs you could edit and practice to see what style would fit you best. Something to keep you busy while we’re all under quarantine.
Words and Photos by Jakob Go and Coby de Lara

